Command Line Utilities… In The Cloud?

Although many people think of Linux-based operating systems as graphical, really that GUI is just another application running over the bare operating system. Power users, remote administrators, and people running underpowered computers like a Raspberry Pi have a tendency to do more with command line tools. [Igor] did a FOSDEM19 presentation you can see below about how he’s providing web-like services to the command line using web servers and curl as a client.

This is subtly different from just accessing an ordinary web server via curl. The output is meant for display in the terminal. Of course, you could also hit them with a web browser, if you wanted — at least, for some of them. [Igor’s] tools include a weather reporter, a QR code encoder, information and graphs for currency and cybercurrency rates, and an online help system for programmers.

Continue reading “Command Line Utilities… In The Cloud?”

Arduino Gets A Command Line Interface

When using an Arduino, at least once you’ve made it past blinking LEDs, you might start making use of the serial connection to send and receive information from the microcontroller. Communicating with the board while it’s interacting with its environment is a crucial way to get information in real-time. Usually, that’s as far as it goes, but [Pieter] wanted to take it a step farther than that with his command line interpreter (CLI) for the Arduino.

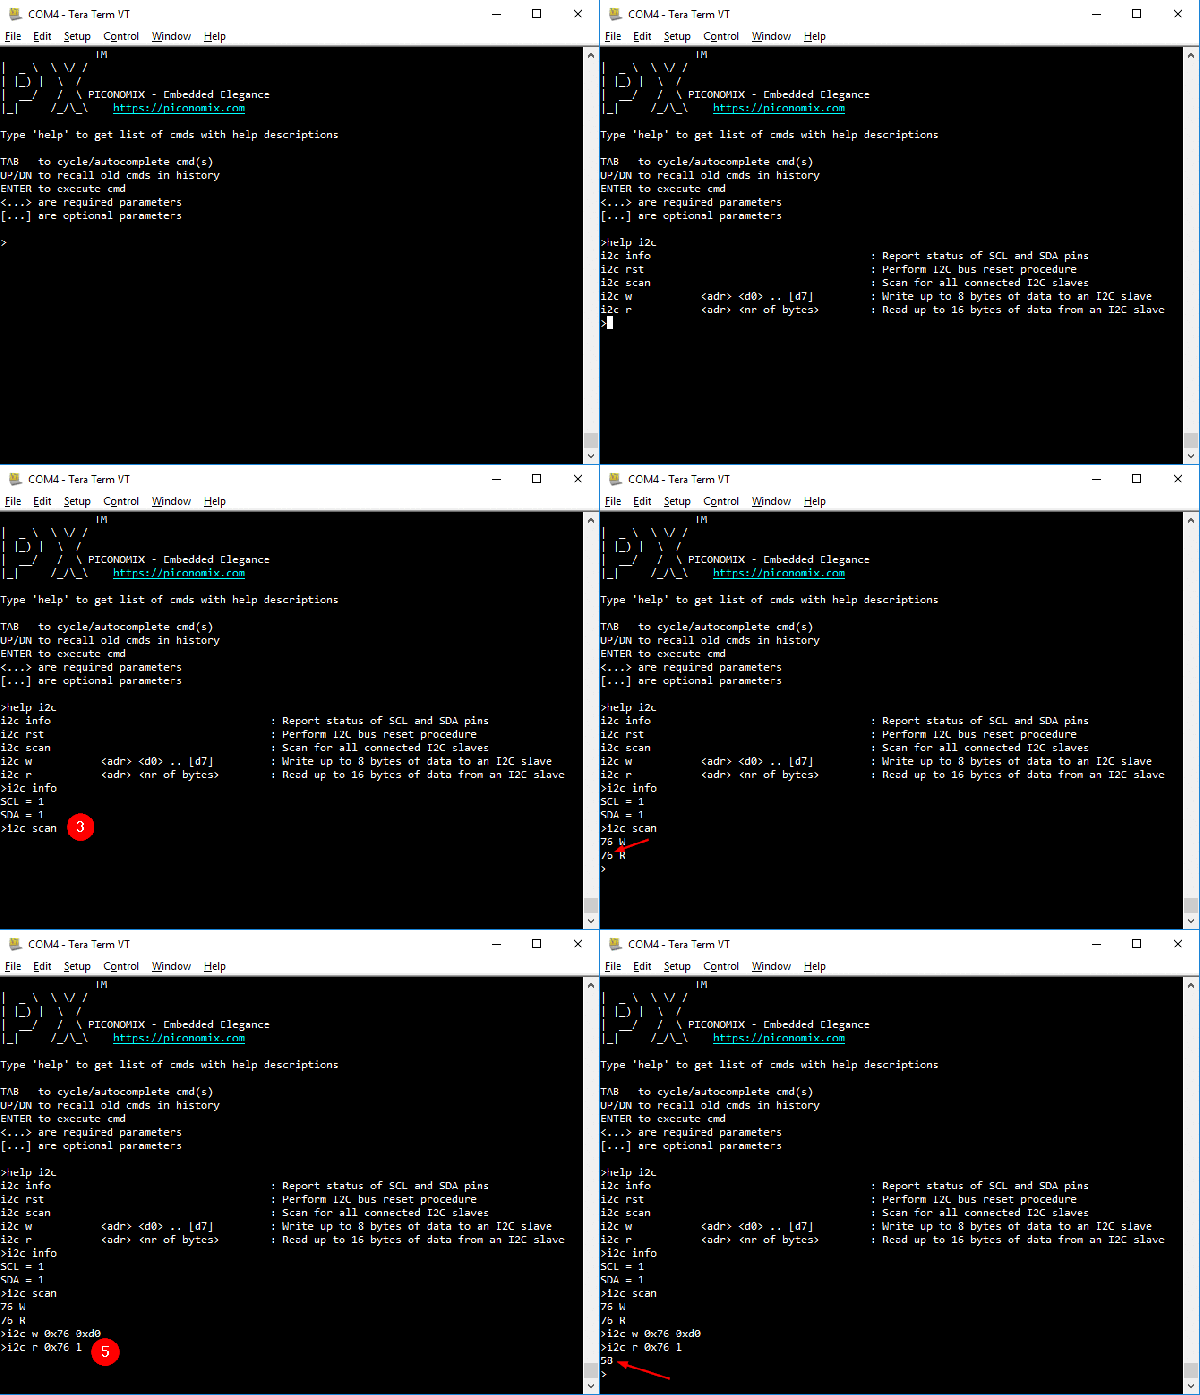
The CLI allows the user to run Unix-like commands directly on the Arduino. This means control of GPIO and the rest of the features of the microcontroller via command line. The CLI communicates between the microcontroller and the ANSI/VT100 terminal emulator of your choosing on your computer, enabling a wealth of new methods of interacting with an Arduino.

The CLI requires a hex file to be loaded onto the Arduino that you can find at a separate site, also maintained by [Pieter]. Once that’s running, you can get all of that sweet command line goodness out of your Arduino. [Pieter] also has some examples on his project page, as well as the complete how-to to get this all set up and running. There’s a lot going on in the command line world, in Linux as well as windows. So there’s plenty to explore there as well.

Linux Fu: Marker Is A Command Line Menu

The command line. You either love it or hate it, but if you do anything with a Unix-like system you are going to have to use it eventually. You might find marker — a system billed as a “command palette for the terminal” — a useful program to install. We couldn’t decide if it was like command history on steroids or more of a bookmark system. In a way, it is a little of both.

Your history rolls off eventually and also contains a lot of small commands (although you can use the HISTIGNORE variable to ignore particular commands). With marker, you save specific commands and they stay saved. There are no extra commands nor do the ones you save ever roll off.

Of course, you could just make a shell script or an alias if that’s all there was to it. Marker lets you add a description to the command and then you can search through the commands and the descriptions using a fuzzy incremental search. In addition, you can put placeholders into your command lines that are easily replaced. There are some built-in commands to get you started and the same bookmarks will work in bash and zsh, if you use both.

Continue reading “Linux Fu: Marker Is A Command Line Menu”

Linux Fu: Modernize Your Command Line

If you use Linux and its associated tools on the desktop or on a Raspberry Pi, or on a server, you probably have used the command line. Some people love it and some people hate it. However, many of us have been using Linux for years and sometimes Unix before that, and we tend to use the same old tried-and-true tools. [Remy Sharp] had a recent post talking about how he had created aliases to replace those old tools with great modern replacements and it is definitely worth a read.

We’ll be honest, when we first saw the post we almost skipped reading it. A lot of Linux tip posts are pretty uninteresting unless you are a total beginner. But [Remy] has a lot of really great tools and how he has them installed including bat, which is like cat but with syntax coloring (see picture above), and fzf — a command line history search on steroids. He even shows how to join fzf and bat to make a very cool file browser from the command line (see below).

Continue reading “Linux Fu: Modernize Your Command Line”

Arduino Gets Command Line Interface Tools That Let You Skip The IDE

Arduino now has an officially supported command-line interface. The project, called arduino-cli, is the first time that the official toolchain has departed from the Java-based editor known as the Arduino IDE. You can see the official announcement video below.

Obviously this isn’t a new idea. Platform IO and other command-line driven tools exist. But official support means even if you don’t want to use the command line yourself, this should open up a path to integrate the Arduino build process to other IDEs more easily.

The code is open source, but they do mention in their official announcement that you can license it for commercial use. We assume that would mean if you wanted to build it into a product, not just provide an interface to it. This seems like something Arduino expects, because a lot of the command line tools can produce json which is a fair way to send information to another application for parsing.

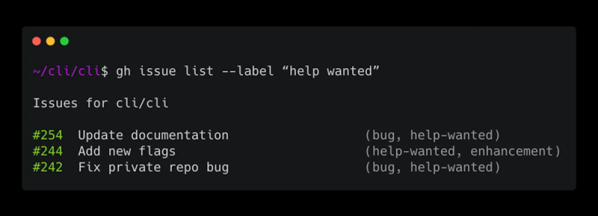
The command line interface doesn’t just build a sketch. You can do things like install and manage libraries. For example, to create a new sketch:

Continue reading “Arduino Gets Command Line Interface Tools That Let You Skip The IDE”

What’s Inside A Neonode Laser Sensor?

Every once in a while, you get your hands on a cool piece of hardware, and of course, it’s your first instinct to open it up and see how it works, right? Maybe see if it can be coaxed into doing just a little bit more than it says on the box? And so it was last Wednesday, when I was at the Embedded World trade fair, and stumbled on a cool touch display floating apparently in mid-air.

The display itself was a sort of focused Pepper’s Ghost illusion, reflected off of an expensive mirror made by Aska3D. I don’t know much more — I didn’t get to bring home one of the fancy glass plates — but it looked pretty good. But this display was interactive: you could touch the floating 2D projection as if it were actually there, and the software would respond. What was doing the touch response in mid-air? I’m a sucker for sensors, so I started asking questions and left with a small box of prototype Neonode zForce AIR sensor sticks to take apart.

The zForce sensors are essentially an array of IR lasers and photodiodes with some lenses that limit their field of view. The IR light hits your finger and bounces back to the photodiodes on the bar. Because the photodiodes have a limited angle over which they respond, they can be used to triangulate the distance of the finger above the display. Scanning quickly among the IR lasers and noting which photodiodes receive a reflection can locate a few fingertips in a 2D space, which explained the interactive part of the floating display. With one of these sensors, you can add a 2D touch surface to anything. It’s like an invisible laser harp that can also sense distance.

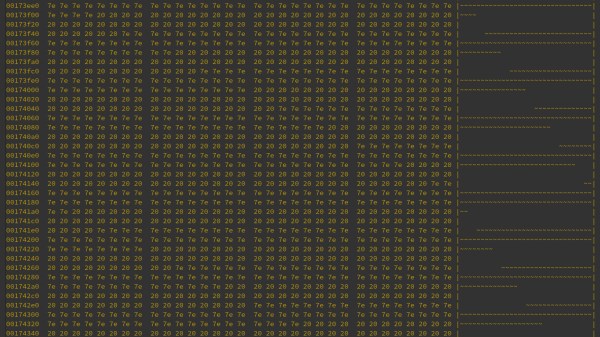
The intended purpose is fingertip detection, and that’s what the firmware is good at, but it must also be the case that it could detect the shape of arbitrary (concave) objects within its range, and that was going to be my hack. I got 90% of the way there in one night, thanks to affordable tools and free software that every hardware hacker should have in their toolbox. So read on for the unfortunate destruction of nice hardware, a tour through some useful command-line hardware-hacking tools, and gratuitous creation of animations from sniffed SPI-like data pulled off of some test points.

Continue reading “What’s Inside A Neonode Laser Sensor?”

Mangling Images With Audio Effects

Ever wonder what those snapshots you took of your trip to Paris would look like if you ran them through a Proco RAT or a Boss Overdrive? How about a BF-3 flanger? [Robert Foss] wrote in with this nifty little script (GitHub) that processes images as if they were audio files so that you can try it out without investing in a rack of analog pedals. Test your audio/visual DSP intuition and see if you can name the images without looking at the effects.

If you know your Linux command-line utilities, there’s really not much to it — scroll down to the very bottom of the script to see how it’s done. ffmpeg converts the images to YUV format, which works much better than RGB for audio processing, and then sox adds the audio effects. Another trip through ffmpeg gets you back to an image or video.

OK, it’s cheating because it’s applying the audio effects inside the computer, but nothing’s stopping you from actually taking the audio out and running it through that dusty Small Stone. Of course, once you’ve got audio outside of the computer, the world is your oyster. Relive the glorious 70’s when video artists made works using souped-up audio synthesizers. If you haven’t seen the Sandin Image Processor or the Scanimate in action, you’ve got some YouTubing to do.