There are some parts of the world where living without air conditioning borders on unthinkable. But in more moderate climates, it isn’t all that unusual. [Josh’s] apartment doesn’t have central air conditioning — the kind that connects to a forced-air heating/cooling system. It does, though, have a water circuit for air conditioning, so he decided to hack a few experimental air conditioners.
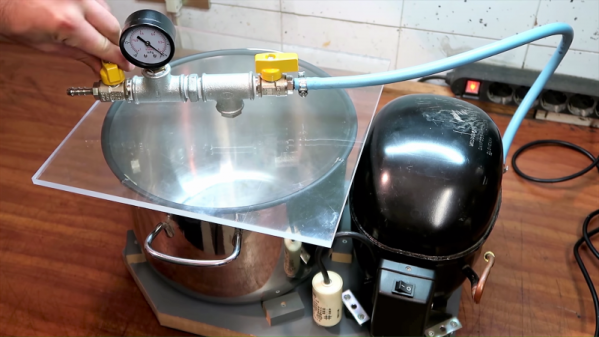
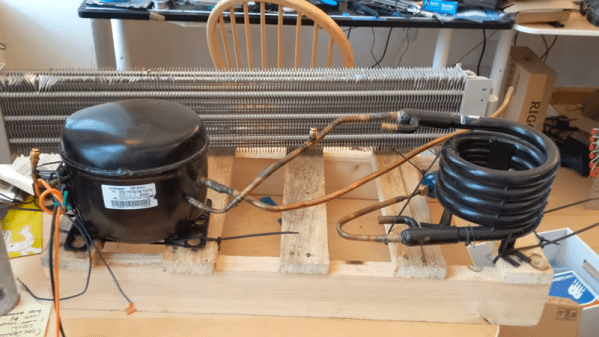
He’s not starting completely from scratch. The two attempts he made at building his AC came from donor parts. The successful one started out as a hot water heater. The very first attempt didn’t quite work as well, using a refrigerator compressor and an evaporator from a baseboard heater. The flow control through the heat exchanger turns out to be very tricky, so [Josh] claims he mostly got ice right at the inlet and minimal cooling through the evaporator.
The more successful one works better but still has a problem with the evaporator freezing that he’s trying to solve. He’s looking for suggestions on how to make it work better. As much as we like a good hack, our advice is to move to a different apartment building.
We’ve seen other homemade coolers, but they are more like swamp coolers. If you just need to cool your desk, you might just get some ice in a metal can.
Continue reading “DIY Air Conditioner Built From Weird Donor Appliance”