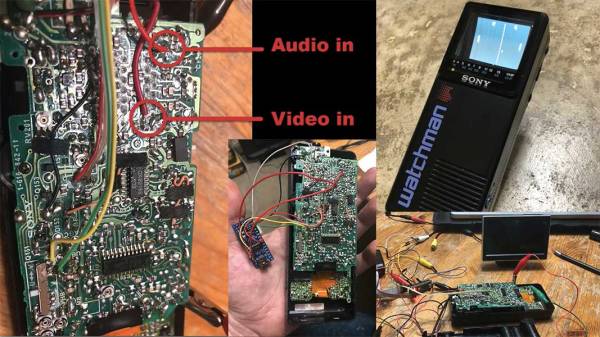
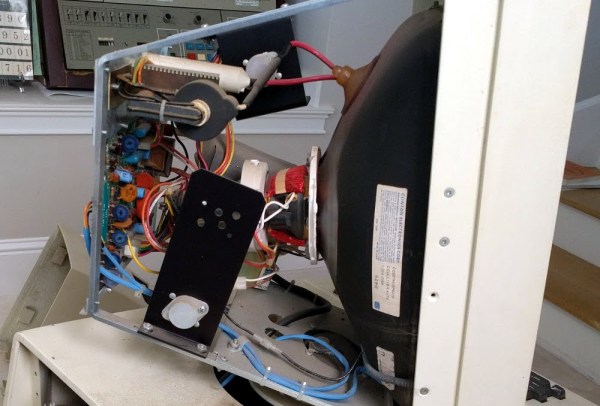
The era of the vintage television was a great one, and one of the transitional by-products was the Sony Watchman. It was a portable TV which Sony started selling in 1982, and the amazing thing about it was that it had an actual 4-inch cathode ray tube or CRT. [Sideburn] just posted a video in which he hijacks the internals of a Watchman to make it into a portable game of Pong.
The hack begins with removing the TV tuner module inside to make some room for the new residents. Next comes the M51364P which is VIF video decoder chip, and for which surprisingly there is not a lot of info on the web. They were able to find a part of the schematic, which though it was in Russian may still be useful for enthusiasts. Removing the VIF revealed the audio and video pins that needed the appropriate signals for the hack to be successful. In an age of multilayer boards it is amazing how a two-layer PCB makes life so easier for the tinkerer.
For the new brains an Arduino Nano clone was selected, and instead of adding modern buttons the existing volume and band select switches were convinced to be the paddle control and play/pause button. Getting everything to fit was easy with the absence of the tuner module, and voila! New(ish) hardware. For the firmware, [Sideburn] turns to Hackvision firmware which has a host of games such as Space Invaders, Asteroids, and even Tetris.
We covered Hackvision a few years ago as a hardware/firmware bundle, and if you are more into CRTs then check out the Arduino driven 6845 CRT controller.

 Now we all know that CRTs draw one pixel at a time, drawing from left to right, top to bottom. You can capture this with a regular still camera at a high shutter speed. The light from a TV screen comes from a phosphor coating painted on the inside of the glass screen. Phosphor glows for some time after it is excited, but how long exactly? [Gavin and Dan’s] high framerate camera let them observe the phosphor staying illuminated for only about 6 lines before it started to fade away. You can see this effect at a relatively mundane 2500 FPS.
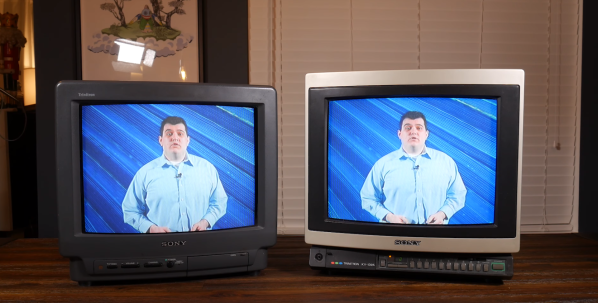
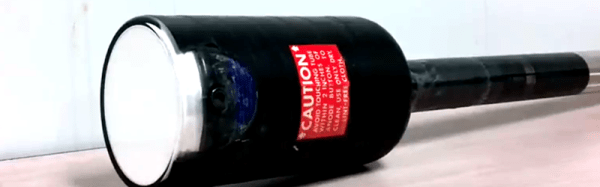
 On paper, a light bulb lights up when you put current through it. In real life, it is a bit more complicated. An incandescent filament starts off as almost a dead short and draws a lot of current for a very brief time. As the current flows, the filament gets hot and the resistance goes up. That reduces the current draw. This effect — known as inrush current — is the scourge of designers trying to turn on light bulbs with transistors or other electronic switches.


