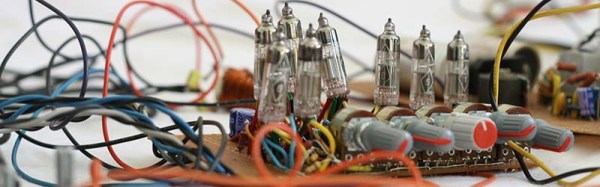
Although we’ve never had the privilege to drive one, [skaarj] tells us Dacia made some terrible cars. The Dacia 1310, a communist clone of the Renault 12, was cheap, had sixty-two horses under the hood, and was easy to maintain. The cabin, by all accounts, is a bit lacking, giving [skaarj] the opportunity to improve the instrument cluster and dash. He’s not throwing a stereo in and calling it a day – [skaarj] is upgrading his Dacia with retro-futuristic components including a vacuum tube amp, a CRT computer display, and an unspeakably small dumb terminal.
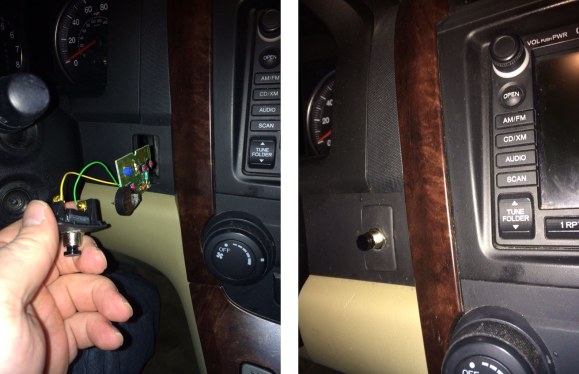
[skaarj]’s build began with a hit and run accident. With most of the body panels on the passenger side of the car removed, [Skaarj] ground some rust, rattle canned some rust proof paint, and bondoed the most offensive corrosion. Work then began on the upgraded dash, with a few choice components chosen including an old Soviet television, a hardware neural network to determine hardware faults, and a bizarre implementation of a CAN bus on a car without any of the requisite electronics.
This is one of those projects that can go on forever; there’s a lot you can do with the dashboard of a car if you’re not constrained by a suffocating desire to appear normal. In that respect, [skaarj] has this one locked up – he’s got a vacuum tube amplifier and enough CRTs in this car to add retro satellite navigation. It’s a great entry for The Hackaday Prize, as something cool is sure to come out of this project.