Not long after Dyson unveiled their “bladeless” fan, a fairly steady stream of ever cheaper clones have been hitting the market. But this 3D printed version created by [Elite Worm] must surely be one of the most budget-friendly takes on the concept. If you’ve got a 3D printer, we’d wager you’ve already got most of the parts required to build your own.
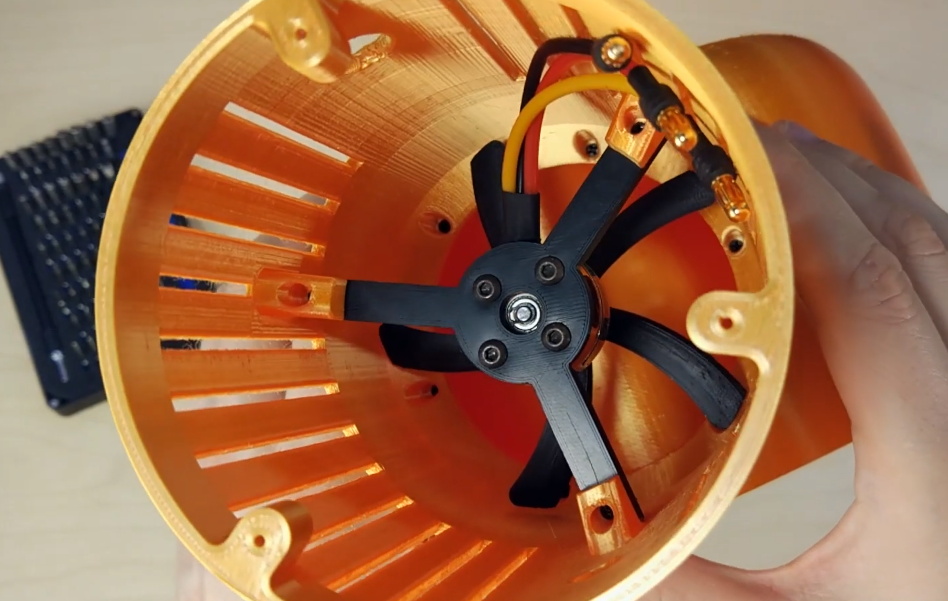
To be clear, of course there’s a blade. They aren’t magic, obviously. The fan is just small, and hidden inside the base. Air is pulled from the sides and bottom, and into the ring mounted to the top of the unit. When the air eventually exits the thin slit in the ring, it “sticks” to the sides due to the Coandă effect and produces a low pressure zone in the center. That’s all a fancy way of saying that the air flow you get from one of these gadgets is several times greater than what the little dinky fan would be capable of under normal circumstances. That’s the theory, anyway.
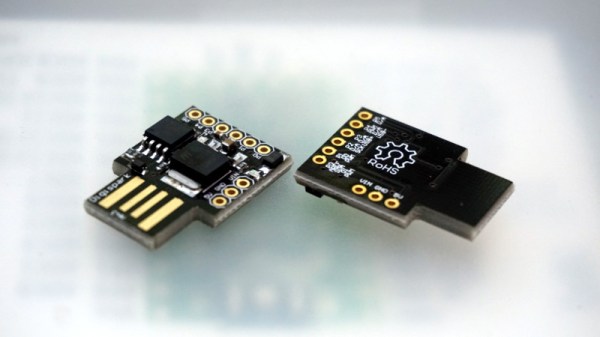
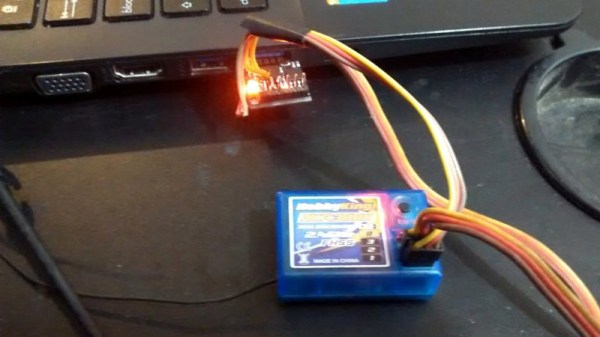
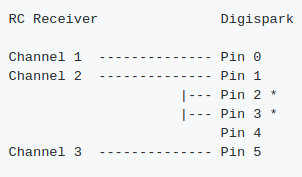
We can’t promise that all the physics are working as they should in this 3D printed version, but in the video after the break it certainly appears to be moving a considerable amount of air. It’s also quite loud, but that’s to be expected given it’s using a brushless hobby motor. To get it spinning, [Elite Worm] is using a Digispark ATtiny85 connected to a standard RC electronic speed control (ESC). The MCU reads a potentiometer mounted to the side of the fan and converts that to a PWM signal required by the ESC.
Beyond the electronics, essentially every piece of this project has been printed on a standard desktop 3D printer. An impressive accomplishment, though we probably would have gone with a commercially available propeller for safety’s sake. On the other hand, the base of the fan should nicely contain the shrapnel created should it explode at several thousand RPM. Probably.
Continue reading “This 3D Printed “Bladeless” Fan Gets It Done Cheap”


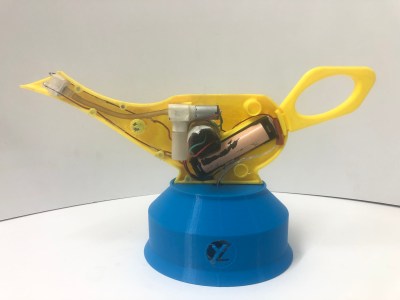 The lamp body consists of two 3D-printed halves held together by neodymium magnets. They house a 400 kV spark generator, a fuel pump plus tank, and a 18650 Li-ion battery. The fuel pump is actually a 3 V air pump but it can also pump liquids at low pressure. As fuel [YeleLabs] used rubbing alcohol that they mixed with boric acid to give the flame a greenish tint. The blue base at the bottom of the lamp houses the triggering mechanism which magically lights up the lamp when you snap your fingers. This is achieved by a KY-038 microphone module and KY-019 relay module connected to a Digispark ATTiny85 microcontroller. When the microphone signal is above a certain threshold the relay module will simultaneously switch on the spark generator and fuel pump for 150 ms.