An Arduino Weather Station With An E-Ink Display

For our Northern Hemisphere readers the chill winds of winter are fast approaching, so it seems appropriate to feature a weather station project. Enjoy your summer, Southern readers!

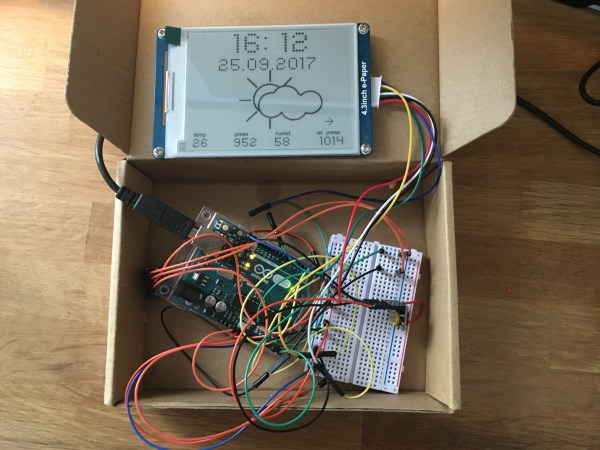
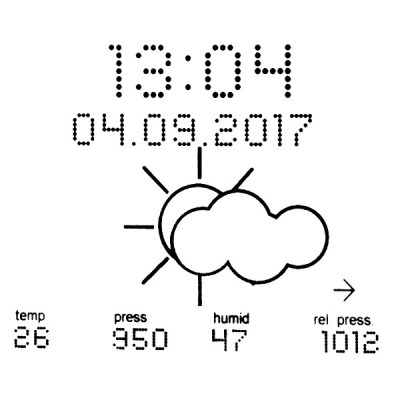
[Fandonov] has created a weather station project with an Arduino Uno at its heart and a Waveshare e-ink display as its face to the world, and as its write-up (PDF) describes, it provides an insight into both some of the quirks of these displays, and into weather forecasting algorithms.

The hardware follows a straightforward formula, aside from Arduino and display it boasts an Adafruit sensor board and a hardware clock. Software-wise though there are some tricks to give the display a scalable font that other tinkerers might find useful, drawing characters as a matrix of filled circle primitives.

The write-up gives an introduction to forecasting based only on local readings rather than on the huge volumes of data over a wide area used by professional meteorologists. In play here is the Zambretti algorithm, which takes the readings and information about whether they are rising or falling, and returns a forecast from a look-up table.

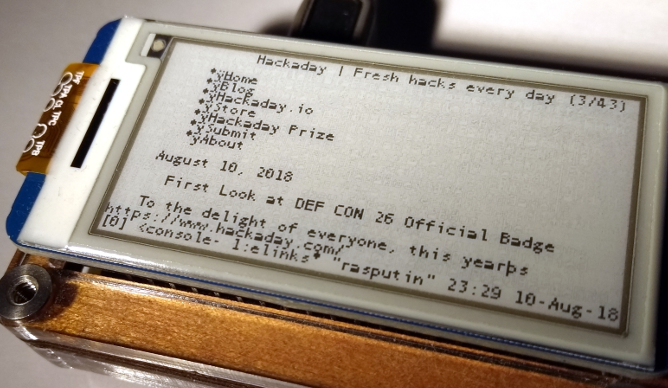
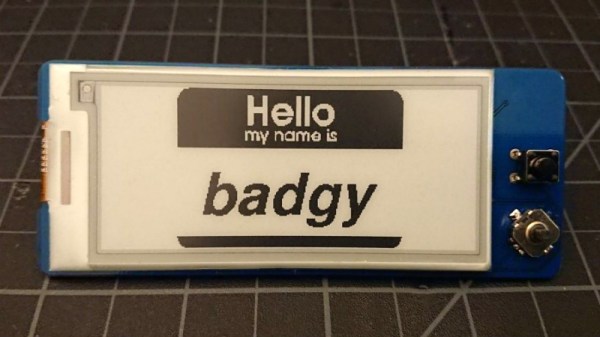
As we’ll all be aware, even professional weather forecasting is fraught with inaccuracies, but this is nonetheless an interesting project that is very much worth a second look. Meanwhile we’ve covered huge numbers of weather stations in the past, a couple of interesting ones are this one using a classic TI99/4A home computer, and more relevant here, this one using an e-paper badge.

Thanks [Phil] for the tip!

Breadboarding With E-Paper

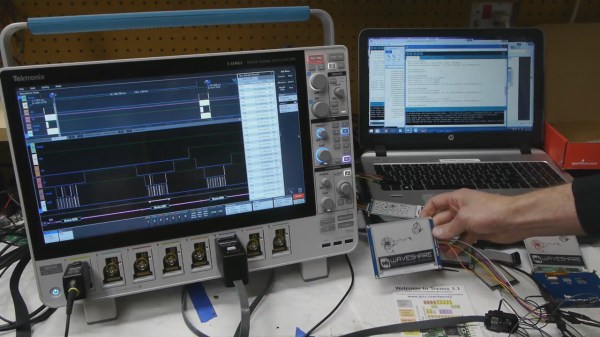
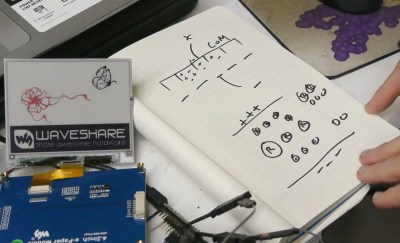
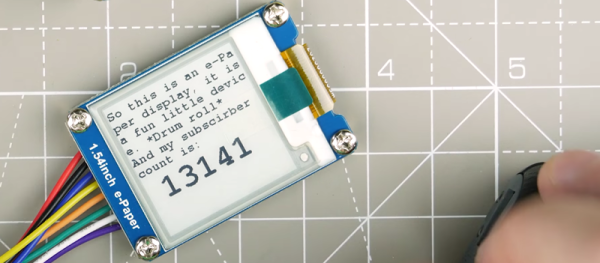
[David Watts] picked up an inexpensive Waveshare e-Paper display. He made a video about using it with a breadboard, and you can see it below.

The E-Paper or E-Ink displays have several advantages. They are low power, they retain their display even without power, and they are very visible in direct light. The downside is they don’t update as fast as some other display technologies.

Continue reading “Breadboarding With E-Paper”

Hackaday Prize Entry: An E-Ink Calendar

E-ink displays are becoming almost common in DIY electronics circles, and now we have very capable, low-power microcontrollers, some of which feature some sort of wireless connectivity. Combine these two, and you have the potential for a basic information screen — a low-power device that always displays some sort of relevant information, whether it’s the date or the weather.

For their Hackaday Prize entry, [Wenting] and [Dong] are building an e-ink calendar. It’s a calendar, it displays bitmaps, it can display the time, and with a little more hacking it can display the weather, current traffic, or train schedule. If this were the 90s, we would have called this an information appliance, and it would have blown everyone’s minds.

The current design of this e-ink calendar uses an 800 x 600 pixel display working in 16-level grayscale mode. The processor is an STM32F4, and in a cost-reducing revision, an external SRAM was thrown out and the frame buffer was moved to the internal RAM. The e-ink display is actually pretty quick, allowing for greater than 10 FPS in 1-bit mode.

As with any e-ink project, driving the display is a minor nightmare, but [Wenting] is able to push a few frames per second to the display. That’s good enough for a device that shouldn’t actually change all that much — this is a calendar, after all.

Hackaday Prize Entry: Health-Monitoring Flexible Smartwatch

[Nick Ames]’s Flexible Smartwatch project aims to create an Open Source smartwatch made out of a flexible, capacitive e-ink touchscreen that uses the whole surface of the band. This wraparound smartwatch displays information from the on-board pulse and blood oximetry sensor as well as the accelerometer and magnetometer, giving you a clear idea of how stressed you are about your upcoming meeting.

The display [Nick] went with is called an electrophoretic display (EPD). It’s 400×200-pixels at 115ppi with a 4″ diagonal, and can bend around a wrist. It can draw shapes in 16 shades of gray with a refresh time of under a second or B&W with a faster refresh.

The smartwatch described in [Nick]’s project would be 2.5mm thick — certainly thin enough to fit under a sleeve. We suspect that success of the form factor may hinge on [Nick]’s success in making it not look like a hospital wristband. Although this gives us the thought that a biofeedback-sensing smart wristband is probably the future of hospital stays.

E-ink Display Driven DIY

E-ink displays are awesome. Humans spent centuries reading non-backlit devices, and frankly it’s a lot easier on the eyes. But have you looked into driving one of these critters yourself? It’s a nightmare. So chapeau! to [Julien] for his FPGA-based implementation that not only uses our favorite open-source FPGA toolchain, and serves as an open reference implementation for anyone else who’s interested.

Getting just black and white on an E-ink display is relatively easy — just hit the ink pixels with the same signal over and over until they give up. Greyscale is made by applying much more nuanced voltages because the pixels are somewhat state-dependent. If the desired endpoint is a 50% grey, for instance, you’d hit it with a different pulse train if the pixel were now white versus if it were now black. (Ever notice that your e-book screen periodically does a white-black flash? It’s resetting all the pixels to a known state.) And that’s not even taking into account the hassles with the various crazy voltages that E-ink displays require, which [Julien] wisely handed off to a dedicated chip.

In the end, the device has to make 20-50 passes through the screen for one user-visible refresh. [Julien] found that the usual microcontrollers just weren’t capable of the speed that he wanted, hence the FPGA and custom waveform tables. We’ve seen E-ink hacks before, and [Julien] is standing on the shoulders of giants, most notably those of [Petteri Aimonen] and [Sprite_tm]. [Julien]’s hack has the fastest updates we’ve ever seen.

We still can’t wait for the day that there is a general-purpose E-ink driver chip out there for pennies, because nearly every project we make with a backlit display would look better, and chew through the batteries slower, with E-ink. In the meantime, [Julien]’s FPGA implementation is pretty close, and it’s fully open.

Continue reading “E-ink Display Driven DIY”

Can You Build An E-ink Display From Scratch?

Modern displays are fascinating little things. In particular, the E-Ink displays employed in modern E-books achieve mesmerising paper like contrast with excellent standby power consumption.  Many of us at some point have had a go at experimenting with DIY displays, but been discouraged by the miniature scales involved. Driving them is hard enough, but building your own?

[MChel] has achieved some excellent success in building a simple E-Ink display. The account presented on this Russian electronics forum, graciously translated for us by Google Translate, outlines that the greatest barrier to pursing this in your home lab is creating the conductive layer that serve as electrodes for each pixel and depositing the thin layer of electrostatically charged ink pellets onto another transparent yet conductive film. [MChel] solution was to extract a small a portion of pre-deposited ink from a smashed and notoriously brittle E-ink display. Next, instead of attempting to build an ambitious and dense grid of electrodes, [MChel] etched a simple battery indicator on a PCB. The ink and the electrodes were then fused with some DIY graphite based conductive glue and sealed with some careful yet ingenuitive epoxy laying skills.

The DIY electrodes

The result is a working battery indicator that consumes no power, whilst reporting any remaining power.

There is something increasingly defiant and laudable about home-brewing technologies, otherwise thought to be confined to multi-million dollar factories. We have already covered how you should go about making some conductive glass and using it in your homemade LCD.

An Improved WiFi Connected E-Ink Display

[David] created a great looking e-ink WiFi display project that works a little like a network-connected picture frame with a few improvements over other similar projects. With the help of an ESP8266 it boots up, grabs an 800×600 image over the network, updates the screen, then goes back to sleep. Thanks to some reverse engineering, he was able to make his own firmware for the onboard controller to handle the low-level driving of the display. Since e-ink displays require no power to hold an image and the rest of the unit spends most of the time either asleep or off, power use is extremely low. [David] hopes to go months without needing to recharge the internal lithium-polymer battery.

eink_back
Lithium-polymer charger (top left); Single-cell lithium-polymer battery (center); pullups and power cutoff for nonessential electronics (green board, lower right); ESP866 (lower left).

We previously featured another WiFi-connected e-ink display project that was in fact also the inspiration for this version. [David] uses a 4.3″ 800×600 GDE043A e-ink display and wrote his own firmware for the STM32F103ZE ARM CortexM3 SoC used as a display controller, a process that required some reverse engineering but was aided by the manufacturer providing a closed-source driver for him to use. [David] writes that some reverse-engineering work for this display had already been done, but he had such a hard time getting a clear understanding from it that he reverse engineered the firmware anyway and used the documents mainly for validation and guidance.

As a result, [David] was able to make use of the low-level driver electronics already present on the board instead of having to make and interface his own. E-ink displays have some unusual driving requirements which include generating relatively high positive and negative voltages, and rapidly switching them when updating the display. Taking advantage of the board’s existing low-level driver electronics was a big benefit.

eink_apThe ESP8266 rounds out the project by taking care of periodically booting things up, connecting to the wireless network and downloading an image, feeding the image data to the STM32 to update the display, then disconnecting power from all non-essential electronics and going back to sleep. We especially like how the unit automatically creates a WiFi access point to allow easy (re)configuring.

There’s one more nice touch. [David] goes the extra mile with server software (in the form of PHP scripts) to design screens for the display with data like weather forecasts, stock prices, and exchange rates. Check it out in the project’s github repository.