The 68000 chip was ubiquitous in the computing world well past its heyday in the 1980s. It was used as the basis for many PCs and video game consoles, and even in embedded microcontrollers. Now, one of its niche applications is learning about the internal functions of computers. 68000 builds are fairly common when building homebrew computers from scratch, but projects like these can be complicated and quickly get out of hand. This 68000 project, on the other hand, gets the job done with the absolute minimum of parts and really dives into the assembly language programming on these chips. (Google Translate from Spanish)
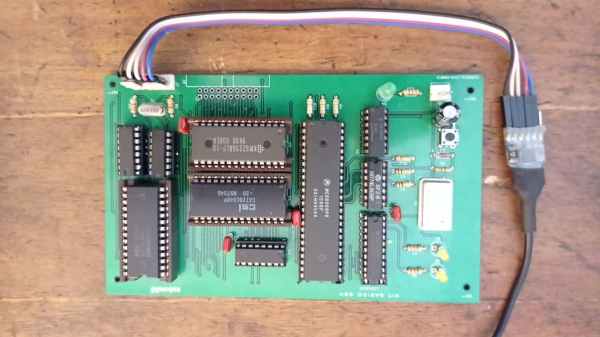
[osbox68] built this computer by first simulating its operation. Once he was satisfied with that, the next step was to actually build the device. Along with the MC68008 it only uses two other TTL chips, a respectable 32 kilobytes of ram, and additionally supports a serial port and an expansion bus. A few 74-series chips round out the build including a 74HC574 used for debugging support. With a custom PCB to tie everything together, it’s one of the most minimal 68000 builds we’ve seen that still includes everything needed to be completely functional.
After all, including the TTL and 74XX chips the entire circuit board only uses 10 integrated circuits and a few other passive elements for a completely functional retro computer. [osbox68] also includes complete schematics for building a PCB based on these chips to make construction that much easier. Of course, emulating an old microcontroller instead of using TTL components can save a lot of real estate on a PCB especially if you’re using something like an FPGA.