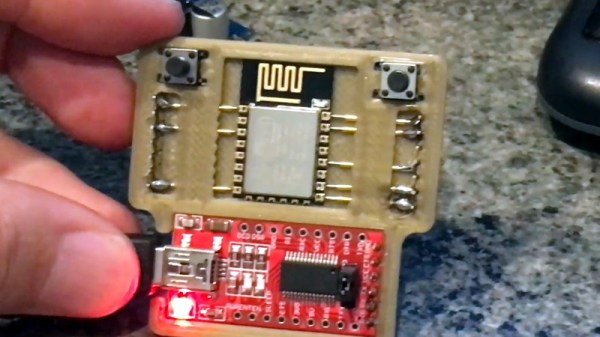
There are times when a sensor is required that does its job without the need for human attention over a long period, and for those applications a minimal power drain is a must. [Dave Davenport] had an EPS8266-based moisture sensor, and became disappointed in having to replace its AA batteries every few months. With an 18650 Li-ion cell and a bunch of power-saving tricks that time has been extended so far to over a year and still going, so he’s written a blog post detailing how he did it.
Some of his techniques such as turning off the sensor or using a better LDO regulator than the stock Wemos one are straightforward. Others though are unexpected, such as using the memory associated with the on-board RTC to store the WiFi connection info and channel number during sleep. The normal ESP8266 connection sequence involves a network scan, by hanging onto what it found last time the extra time and thus power expended by it can be avoided. Similarly switching from a DHCP lease to a fixed IP address cuts the time the device waits for a lease and thus the time it has to stay awake.
We might not all have ESP8266 moisture sensors to build, but we’re many of us on a quest to sip less power in our projects. Let us help you with a previous sojourn into that arena.
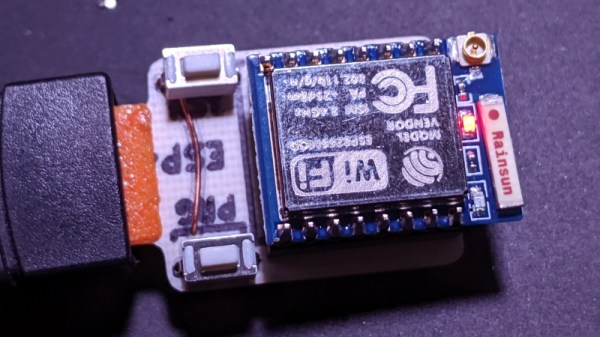
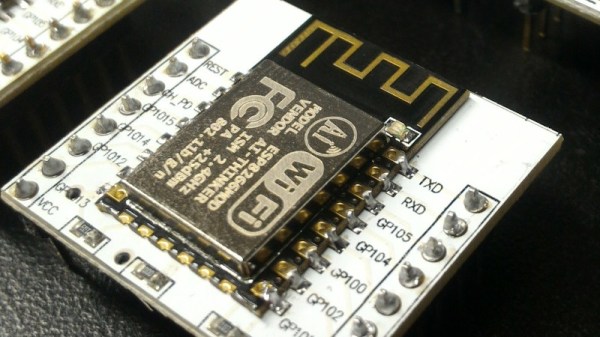
ESP8266 image: connorgoodwolf [CC BY-SA 4.0].