A Solar-Powered Point-and-Shoot, Circa 1961

Try to put yourself in the place of an engineer tasked with building a camera in 1961. Your specs include making it easy to operate, giving it automatic exposure control, and, oh yeah — you can’t use batteries. How on Earth do you accomplish that? With a very clever mechanism powered by light, as it turns out.

This one comes to us from [Alec Watson] over at Technology Connections on YouTube, which is a channel you really need to check out if you enjoy diving into the minutiae of the mundane. The camera in question is an Olympus Pen EES-2, which was the Japanese company’s attempt at making a mass-market 35-mm camera. To say that the camera is “solar-powered” is a bit of a stretch, as [Alec] admits — the film advance and shutter mechanism are strictly mechanical, relying on springs and things to power them. It’s all pretty standard camera stuff.

But the exposure controls are where this camera gets interesting. The lens is surrounded by a ring-shaped selenium photocell, the voltage output of which depends on the amount of light in the scene you’re photographing. That voltage drives a moving-coil meter, which waggles a needle back and forth. A series of levers and cams reads the position of the needle, which determines how far the lens aperture is allowed to open. A clever two-step cam allows the camera to use two different shutter speeds, and there’s even a mechanism to prevent exposure if there’s just not enough light. And what about that cool split-frame exposure system?

For a camera with no electronics per se, it does an impressive job of automating nearly everything. And [Alec] does a great job of making it interesting, too, as he has in the past with a deep-dive into toasters, copy protection circa 1980, and his take on jukebox heroics.

Continue reading “A Solar-Powered Point-and-Shoot, Circa 1961”

Re-Creating The Unique Look Of Unobtainable Aerochrome Film

Ever heard of Aerochrome? It’s a unique type of color infrared film, originally created for the US military and designed for surveillance planes. Photos taken with Aerochrome film show trees and other vegetation in vivid reds and pinks, creating images that aren’t quite like anything else.

A modified method of trichrome photography is the key behind re-creating that unique Aerochrome look. Click to enlarge.

Sadly, Aerochrome hasn’t been made for over a decade. What’s an enterprising hacker with a fascination for this unobtainable film to do? [Joshua] resolved to recreate it as best he could, and the results look great!

Aerochrome isn’t quite the same as normal film. It is sensitive to infrared, and photos taken with it yield a kind of false color image that presents infrared as red, visible reds as greens, and greens are shown as blue. The result is a vaguely dreamy looking photo like the one you see in the header image, above. Healthy vegetation is vividly highlighted, and everything else? Well, it actually comes out pretty normal-looking, all things considered.

Why does this happen? It’s because healthy, leafy green plants strongly absorb visible light for photosynthesis, while also strongly reflecting near-infrared. This is the same principle behind the normalized difference vegetation index (NDVI), a method used since the 70s to measure live green vegetation, often from satellite imagery.

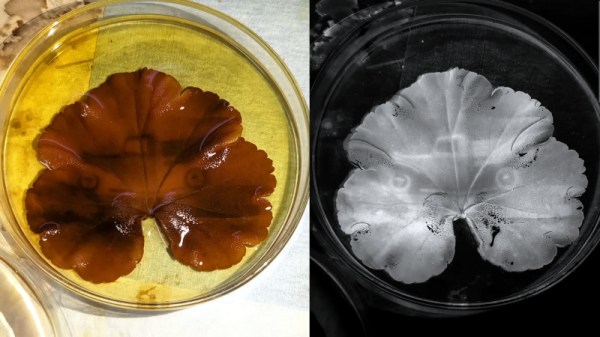
Aerochrome may be out of production, but black and white infrared film is still available. [Joshua] found that he could re-create the effect of Aerochrome with an adaptation of trichrome photography: the process of taking three identical black and white photos, each using a different color filter. When combined, the three photos (acting as three separate color channels) produce a color image.

To reproduce Aerochrome, [Joshua] takes three monochromatic photos with his infrared film, each with a different color filter chosen to match the spectral sensitivities of the original product. The result is a pretty striking reproduction of Aerochrome!

But this method does have some shortcomings. [Joshua] found it annoying to fiddle with filters between trying to take three identical photos, and the film and filters aren’t really an exact match for the spectral sensitivities of original Aerochrome. He also found it difficult to nail the right exposure; since most light meters are measuring visible light and not infrared, the exposure settings were way off. But the results look pretty authentic, so he’s counting it as a success.

We loved [Joshua]’s DIY wigglecam, and we’re delighted to see the work he put into re-creating an authentic Aerochrome. Fantastic work.

Laser Brings Autofocus To Tricked-Out Large Format Film Camera

You can’t argue with the results of large-format film cameras — picture the boxy bellows held by a cigar-chomping big-city press photographer of the 1940s — but they don’t really hold a candle to the usability and portability of even the earliest generations of 35mm cameras. And add in the ease-of-use features of later film and digital cameras, and something like a 4×5 Graflex seems like a real dinosaur.

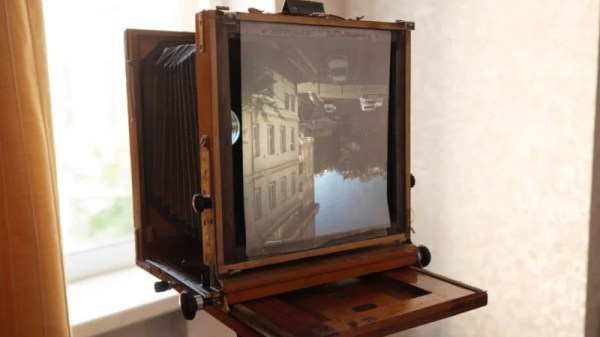
Or maybe not. [Aleksi Koski] has built a large-format camera with autofocus, the “Conflict 45.” The problem with a lot of the large-format film cameras, which tend to be of a non-reflex optical design, is that it’s difficult or even impossible to see what you’re shooting through the lens. This makes focusing a bit of a guessing game, a problem that [Aleksi] addresses with his design. Sadly, the linked Petapixel article is basically devoid of technical details, but from what we can glean from it and the video below, the Conflict 45 is a 4″x5″ sheet-film camera that has a motorized lens board and a laser rangefinder. A short video has a through-viewfinder view showing an LCD overlay, which means there’s some kind of microcontroller on board as well, which is probably used for the calculations needed to compensate for parallax errors during close focusing, as well as other uses.

The camera is built from 3D printed parts; [Aleksi] says that this is just a prototype and that the finished camera will have a carbon-fiber body. We’d love to see more build details, but for now, we just love the idea of an easy-to-use large-format camera. Just maybe not that big.

Continue reading “Laser Brings Autofocus To Tricked-Out Large Format Film Camera”

Hacking Film Processing With Coffee

Years ago, doing your own darkroom work was the only way to really control what your pictures looked like. In those days, coffee was what kept you going while you mixed another batch of noxious chemicals in the dark and fumbled to load a tank reel by feel. But did you know that you can process black and white film with coffee? Not just coffee, of course. [Andrew Shepherd] takes us through the process using what is coyly known as Caffenol-C.

Apparently, the process is not original, but if you’ve ever wanted to do some film developing and don’t want exotic and dangerous chemicals, it might be just the ticket. The ingredients are simple: instant coffee, washing soda, water and –optionally — vitamin C powder. If nothing else, all of this is safe to pour down your drain, something you probably aren’t supposed to do with conventional developers that contain things like formaldehyde and methyl chloroform.

Continue reading “Hacking Film Processing With Coffee”

Super 8 Camera Brought Back To Life

The Super 8 camera, while a groundbreaking video recorder in its time, is borderline unusable now. Even if you can get film for it (and afford its often enormous price), it still only records on 8mm film which isn’t exactly the best quality of film around, not to mention that a good percentage of these cameras couldn’t even record audio. They were largely made obsolete by camcorders in the late ’80s and early ’90s, although some are still used for niche artistic purposes. If you’d rather not foot the bill for the film, though, you can still put one of these to work with the help of a Raspberry Pi.

[befinitiv] has a knack for repurposing antique analog equipment like this while preserving its aesthetic. While the bulk of the space inside of this camera would normally be used for housing film, this makes a perfect spot to place a Raspberry Pi Zero, a rechargeable battery, and a power converter circuit all in a 3D printed enclosure that snaps into the camera just as a film roll would have. It uses the Pi camera module but still makes use of the camera’s built in optics which include a zoom function. [befinitiv] also incorporated the original record button so that from the outside this looks like a completely unmodified Super 8 camera.

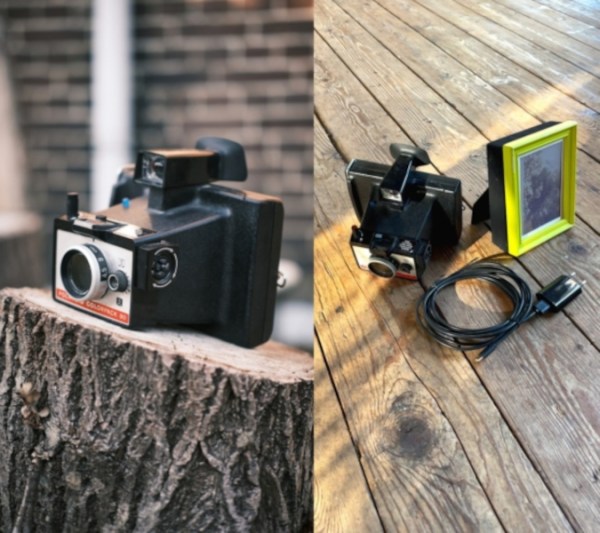
The camera can connect to a WiFi network and can stream live video to a computer, or it can record video files to an internal SD card. As a bonus, thanks to the power converter circuit, it is also capable of charging a cell phone. [befinitiv] notes that many of the aesthetic properties of 8 mm film seem to be preserved when using this method, and he has several theories as to why but no definitive answer. If you’d like to take a look at some of his other projects like this, check out this analog camera that is now able to take digital pictures. Continue reading “Super 8 Camera Brought Back To Life”

Raspberry Pi Crammed Into Old Film Camera

If you wanted an expensive film camera when you were a kid, you are in luck. Used film SLRs are super cheap now that everyone wants digital cameras. Of course, in reality, you want a digital camera, too. So do what [befinitiv] did. Make a film cartridge out of a Raspberry Pi that can convert your camera to digital. (Video, embedded below.)

In theory, this sounds like a genius idea. The practical aspect isn’t perfect, though. For one thing, the small image sensor used means that the camera is zoomed in quite a bit. Also, the shutter button isn’t integrated, so the shutter is open all the time. You may think that doesn’t matter, but don’t forget that the way an SLR works means if the shutter is open, there’s no viewfinder.

Continue reading “Raspberry Pi Crammed Into Old Film Camera”

Scanning Medium Format Film On A 35mm Scanner

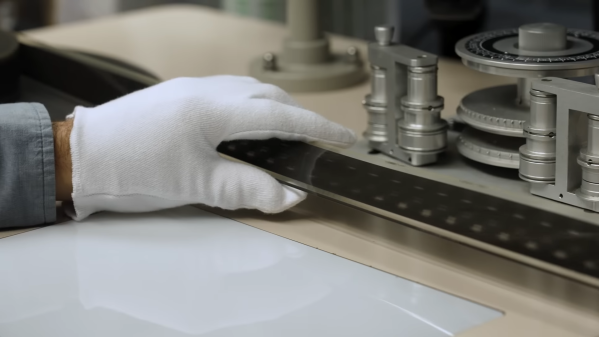
Scanning film is great for archival purposes as well as sharing said photos digitally. However, if you’re scanning 120 film, aka medium format, it can be expensive to get the requisite hardware. 35mm scanners are comparatively more common, so [Christian Chapman] decided to modify one to suit medium film instead.

The hack is for the Plustek 8100, and requires modifying the scanner in two ways. Firstly, the driver has to be scanned to sweep a longer range to take into account the bigger film. Secondly, a part of the film carriage has to be replaced so it doesn’t show up in the scanners field of view.

The former is achieved by using the sane-genesys scanner software backend, which can be easily modified to adjust the scan length values appropriately. The latter is achieved via 3D printing replacement components that fit without blocking the requisite area.

It’s a tidy hack and one that allows [Christian] to both scan medium format film as well as overscan 35mm film to capture details from the sprocket hole area. We’ve seen fully custom film scanner builds before, too. If you’ve built your own scanner, be sure to drop us a line!