Microwave Forge Casts The Sinking-est Benchy Ever

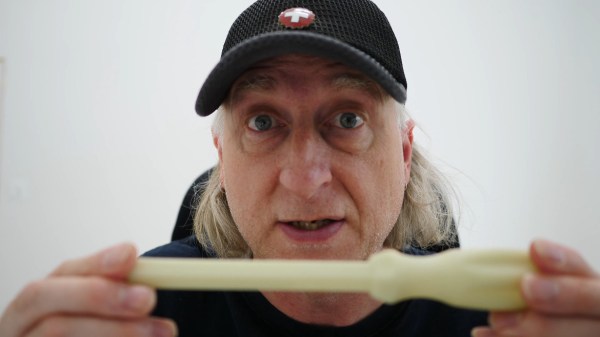
As a test artifact, 3DBenchy does a pretty good job of making sure your 3D printer is up to scratch. As an exemplar of naval architecture, though — well, let’s just say that if it weren’t for the trapped air in the infilled areas, most Benchy prints wouldn’t float at all. About the only way to make Benchy less seaworthy would be to make it out of cast iron. Challenge accepted.

We’ve grown accustomed to seeing [Denny] over at “Shake the Future” on YouTube using his microwave-powered kilns to cast all sorts of metal, but this time he puts his skill and experience to melting iron. For those not in the know, he uses standard consumer-grade microwave ovens to heat kilns made from ceramic fiber and lots of Kapton tape, which hold silicon carbide crucibles that get really, really hot under the RF onslaught. It works surprisingly well, especially considering he does it all on an apartment balcony.

For this casting job, he printed a Benchy model from PLA and made a casting mold from finely ground silicon carbide blasting medium mixed with a little sodium silicate, or water glass. His raw material was a busted-up barbell weight, which melted remarkably well in the kiln. The first pour appeared to go well, but the metal didn’t quite make it all the way to the tip of Benchy’s funnel. Round two was a little more exciting, with a cracked crucible and spilled molten metal. The third time was a charm, though, with a nice pour and complete mold filling thanks to the vibrations of a reciprocating saw.

After a little fettling and a saltwater bath to achieve the appropriate patina, [Denny] built a neat little Benchy tableau using microwave-melted blue glass as a stand-in for water. It highlights the versatility of his method, which really seems like a game-changer for anyone who wants to get into home forging without the overhead of a proper propane or oil-fired furnace. Continue reading “Microwave Forge Casts The Sinking-est Benchy Ever”

The Tools To Fight Against Single-Use Plastic

Imagine for a moment that you design products for a living. But you can’t design all the things, so you have to buy some of your stuff from big-box stores just to go about your everyday life. This is more or less what happened to [Eric Strebel], who recently bought a bathroom faucet from IKEA. This particular flat-pack faucet came with a single-use plastic nut driver to be used in putting the faucet together. Since there is no marking that indicates the plastic type, it can’t be easily recycled. Not even the size of the business end is indicated. So between the shoddy plastic construction and the lack of information, most people are going to just throw this thing away. And that’s terrible.

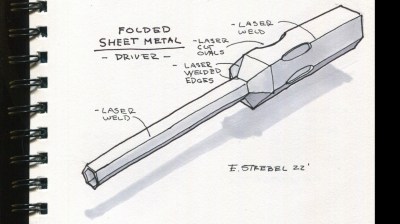
So what’s to be done? Aside from boycotting IKEA (which [Eric] may do in the future for all we know), there’s not much to do but to offer up solutions on public platform and see what happens. To that end, [Eric] came up with five different ways of making this nut driver that are arguably more sustainable than single-use mystery plastic.

Say what you will about sustainability of using metals, which have to be mined, versus plastic – many of these methods use no tooling, so that’s something. Nut drivers made by [Eric] would instead be laser-cut from flat stock and either folded up and welded, or assembled from a multi-piece cut into a single-piece tool via perpendicular members that slot together. Or as [Eric] points out, the design could stay exactly the same as the plastic original and be die-cast instead.

It’s certainly an interesting exercise in design, and it’s really cool to see a little bit into [Eric]’s thought process when it comes to improving existing things. Be sure to check it out after the break, and let us know how you’d have done it better.

Continue reading “The Tools To Fight Against Single-Use Plastic”

How To Forge A Skillet From Scratch

Cookware isn’t something we typically build ourselves; you’d want a well-equipped metal shop to do the job and do it right. [Torbjörn Åhman] has just that, however, and set about forging a stout-looking skillet from scratch.

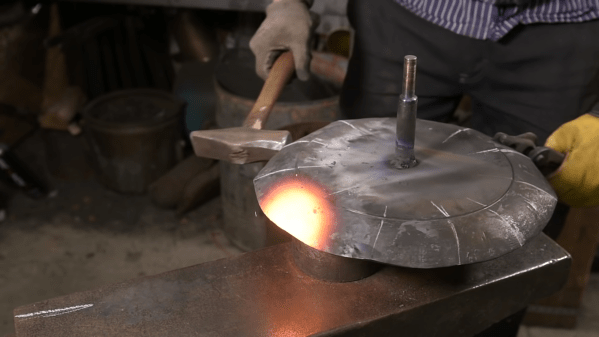
The build starts with a round disc of steel serving as a blank for the project. The blank is spun up and the outer perimeter ground down thinner with an angle grinder in what looks like a moderately sketchy operation. A forge is then used to heat the blank so that it can be shaped into a pan using a hammer. Slowly, as the metal is beaten one way and then t’other, the skillet begins to form. A belt sander takes off high points on the outside, and a torch is then used to square up the base of the pan so it sits nicely. Finally a handle attached with some stout rivets, and the newly formed piece of cookware gets a seasoning with sunflower oil.

The project shows just how many special skills are required to make even simple cookware by hand. It’s nice to see some keeping the old methods alive, too. Video after the break.

Continue reading “How To Forge A Skillet From Scratch”

Retrotechtacular: The Drama Of Metal Forming

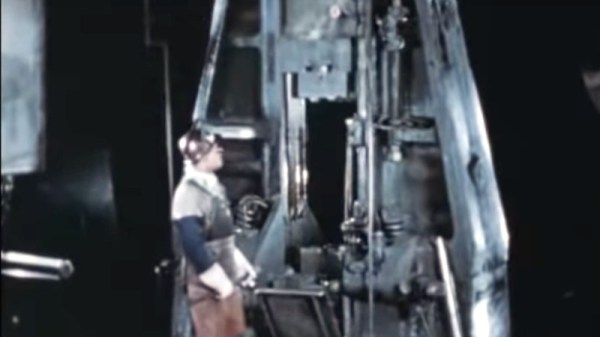
It may seem overwrought, but The Drama of Metal Forming actually is pretty dramatic.

This film is another classic of mid-century corporate communications that was typically shown in schools, which the sponsor — in this case Shell Oil — seeks to make a point about the inevitable march of progress, and succeeds mainly in showing children and young adults what lay in store for them as they entered a working world that needed strong backs more than anything.

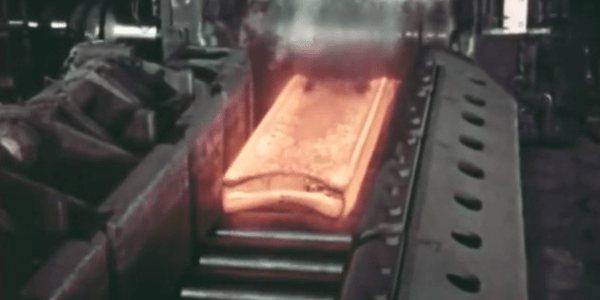
Despite the narrator’s accent, the factories shown appear to be in England, and the work performed therein is a brutal yet beautiful ballet of carefully coordinated moves. The sheer power of the slabbing mills at the start of the film is staggering, especially when we’re told that the ingots the mill is slinging about effortlessly weigh in at 14 tons apiece. Seeing metal from the same ingots shooting through the last section of a roller mill at high speed before being rolled into coils gives one pause, too; the catastrophe that would result if that razor-sharp and red-hot metal somehow escaped the mill doesn’t bear imagining. Similarly, the wire drawing process that’s shown later even sounds dangerous, with the sound increasing in pitch to a malignant whine as the die diameter steps down and the velocity of the wire increases.

There are the usual charming anachronisms, such as the complete lack of safety gear and the wanton disregard for any of a hundred things that could instantly kill you. One thing that impressed us was the lack of hearing protection, which no doubt led to widespread hearing damage. Those were simpler times, though, and the march of progress couldn’t stop for safety gear. Continue reading “Retrotechtacular: The Drama Of Metal Forming”

Retrotechtacular: Forging In Closed Dies

It is the norm for our Retrotechtacular series to concentrate on a technology that has passed out of use but is still of interest to Hackaday readers, so it is perhaps unusual now to feature one that is very much still with us. Drop forging is a technique for forming hot metal in dies under huge force, and while it is still a current technique the 1950s educational film we are featuring is definitely retro.

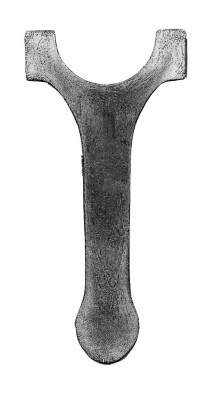
An automotive connecting rod, sectioned and acid treated to show the grain structure. (CC BY-SA 2.5)

If you have followed our occasional series on blacksmithing, you’ll be familiar with the process of forming metal by heating it to a temperature at which it becomes malleable enough to deform under pressure, and using a hammer to shape it against an anvil. This process not only shapes the metal, but also forms its inner grain crystal structure such that with careful management the forging process can impart significant resistance to fatigue in the finished item. Think of drop forging as automation of the manual blacksmithing process, with the same metallurgical benefits but in which the finished product is shaped in a series of dies rather than by the blacksmith’s hammer. It loses the craft of the smith over the process, but delivers an extremely consistent result along with a high production turnover.

The film that we’ve placed below the break is an in-depth introduction to the industry in a very period style and with components for the automotive, aerospace, and defense industries of the day. It takes the viewer through the different types of press and examines the design of dies to produce in stages the required grain structure and shapes.

Of particular interest is the section on upset forging, a technique in which a piece of steel stock is forged end-on rather from above. The components themselves make the video worth watching, as we see everything from jet turbine blades to medical forceps in production, along with many parts from internal combustion engines. The smallest piece shown is a tiny carburetor part, while the largest is a huge aircraft carrier catapult part that requires a special vehicle to load it into the press.

Drop forging is generally the preserve of a large metalworking factory due to the size of the presses involved. But it’s not entirely beyond the capabilities of our community given the resources of a well-equipped hackerspace or blacksmith’s shop. My father made simple forging dies by assembling a basic shape in weld and pieces of steel stock before grinding it to his requirements and heat treating. Mounted in a large rotary fly press for repetitive small scale shaping and forming tasks in ornamental ironwork, I remember bumping them out from red hot steel bar in my early teens.

This is one of those techniques that’s useful to know about in our community, because while the need to manufacture significant quantities of ornamental ironwork may not come your way too often, it’s still worth having the capability should you need it. Meanwhile the video below the break should serve to provide you with enough heavy machinery enjoyment to brighten your day.

Continue reading “Retrotechtacular: Forging In Closed Dies”

Reducing Drill Bit Wear The Cryogenic Way

There are a lot of ways that metals can be formed into various shapes. Forging, casting, and cutting are some methods of getting the metal in the correct shape. An oft-overlooked aspect of smithing (at least by non-smiths) is the effect of temperature on the final characteristics of the metal, such as strength, brittleness, and even color. A smith may dunk a freshly forged sword into a bucket of oil or water to make the metal harder, or a craftsman with a drill bit might treat it with an extremely cold temperature to keep it from wearing out as quickly.

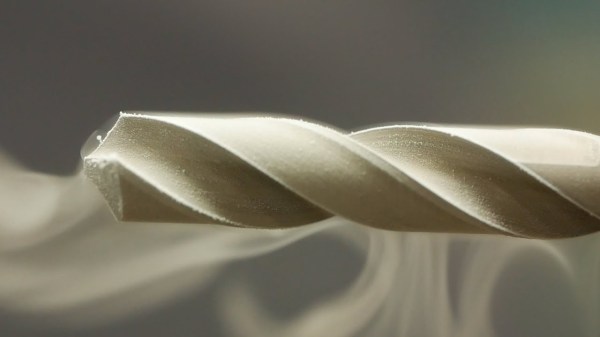
Welcome to the world of cryogenic treatment. Unlike quenching, where a hot metal is quickly cooled to create a hard crystal structure in the metal, cryogenic treatment is done by cooling the metal off slowly, and then raising it back up to room temperature slowly as well. The two processes are related in that they both achieve a certain amount of crystal structure formation, but the extreme cold helps create even more of the structure than simply tempering and quenching it does. The crystal structure wears out much less quickly than untreated steel, therefore the bits last much longer.

[Applied Science] goes deep into the theory behind these temperature treatments on the steel, and the results speak for themselves. With the liquid nitrogen treatments the bits were easily able to drill double the number of holes on average. The experiment was single-blind too, so the subjectivity of the experimenter was limited. There’s plenty to learn about heat-treated metals as well, even if you don’t have a liquid nitrogen generator at home.

Thanks to [baldpower] for the tip!

Continue reading “Reducing Drill Bit Wear The Cryogenic Way”

Making A Mediaeval Nail

If for some reason I were to acknowledge the inevitability of encroaching middle age and abandon the hardware hacker community for the more sedate world of historical recreation, I know exactly which band of enthusiasts I’d join and what period I would specialise in. Not for me the lure of a stately home in Regency England or the Royal court of Tudor London despite the really cool outfits, instead I would head directly for the 14th century and the reign of King Edward the Third, to play the part of a blacksmith’s wife making nails. It seems apposite to pick the year 1337, doesn’t it.

The woman blacksmith forging a nail depicted in the Holkham Bible. British Library (Public domain)

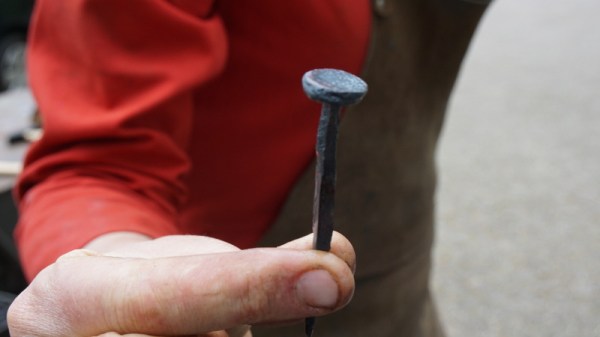
Why am I so sure? To answer that I must take you to the British Library, and open the pages of the Holkham Bible. This is an illustrated book of Biblical stories from the years around 1330, and it is notable for the extent and quality of its illuminations. All of mediaeval life is there, sharply observed in beautiful colour, for among the Biblical scenes there are contemporary images of the people who would have inhabited the world of whichever monks created it. One of its more famous pages is the one that caught my eye, because it depicts a woman wearing a blacksmith’s apron over her dress while she operates a forge. She’s a blacksmith’s wife, and she’s forging a mediaeval carpenter’s nail. The historians tell us that this was an activity seen as women’s work because the nails used in the Crucifixion were reputed to have been forged by a woman, and for that reason she is depicted as something of an ugly crone. Thanks, unknown mediaeval monk, you really don’t want to know how this lady blacksmith would draw you!
Continue reading “Making A Mediaeval Nail”