Pi Zero Transforms To Game Boy

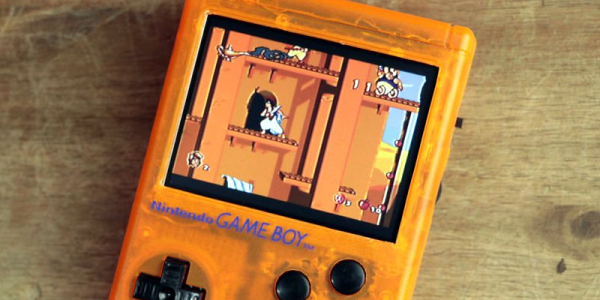
[GreatScott] bought a Game Boy case. Normally, you’d assume you wanted this to repair a damaged Game Boy, but in this case [GreatScott] used a Pi Zero and some 3D printing to build a game system into the tiny box. You can see some videos, below.

Two interesting parts of the project are the source of the LCD display (a rearview camera screen) and the selection of batteries. Lithium ion batteries are all the rage. But if you watch the news, you know there are some safety issues with using the batteries, especially if you use them improperly. [GreatScott] decided to go with nickel metal hydride cells which still need a protection circuit, but are typically less of a danger than the newer technology cells.

Continue reading “Pi Zero Transforms To Game Boy”

Gameboy Case Lives On With A Pi Zero

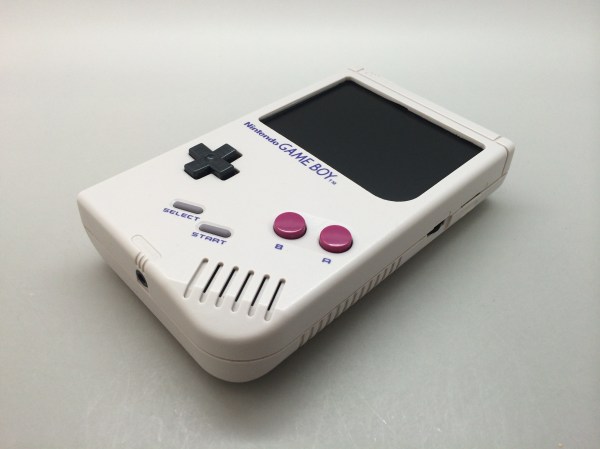
After scoring a non-functioning Gameboy in mint condition for $10, [Chad] decided it was time for a fun electronics project, so he ordered an LCD and bought a Pi Zero.

He started with a 3.5″ LCD off eBay for about $25, and got it running with the Pi Zero. It’s only 320×240 resolution, but hey, we’re recreating a Gameboy — not a smartphone. The next step was rather finicky: cutting up the case to fit the new components in.

Using a collection of files he whittled down the screen opening in the case to make room for the LCD, a few hours later and it looked surprisingly good.

From there he started laying out the components inside of the case, trying to figure out the best layout for everything to fit nicely. To power the unit he’s using a lithium ion battery from a Samsung Note which should give him some serious play-time. It fits right in where the game card is suppose to go.

To add some extra control functionality he’s added the game-pad buttons from a SNES onto the back where the battery door is, he’s also got a USB port on the side, a MicroSD card slot, and even a new audio pre-amp with potentiometer for controlling the speaker volume.

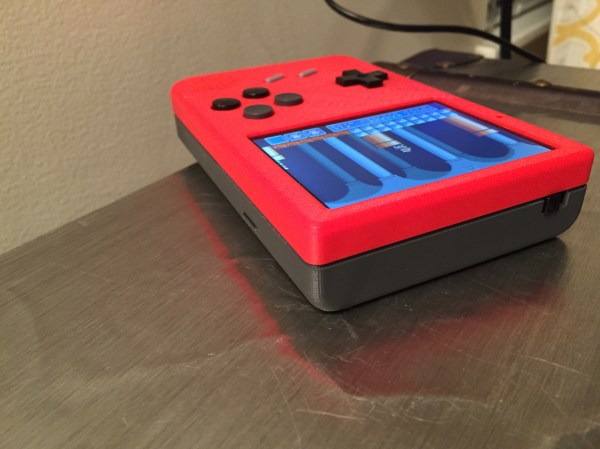
In case you can’t find a mint condition Gameboy case like [Chad] did, you could just print one from scratch

Continue reading “Gameboy Case Lives On With A Pi Zero”

Raspberry Pi 2 Game Boy Brings Sexy Back From 1989

When the ever-versatile Raspberry Pi was released, the potential for cheap video game emulation was immediately obvious. Some of the very first Raspi projects to hit the internet were arcade cabinets, and it wasn’t long until people were making them portable. A purpose-build Linux distort called RetroPie has become very popular specifically because of the Raspi’s game-emulation potential. However, the actual hardware for these emulation systems isn’t always the most aesthetically (or ergonomically) pleasing. That’s where reddit user [Cristov9000] has managed to stand out from the crowd.

[Cristov9000] accomplished this by combining high-quality design (and 3D printing) with the careful use of original Nintendo parts. Game Boy and SNES buttons and elastomers were used to achieve the correct button feel. Other original Game Boy parts, like the volume wheel and power switch, ensure that the system feels as much like 1989 OEM hardware as possible.

Also impressive is the internal hardware, including 3 custom PCBs used to tie everything together to work via the Raspberry Pi 2 GPIO pins. The display is a 3.5″ TFT screen, and with the 6000 mAh it can handle gameplay for more than 7 hours. Other details, like the integrated mono speaker and rear shoulder buttons complete the experience. Combined with the RetroPie and an assortment of emulators, this is one of the most impressive portable gaming builds we’ve seen, especially among a crowded list of awesome raspi-based Game Boy builds.

Mini Fridge Turned Gameboy Puts Hot Games On Ice

The plain old white mini fridge, a staple of many dorm rooms could use a little decoration. The resemblance to a classic gameboy is not that hard to imagine with some novelty stickers, but [ModPurist] went the extra mile with his Cold Boy.

1514387thumbMaking a mini fridge into a playable gameboy involves taking apart the door, once in a Raspberry Pi 2 is fitted in along with a second hand “square screen” LCD. The front of the door is cut for some custom wooden buttons, which are connected to tactile switches. Once everything is fit and finished the door is reassembled, so the fridge can resume its normal life keeping soda and hot dogs good and cold. [ModPurist] covered the progression of the hack in his work log.

While it’s a little low to the ground, it should be a hit at college parties where being on the floor is not unusual. Join us after  the break for a demonstration video and get your game on. It is, of course, missing one thing. There needs to be some type of latch inside to secure the beverages until the Konami code is entered.

Continue reading “Mini Fridge Turned Gameboy Puts Hot Games On Ice”

The Biggest Game Boy Ever?

Feeling nostalgic? Miss the solid feel of an original Nintendo Game Boy? You could smash a window with one and keep playing Pokemon the whole time!  Well, [Raz] was, and he built what might just be the biggest Gameboy ever. Gameboy XXL: The Texas Edition.

Actually, it was commissioned for a Belgian music festival called Nintendoom — picture video game music + rave. Anyway, the organizer thought it would be so cool to have a giant functional Game Boy, so [Raz] got to work. He made it out of 10 square meters of 3mm thick MDF, which he laser cut into shape at the Brussels FabLab. The electronics inside consist of a 19″ LCD monitor, a Raspberry Pi, and a few jumbo size buttons.

It’s pretty freaking awesome. It runs Retropie which allows you to play pretty much whatever game you want. Check it out after the break.

Continue reading “The Biggest Game Boy Ever?”

Reverse-Engineering A Game Boy Clone’s Boot ROM

[nitro2k01] got his hands on a Game Fighter, a clone of the original Game Boy. While there’s a ton of information about the boot ROM and operation of the original Game Boy, not much is known about these clones. [nitro2k01] wanted to learn more, so he used a clock-glitching technique to dump the device’s ROM and made some interesting discoveries about its copyright protection and boot process along the way.

Reading the contents of the Game Boy ROM is a bit challenging. The ROM is readable while booting, but afterwards the address space of the ROM is remapped for interrupt vectors and other uses. There are a couple of methods to get around this, but the simplest method involves glitching the crystal by grounding one of its leads. This causes the CPU to jump to random locations in memory. Eventually the CPU will jump to a location where the boot ROM is accessible (if you’re lucky!).

Although [nitro2k01]’s clone can run the same games as the Game Boy, it has a different boot ROM and also has some significant hardware differences. [nitro2k01] managed to use a modified version of the crystal-grounding technique to glitch his clock and dump the clone’s boot ROM. He found that the clone uses an unusual variation on the Game Boy’s copyright-checking technique, along with some other oddities. [nitro2k01] also posted a disassembly of the boot ROM, which he explains in detail.

Thanks for the tip, [Ove].

ArTICam Interfaces Game Boy Camera With TI Calculators

[Christopher Mitchell] has given Texas Instruments calculators the ability to capture images through a Game Boy Camera with ArTICam. First introduced in 1998, The Game Boy Camera was one of the first low-cost digital cameras available to consumers. Since then it has found its way into quite a few projects, including this early Atmel AT90 based hack, and this Morse code transceiver.

TI calculators don’t include a Game Boy cartridge slot, so [Christopher] used an Arduino Uno to interface the two. He built upon the Arduino-TI Calculator Linking (ArTICL) Library  to create ArTICam. Getting the Arduino to talk with the Game Boy Camera’s M64282FP image sensor turned out to be easy, as there already are code examples available. The interface between the camera sensor and the Arduino is simple enough. 6 digital lines for an oddball serial interface, one analog sense line, power and ground. [Christopher] used a shield to solder everything up, but says you can easily get away with wiring directly the Arduino Uno’s I/O pins. The system is compatible with the TI-83 Plus and TI-84 Plus family of calculators. Grabbing an image is as simple as calling  GetCalc(Pic1) from your calculator program.

So, If you have an old calculator lying around, give it a try to enjoy some 128×123-pixel grayscale goodness!