There’s no shortage of debate about the “Internet of Things”, largely centered on security and questions about how much anyone really needs to be able to turn on their porch light from the other side of the planet. But while many of us are still wrestling with the realistic application of IoT gadgets, there’s undoubtedly those among us who have found ways to put this technology to work for them.
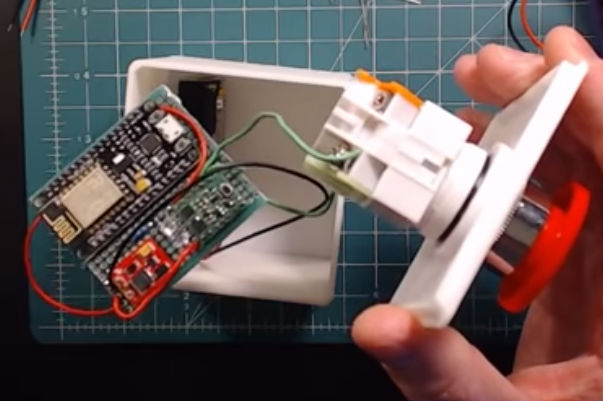
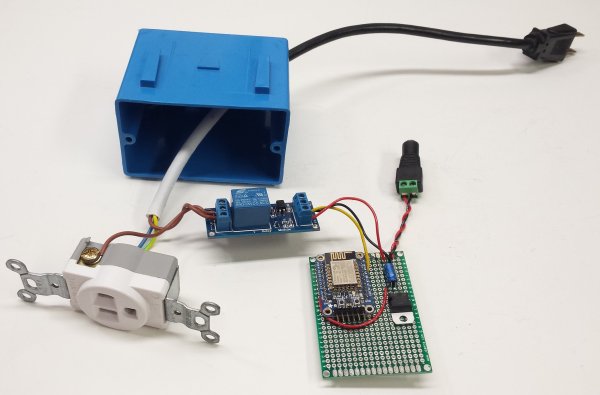
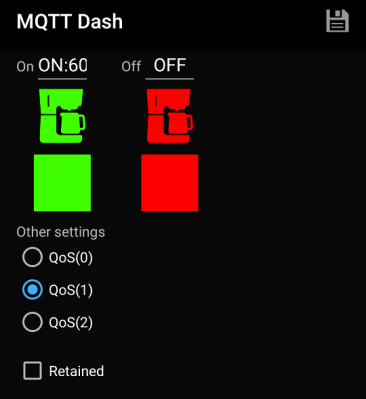
 One such IoT devotee is [Sasa Karanovic], who writes in to tell us about his very impressive custom IoT LED dimmer based on the ESP8266. Rather than rely on a commercial lighting controller, he’s designed his own hardware and software to meet his specific needs. With the LED strips now controllable by any device on his network, he’s started working on Python scripts which can detect what he’s doing on his computer and react accordingly. For example, if he’s watching a movie the lights will automatically dim, and come back up when he’s done.
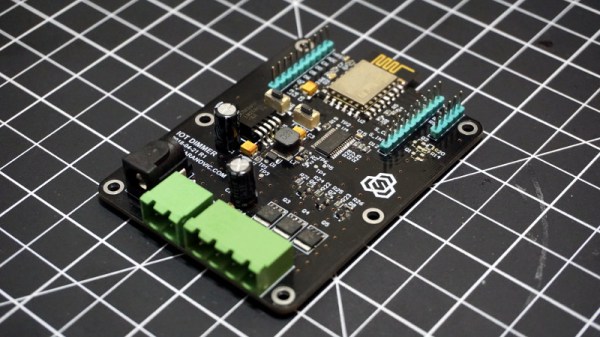
[Sasa] has provided all the files necessary to follow in his footsteps, from the Gerber files for his PCB to the Arduino code he’s running on the ESP. The source code is especially worth checking out, as he’s worked in a lot of niceties that we don’t always see with DIY projects. From making sure the ESP8266 gets a resolvable DNS hostname on the network to using websockets which update all connected clients with status info in real-time, he’s really put a lot of work into making the experience as complete as possible.
He’s explains in his blog post what needs to be edited to put this code to work in your own environment, and there’s even some descriptive comments in the code and a helpful debug mode so you can see how everything works. It’s always a good idea to consider that somebody else down the road might be using your code; taking a few minutes to make things clear can save them hours of stumbling around in the dark.
If you need more inspiration for your ESP8266 lighting project, check out this ambient lighting controller for a kid’s room, or this professional under-cabinet lighting controller.