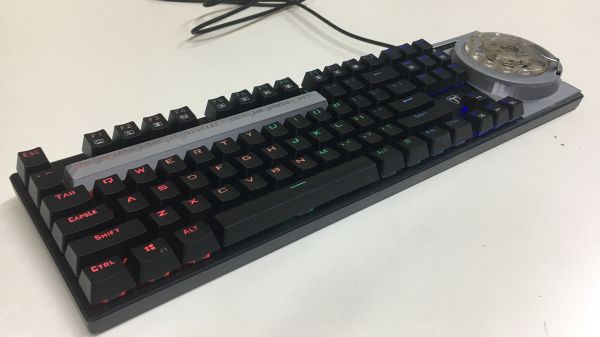
We’ve all seen those ‘nothing’ keyboards, where the keys themselves are not much more than projected lasers, and users are asked to ritually beat their poor fingertips into the table — which has little give and even less clack. Well, a team at the Korea Advanced Institute of Science and Technology have come up with a way to eschew the keyboard altogether.
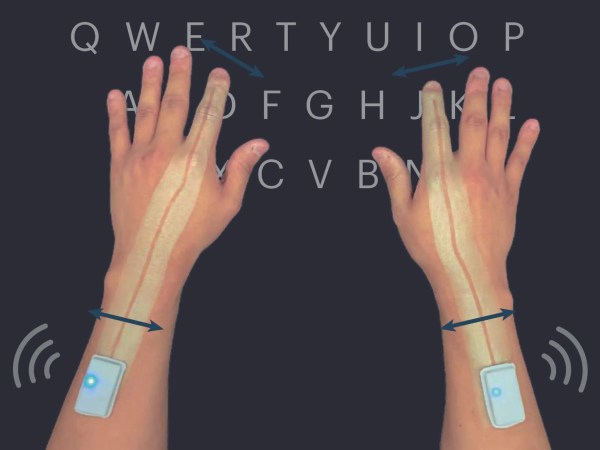
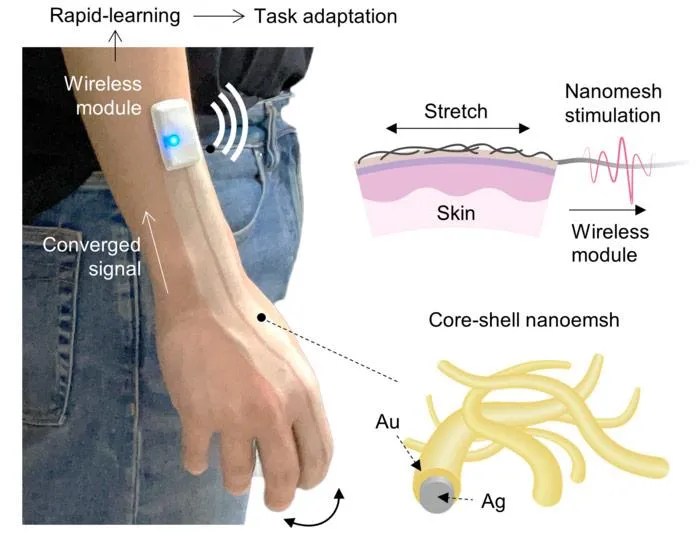 Essentially, the user wears a thin, breathable mesh of silver nanowires coated in gold, which is then embedded in a polyurethane coating. The mesh is sprayed onto their forearms and hands on the spot, and the mesh terminates in a small enclosure that is also worn on the skin. This contains a small Bluetooth unit that beams data back to a computer, a machine, or potentially another user wearing the same type of unit.
As the skin stretches and contorts, the mesh senses small electrical changes within. These changes become meaningful with applied AI, which maps the changes to specific gestures and manual tasks. To do this, the team started with teaching it to distinguish between patterns from tasks like typing on a phone, typing on a regular keyboard, and then holding and interacting with six differently-shaped simple objects.
The team isn’t stopping there — they plan to try capturing a larger range of motion by using the nanomesh on multiple fingers. In addition to facilitating communication between humans and machines, this could leave a huge fingerprint on gaming and VR.