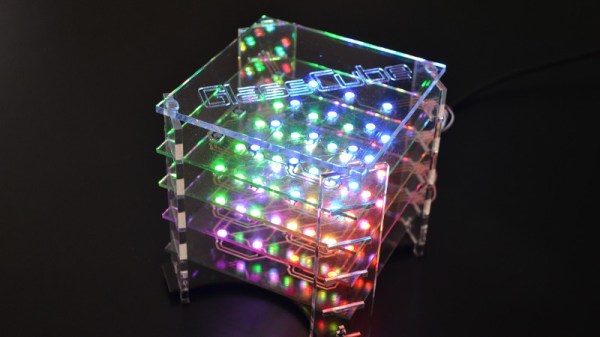
As cool as sculptural LED cubes are, the only thing you can really do is look at them. They’re not going to stand up to a lot of handling, and as tedious as it is to bend all those leads when building them, you probably wouldn’t want to mess with them anyway.
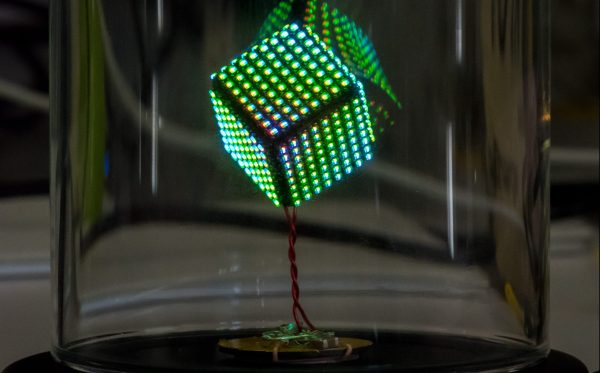
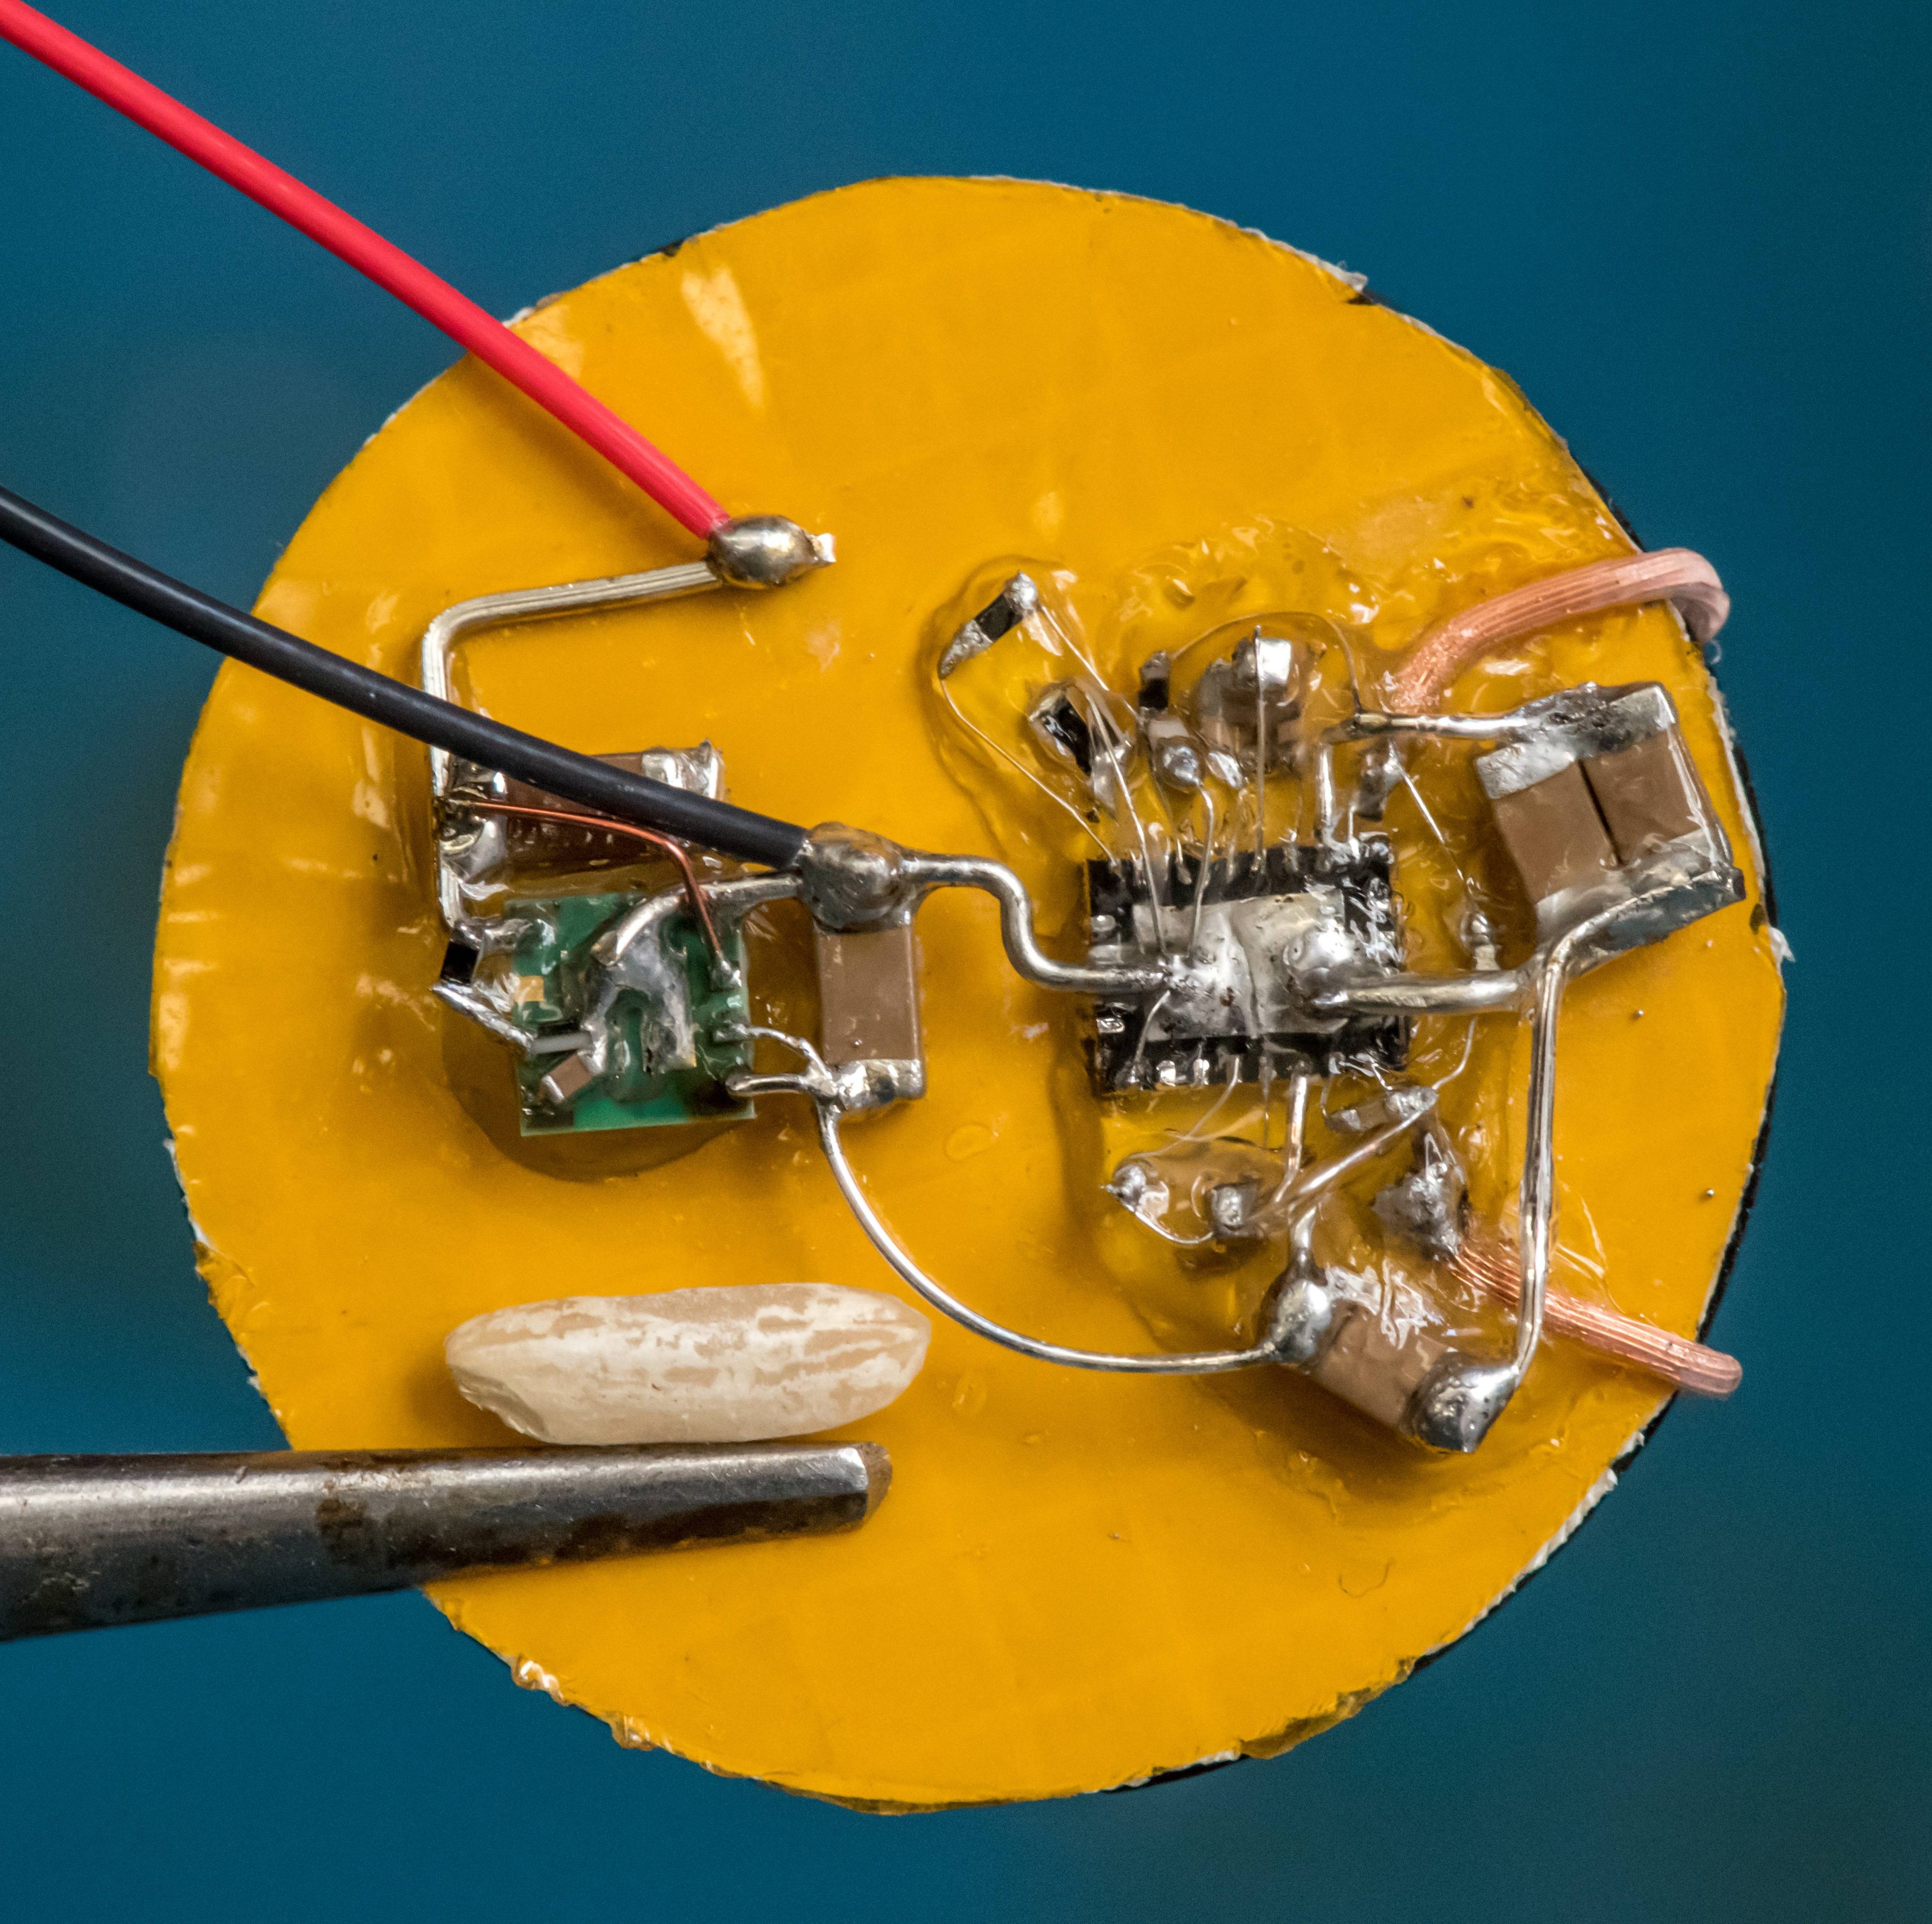
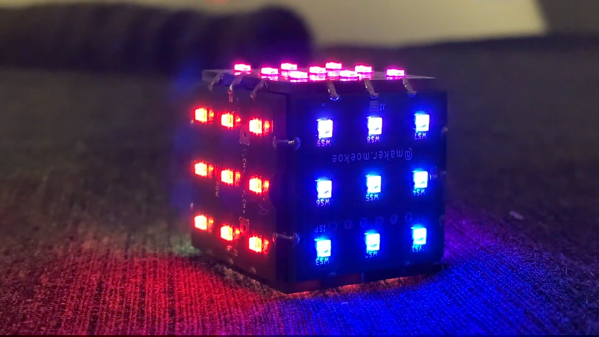
 LED dice on the other hand are robust, blinky playthings with many possibilities, especially if they have a gyroscope and wireless control like the one [moekoe] built. Inside this tiny 25cm³ die is the equally small ESP8285-01F, which lets [moekoe] control the rainbow light show with a Blynk app.
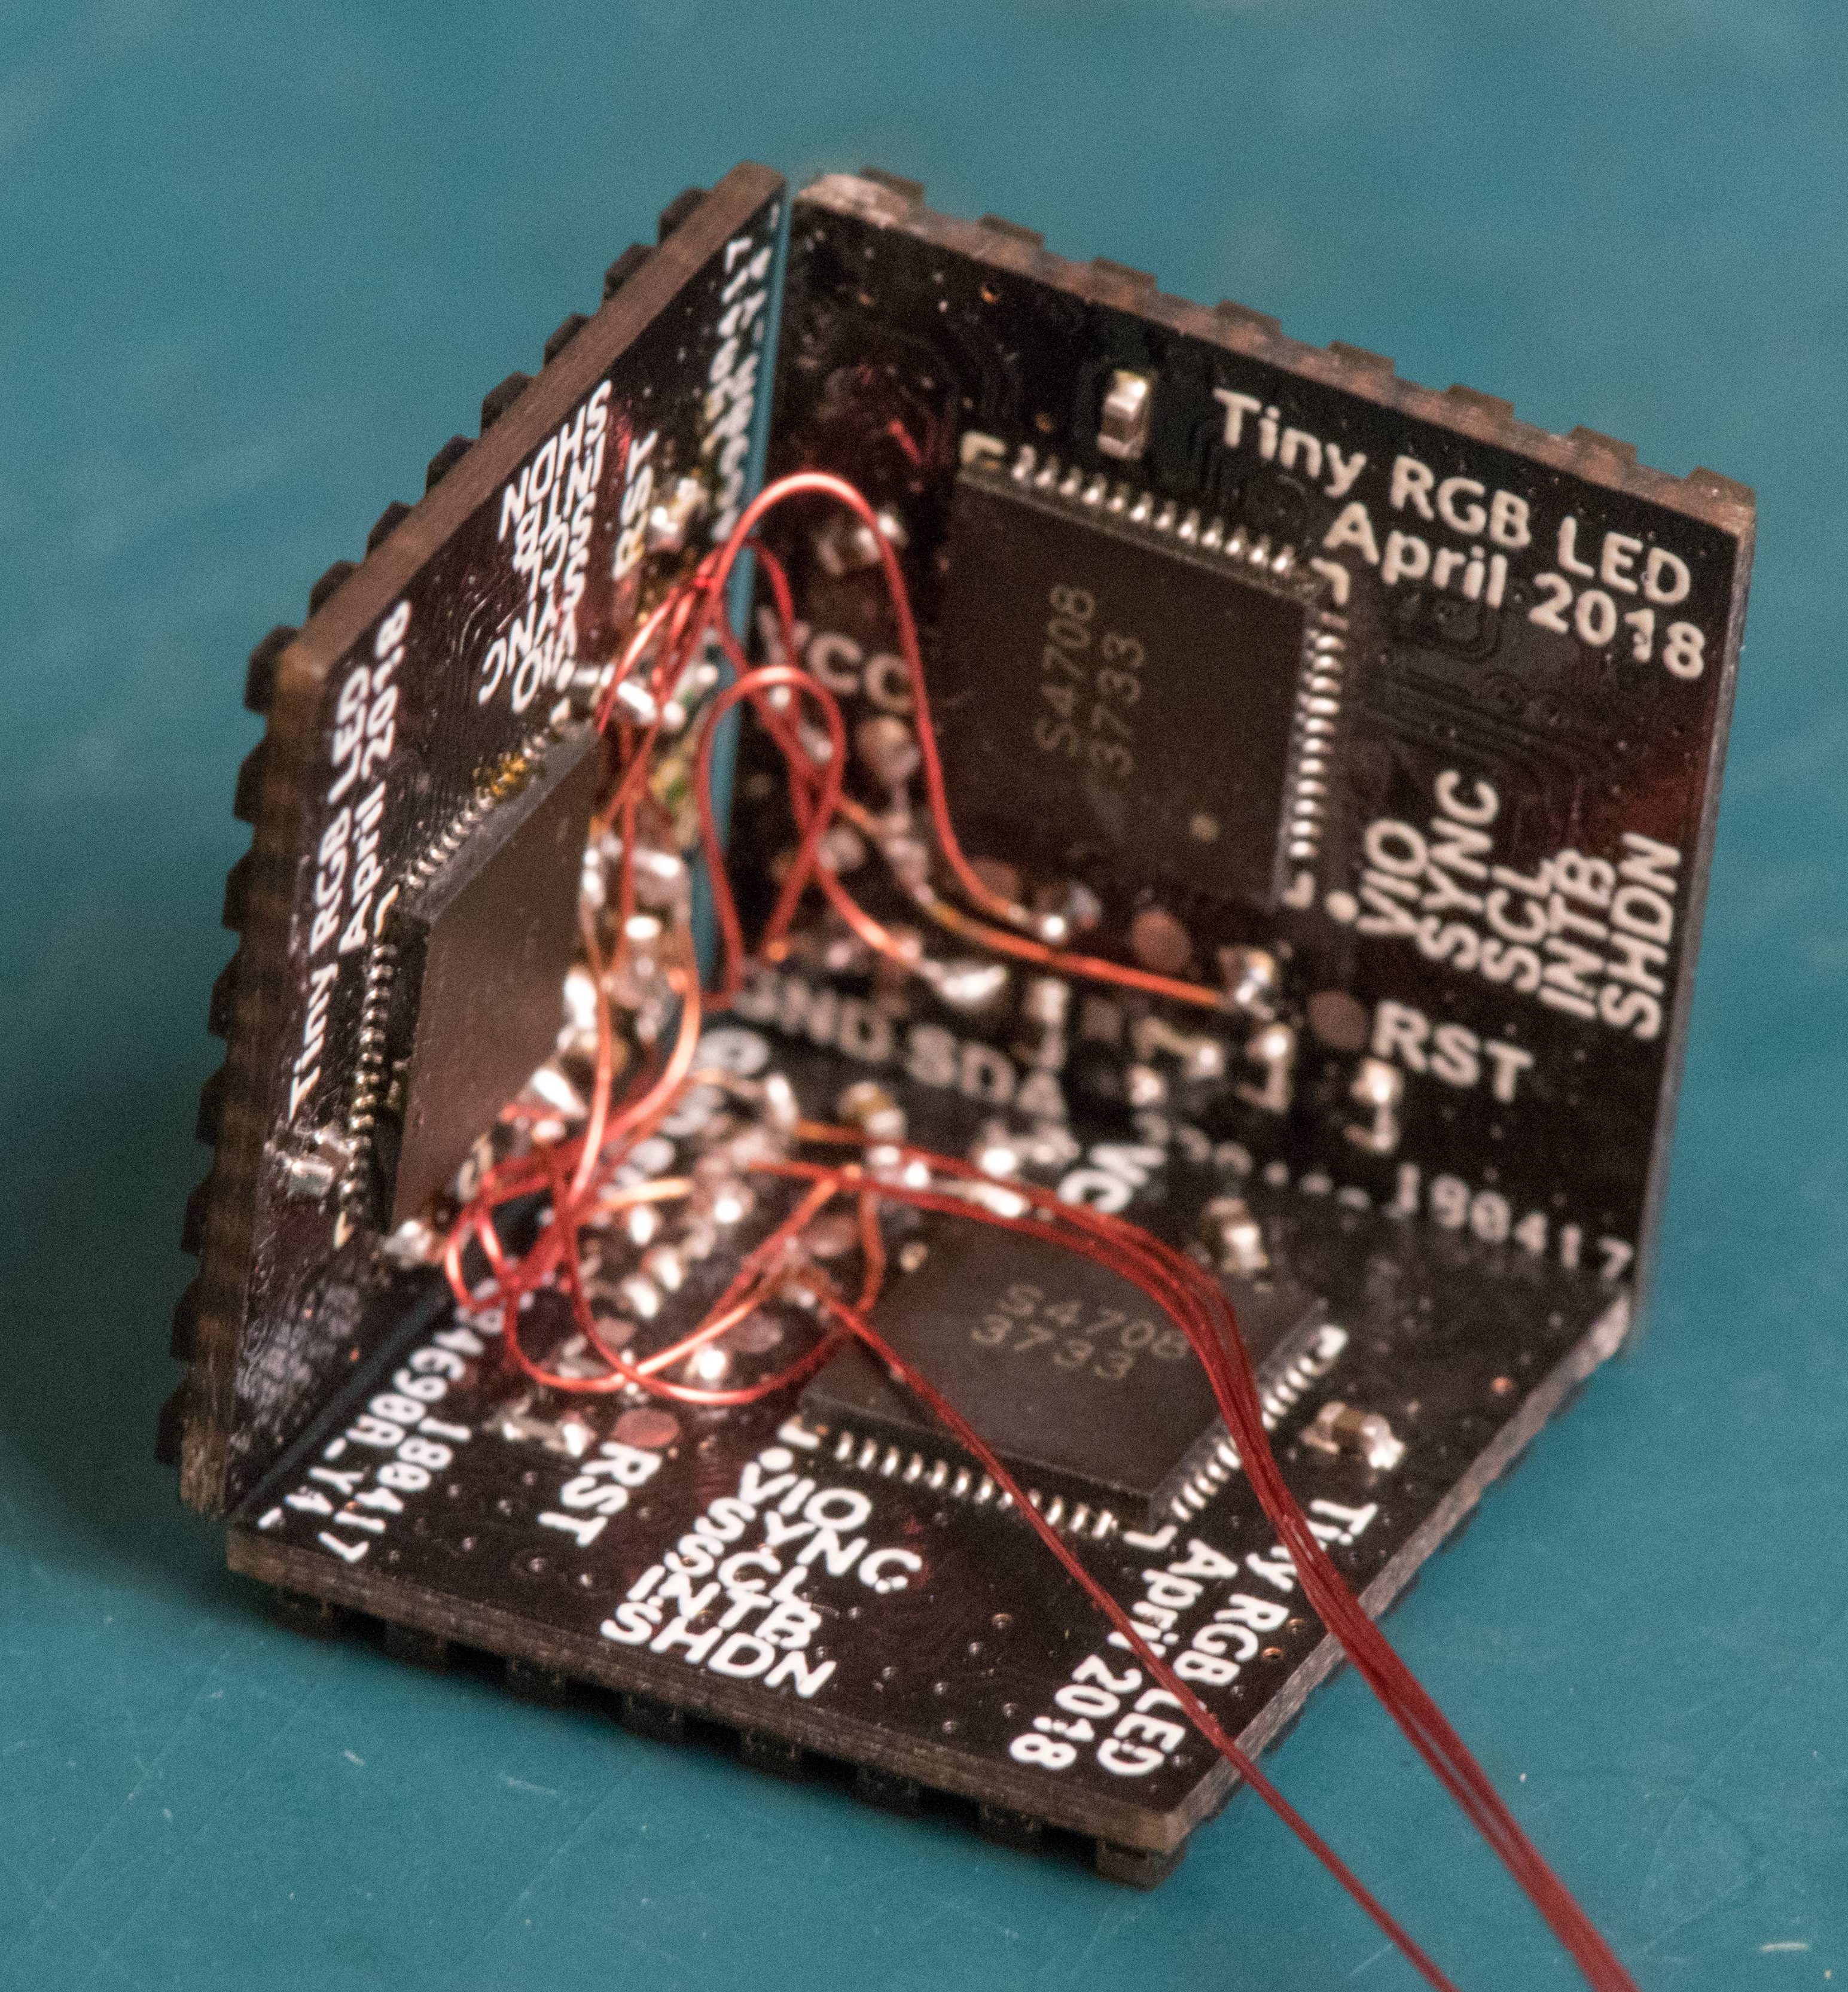
As you will see in the excellent build video that makes this build look challenging instead of impossible, the cube gets permanently sealed up with solder joints. Most but not all of these transfer power, ground, and data around the faces.
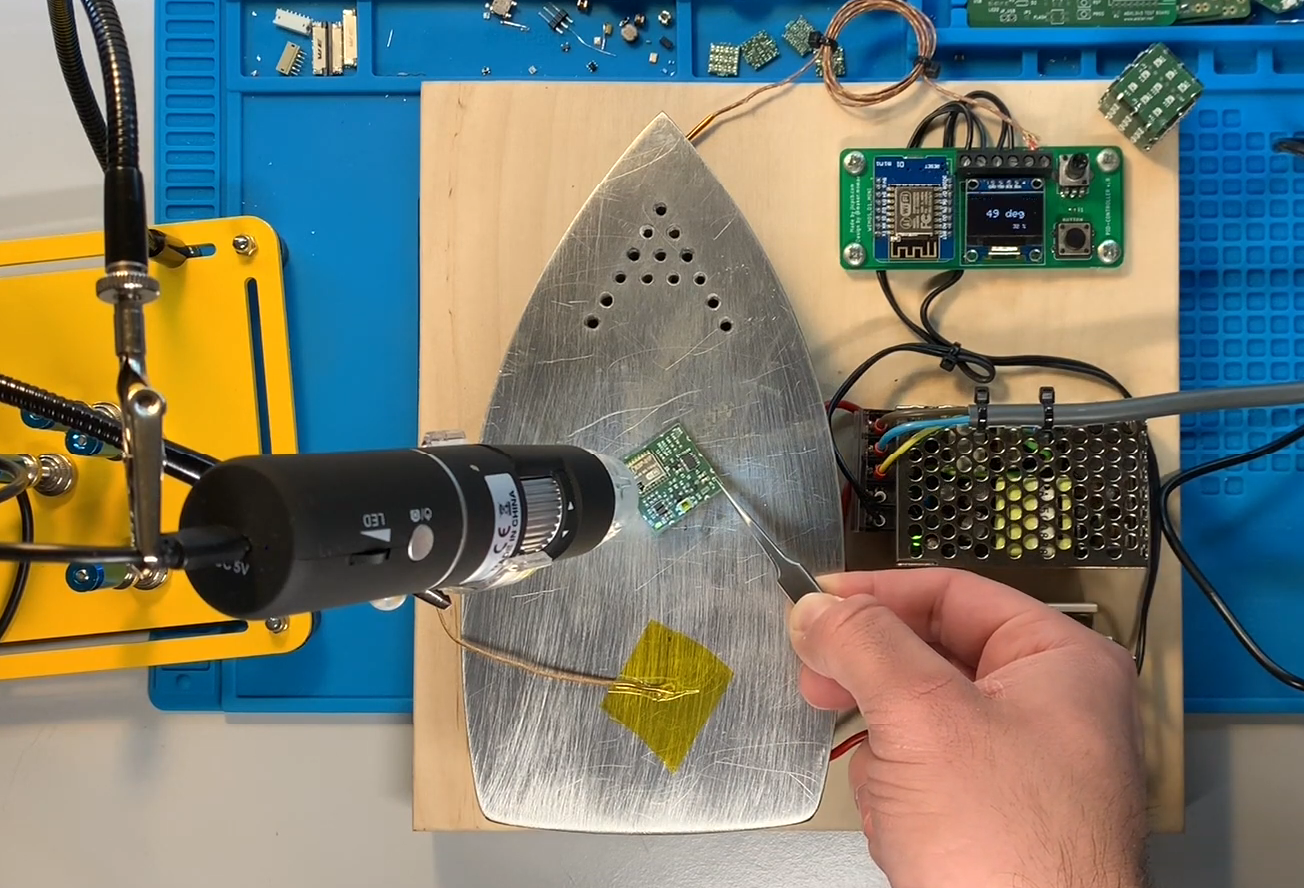
Once the cube is together, [moekoe] uses pogo pins to program it, and can charge the little LiPo inside through contact pads. We love the idea of using a cubical printed jig to help solder the PCB edges together, but not as much as we love [moekoe]’s home-brewed SMT soldering setup.
If you want an easier way to make sculptural LED cubes, build yourself a lead-formin’ machine.