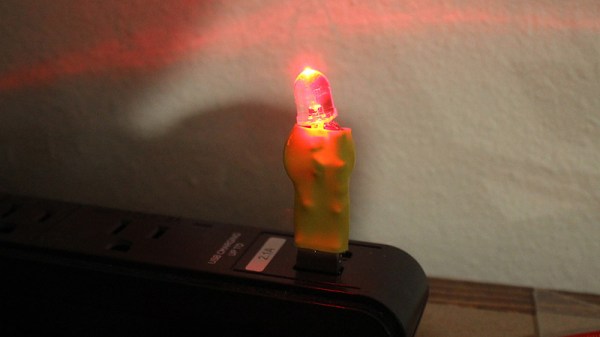
If you walk the aisles of a dollar store one constant that you will see worldwide is the Chinese solar lamp. Your dollar gets you a white LED behind plastic, mounted on a spike to stick into the ground, and with a solar cell on top. It charges in the sunlight during the day and then lights the LED for a few hours at nightfall. They are in gardens everywhere, and no doubt landfill sites are full of them because they do not last very long. [Giovanni Bernardo] had one that stopped working, so he subjected it to a teardown to find out what was up, and what made it tick (Italian, Google Translate link).
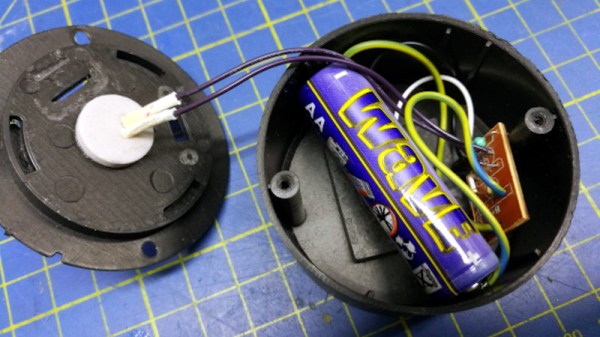
As expected, the culprit proved to be a leaking and corroded 1.2 volt NiMh cell, and its replacement with an AA cell brought the lamp back to life. But the interesting part of this tale comes from his teardown and analysis of the lamp’s components. It’s centered around a YX8016 battery charger and power management chip. The device has an amazing economy of design with only four components including the solar cell and the LED. The final component is a small inductor that forms part of the boost converter to keep the LED lit as the battery voltage falls. The chip switches at 580kHz, and produces a 3.2 volt supply.
If this is a subject that interests you, don’t forget to take a look at the power harvesting challenge we ran a while back.