It is so often the case with a particular technological advance, that it will be invented almost simultaneously by more than one engineer or scientist. People seem to like a convenient tale of a single inventor, so one such person is remembered while the work of all the others who trod the same path is more obscure. Sometimes the name we are familiar with simply managed to reach a patent office first, maybe they were the inventor whose side won their war, or even they could have been a better self-publicist.
When there are close competitors for the crown of inventor then you might just have heard of them, after all they will often feature in the story that grows up around the invention. But what about someone whose work happened decades before the unrelated engineer who replicated it and who the world knows as the inventor? They are simply forgotten, waiting in an archive for someone to perhaps discover them and set the record straight.
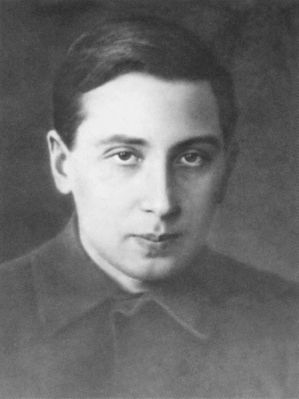
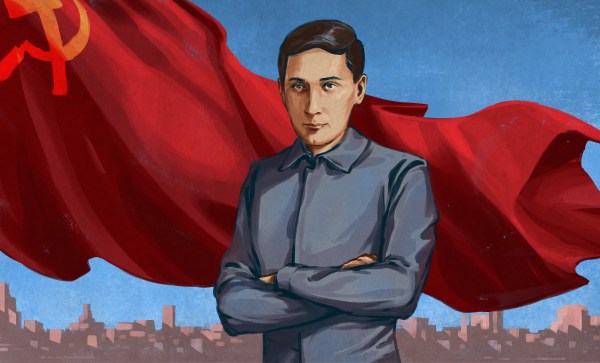
[Oleg Losev] was born in 1903, the son of a retired Russian Imperial Army officer. After the Russian Revolution he was denied the chance of a university education, so worked as a technician first at the Nizhny Novgorod Radio laboratory, and later at the Central Radio Laboratory in Leningrad. There despite his relatively lowly position he was able to pursue his research interest in semiconductors, and to make his discoveries.
Continue reading “Do You Know Oleg Losev? An Engineer Tragically Ahead Of His Time”