Open Source Pick And Place Has A $450 BOM Cost

Give your grizzled and cramped hands a break from stuffing boards with surface mount components. This is the job of pick and place machine, and over the years these tools of the trade for Printed Circuit Board Assembly (PCBA) have gotten closer to reality for the home shop; with some models diving below the $10,000 mark. But if you’re not doing it professionally, those are still unobtanium.

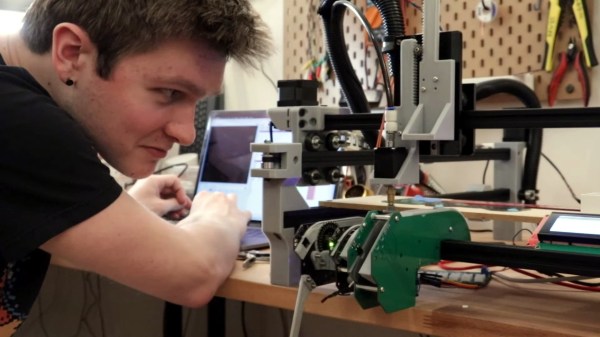
The cost of this one, on the other hand, could be explained away as a project in itself. You’re not buying a $450 shop tool, you’re purchasing materials to chase the fever dream of building an open source pick and place machine. There are two major parts here, an X/Y/Z machine tool that can also rotate the vacuum-based parts picker, and the feeders that reel out components to be placed. All of this is working, but there’s still a long road to travel before it becomes a set and forget machine.
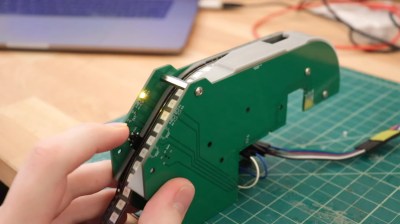
The rubber hits the road in two ways with pick and place machines: the feeders, and the optical placement. The feeders are where [Stephen Hawes] has done a ton of work, all shown in his video series that began back in January. The stackup of PCBs and 3D-prints hangs on the front rail of the gantry assembly, is adjustable for tape widths, and uses an interesting PCB encoder wheel and worm-gear for fine-tuning the feed. [Stephen’s] main controller board, a RAMPS shield for and Arduino Mega that runs a customized version of Marlin, can work with up to 32 of these feeders.

So far it doesn’t look like he’s tackled a vision system, although the Bill of Materials does include  “Downwards Camera”, confirming this is a planned feature. Vision is crucial in commercial offerings, with at least one downward camera for precise board positioning, and often an up-facing camera as well to ensure component position and orientation (if not multiple cameras for each purpose). Without these, the machine would be dead reckoning and that can lead to drift over the size of the board and the duration of the placement run as well as axial misalignment. Adding vision shouldn’t be a ground-up effort though, as [Stephen] chose to use OpenPnP to drive the machine and that project already has vision support. This will be much simpler to add when compared to the complexity of the feeders.

[Stephen] admits that much work still needs to be done and he would love to have help dialing in the performance of the feeder design, and fleshing out features on the road to perfection. Although we suspect that as in the early days of bootstrapping 3D printers, a project like this can never be truly finished. At least it’ll make his next run of LED glowties a lot easier to fabricate.

Continue reading “Open Source Pick And Place Has A $450 BOM Cost”

Screwy Math For Super Fine Adjustments: Differential Screws

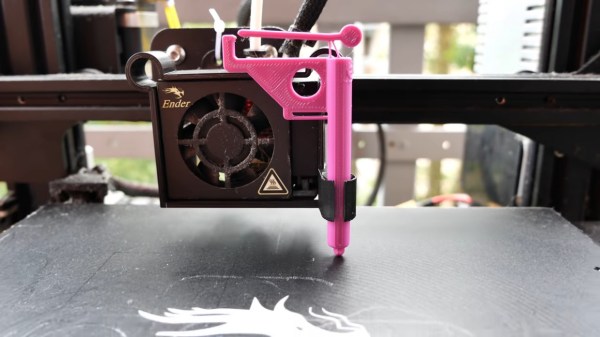
For any sort of precision machine, precision adjustability is required. For the hacker this usually involves an adjustment screw, where the accuracy is determined by the thread pitch. This was not good enough for [Mark Rehorst] who wanted adjustment down to 10 μm for his 3D printer’s optical end-stop, so he made himself a differential adjustment screw.

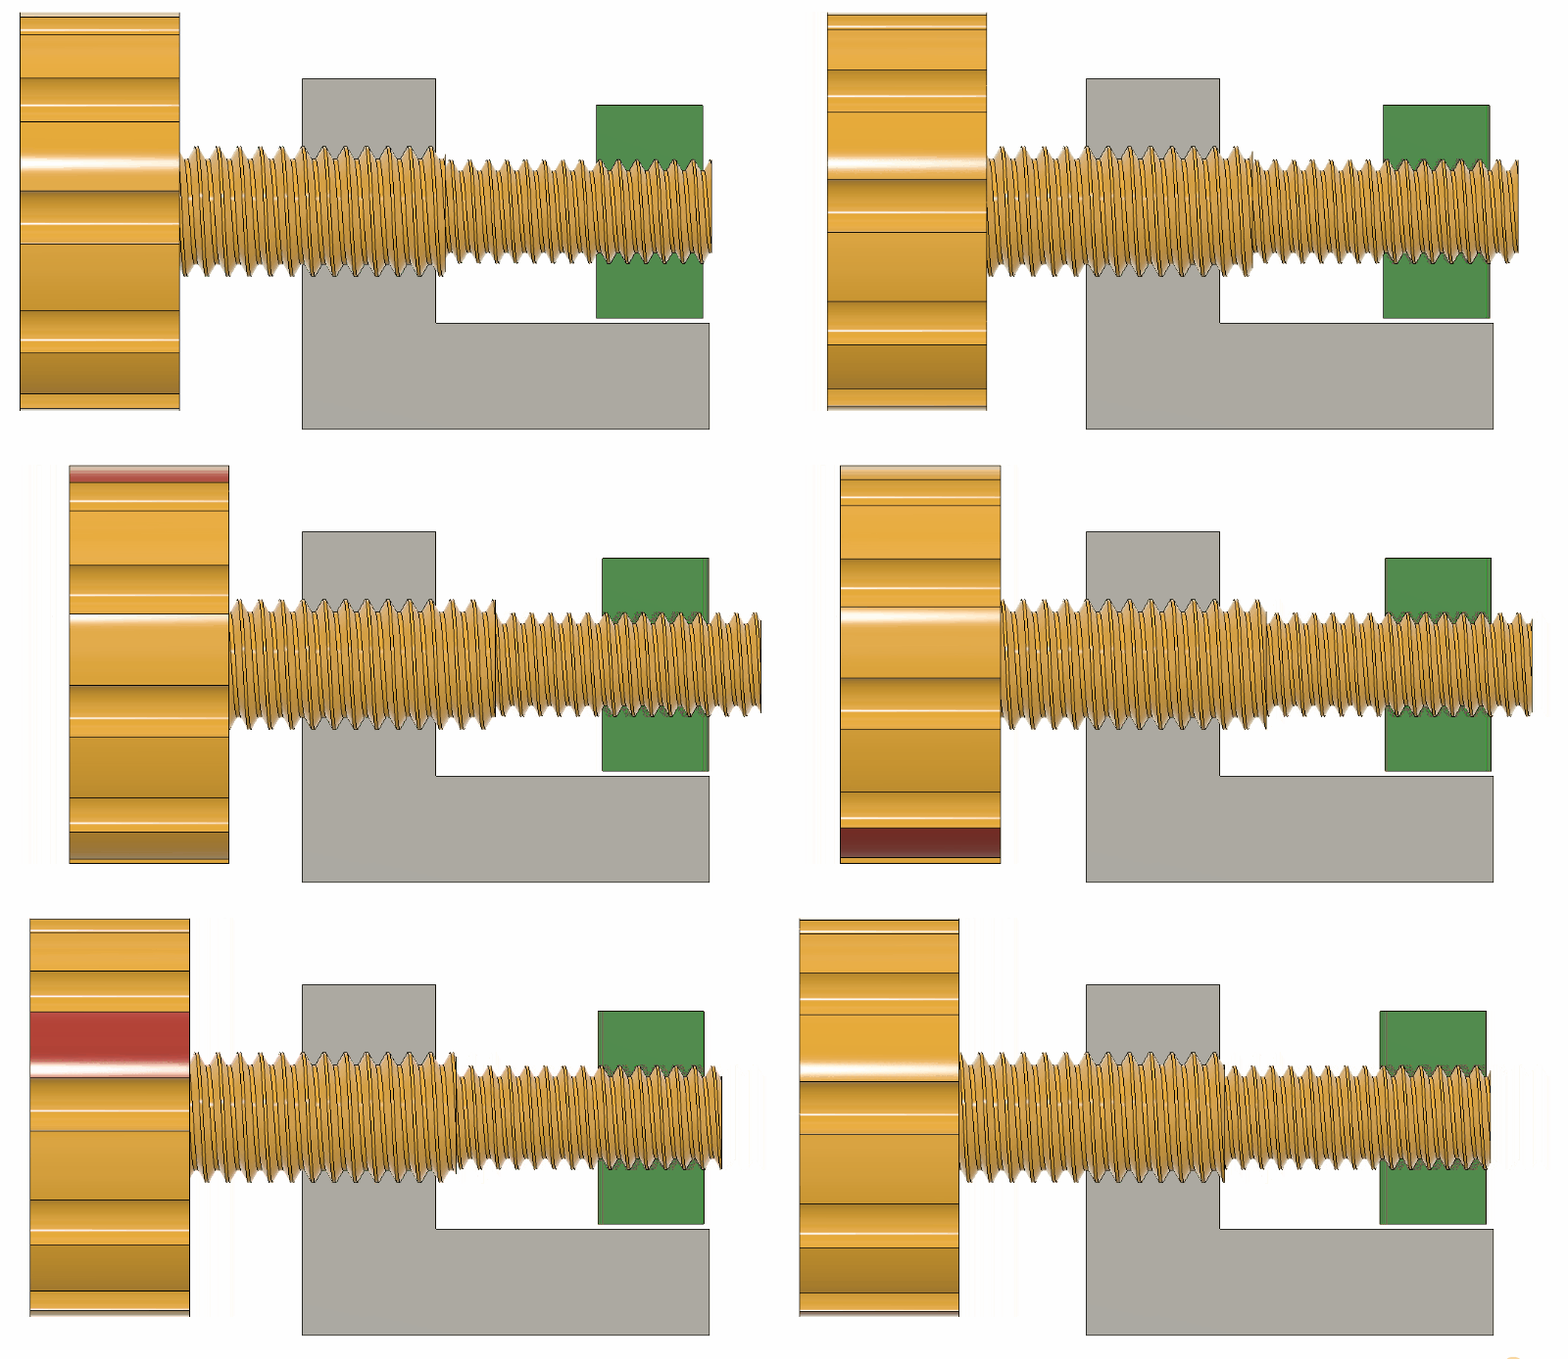
Tiny adjustment can be made to the green block due to the thread pitch differences

Differential screws work by having two threads with a slightly different pitch on the same shaft. A nut on each section of thread is prevented from rotating in relation to the other, and when the screw is turned their relative position will change only as much as the difference between the two thread pitches.

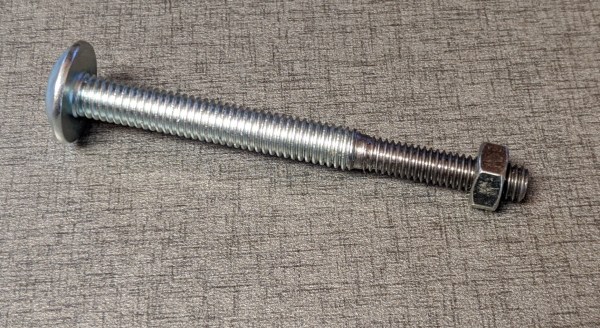
The differential screw in this case started life as a normal M5 bolt with a 0.8 mm thread pitch. [Mark] machined and threaded section of the bolt down to a M4 x 0.7 mm thread. This means he can get 0.1 mm (100 μm) of adjustment per full rotation. By turning the bolt 1/10 rotation, the  relative movement comes down to 10 μm.

This mechanism is not new, originating from at least 1817. If you need fine adjustments on a budget, it’s a very elegant way to achieve it and you don’t even need a lathe to make your own. You can partially drill and tap a coupling nut, or make a 3D printed adapter to connect two bolts.

Fabricating precision tools on a budget is challenging but not impossible. We’ve seen some interesting graphite air bearings, as well as a 3D printed microscope with a precision adjustable stage.

Motorizing A Plasma Cutter On The Cheap

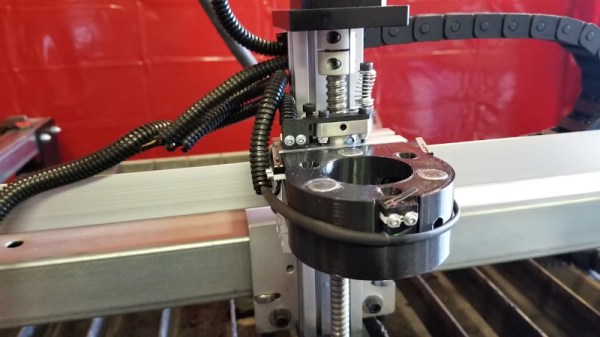
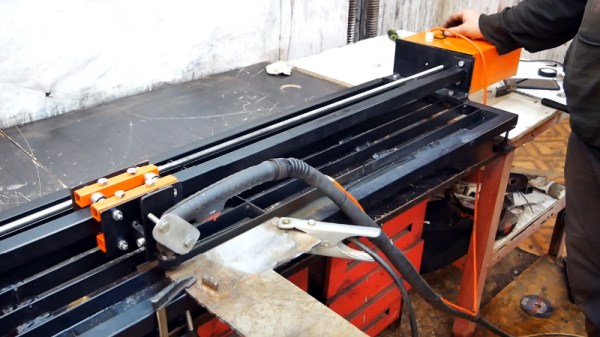
A hand-held plasma cutter is an excellent tool to have if you are working with sheet metal, but it’s not particularly well suited to making long or repetitive cuts. Which is why [workshop from scratch] worked his usual scrapheap magic and built his own motorized track for making perfectly straight cuts.

Most of the frame, and even the small truck that rides on it, is made out of square stock in various sizes. A couple of bearings are enough to make sure the movement is smooth and doesn’t have too much slop. Motion is provided by a long threaded rod and two nuts, which are welded to the side of the truck.

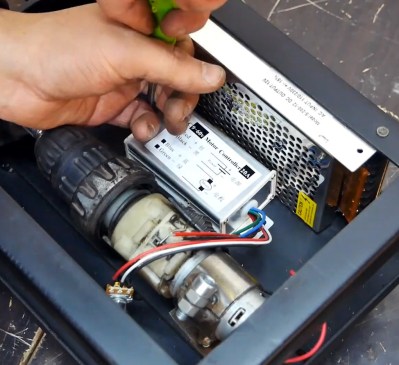
If you had the patience (and forearm strength) you could just put a crank on the rod and be done with it, but in this case [workshop from scratch] used the motor, gearbox, and chuck from an old electric drill to grab onto the threaded rod and do the spinning for him. He rigged up an enclosure for the side of the rack that holds the motor, DC power supply, and motor controller, along with a couple of switches and a knob to control the speed.

A modification allows him to enable the plasma cutter with one of the switches on the panel, which gives the setup a much more complete feel than just putting a zip tie on the trigger. With this design, the plasma cutter itself can still be removed from the mount and used normally. You can even remove the motorized component with a few bolts if you just wanted to do manual cuts on the bed.

In the video after the break, the keen-eyed viewer may notice a few familiar pieces of gear in the background, such as the hydraulic bench vise we covered earlier in the year. As the name of the channel implies, [workshop from scratch] is all about building the workshop tools that many take for granted, and they’ve all been phenomenally fascinating projects. While we admire the gumption it takes to try and build a lathe out of scrap granite slabs, there’s something to be said for DIY tools that end up looking nearly as good as commercial offerings.

Continue reading “Motorizing A Plasma Cutter On The Cheap”

Scratch Building A Lathe From Pieces Of Granite

As hackers, we’re well accustomed to working with what we have on hand. That’s the name of the game, really. A large majority of the projects that have graced these pages are the direct result of trying to coerce a piece of hardware or software into doing something it was never designed to do, for better or for worse.

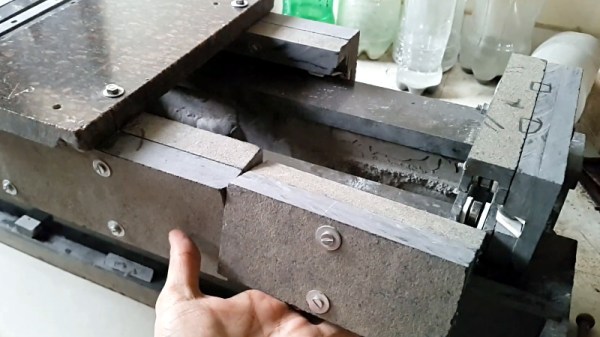
But even still, attempting to build a functional lathe using scrap pieces from granite countertops is a new one for us. [Nonsense Creativity] has spent the last several months working on this build, and as of his latest video, it’s finally getting to the point at which the casual observer might recognise where he’s going with it.

We won’t even hazard a guess as to the suitability of thick pieces of granite for building tools, but we’re willing to bet that it will be plenty heavy enough. Then again, his choice of building material might not be completely without precedent. After all, we once saw a lathe built out of concrete.

Building a lathe out of what you’ve got laying around the shop is of course something of a tradition at this point., but if you’re not quite up to the challenge of cutting your own metal (or granite, as the case may be), [Quinn Dunki] has put together a lathe buying guide that you may find useful.

Continue reading “Scratch Building A Lathe From Pieces Of Granite”

How Art Became Science In Machining

Machining is one of those fascinating fields that bridges the pre-scientific and scientific eras. As such, it has gone from a discipline full of home-spun acquired wisdom and crusty old superstitions to one of rigorously analyzed physics and crusty old superstitions.

The earliest machinists figured out most of what you need to know just by jamming a tool bit into spinning stock and seeing what happens. Change a few things, and see what happens next. There is a kind of informal experimentation taking place here. People are gradually controlling for variables and getting better at the craft as they learn what seems to affect what. However, the difference between fumbling around and actually knowing something is controlling for one’s own biases in a reproducible and falsifiable way. It’s the only way to know for sure what is true, and we call this “science”. It also means being willing to let go of ideas you had because the double-blinded evidence clearly says they are wrong.

That last part is where human nature lets us down the most. We really want to believe things that confirm our preconceived notions about the world, justify our emotions, or make us feel better. The funny thing about science, though, is that it doesn’t care whether you believe in it or not. So go get your kids vaccinated, and up your machining game with scientific precision. Let’s take a look.

Continue reading “How Art Became Science In Machining”

Hack Chat: The Home Machine Shop With Quinn Dunki

Join us Wednesday at noon Pacific time for the Home Machine Shop Hack Chat!

Even if you haven’t been here for very long, you’ll probably recognize Quinn Dunki as Hackaday’s resident consulting machinist. Quinn recently did a great series of articles on the “King of Machine Tools”, the lathe, covering everything from the history of precision machine tools to making your first chips. She’s documented the entire process of procuring and setting up a new lathe, pointing out all the potential pitfalls the budding home machinist may face. You can get a much deeper dive into her machining adventures on her YouTube channel, Blondihacks.

Flinging hot metal chips around is hardly all Quinn has accomplished, though. Long before her foray into machine tools, there was Veronica, a scratch-built 6502 machine Quinn created as an homage to the machines that launched her into a life of writing software. We’ve featured Veronica on our pages a couple of times, and she’s always made quite a hit.

Please join us for this Hack Chat, where we’ll discuss:

  • How developing software and machining are alike, and how they differ;
  • How social networks have changed the perception of machining;
  • Best practices for getting started in machining; and
  • Are there any new machine tool purchases in the pipeline?

You are, of course, encouraged to add your own questions to the discussion. You can do that by leaving a comment on the Home Machine Shop Hack Chat and we’ll put that in the queue for the Hack Chat discussion.

join-hack-chatOur Hack Chats are live community events on the Hackaday.io Hack Chat group messaging. This week we’ll be sitting down on Wednesday, March 20, at noon, Pacific time. If time zones have got you down, we have a handy time zone converter.

Click that speech bubble to the right, and you’ll be taken directly to the Hack Chat group on Hackaday.io. You don’t have to wait until Wednesday; join whenever you want and you can see what the community is talking about.

Already Impressive CNC Router Gets An Extra Axis

The type of CNC machine within the financial reach of most DIYers is generally a three-axis affair, with a modest work envelope and a spindle that never quite seems powerful enough. That’s not to say that we don’t covet such a machine for our own shop of course, but comparing small machines with the “big boy” five-axis tools might leave the home-gamer feeling a tad inadequate.

Luckily, there’s a fix that won’t necessarily break the bank: adding a fourth axis to your CNC router. [This Old Tony] tore into his CNC router – a build we’ve featured before and greatly admire – to add a machine spindle that lets him work with the machine much as if it was a CNC lathe. The first video below covers the mechanical part of the build, which involves welding and machining a sturdy assembly to hold a spindle connecting a four-jaw chuck to a Lexium MDrive, a stepper motor with integrated driver and feedback that makes it act more like a servo. [Old Tony] covered integrating the drive into Mach4 in a previous video.

The assembled machine spindle is a beefy looking affair that can smoothly ramp up to 3000 rpm and has decent enough holding torque to allow it to act as an indexing head in addition to a lathe. The second video below shows some tests turning aluminum and steel; we were surprised by how aggressive the cuts can be before stalling the spindle.

No, it’s not a Tormach or Haas or even a Pocket NC, but it’s a great addition to an already capable machine, and we’re looking forward to what [Old Tony] cranks out with it.

Continue reading “Already Impressive CNC Router Gets An Extra Axis”