Finely Machined Valve Controls Miniature RC Hydraulics

Hydraulic components are the industrial power transmission version of LEGO. Pumps, cylinders, valves – pretty much everything is standardized, and fitting out a working system is a matter of picking the right parts and just plumbing everything together. That’s fine if you want to build an excavator or a dump truck, but what if you want to scale things down?

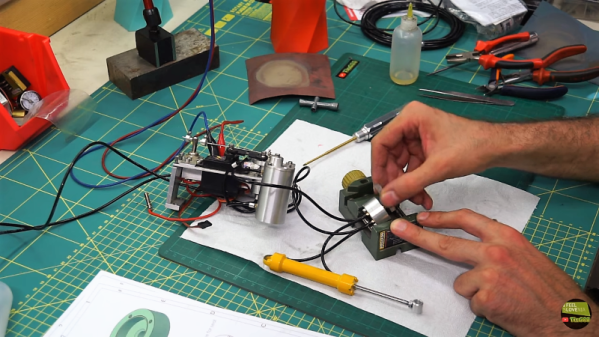
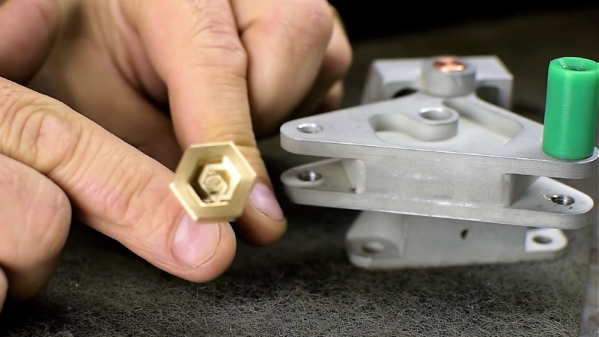
Miniature hydraulic systems need miniature components, of which this homebrew hydraulic valve made by [TinC33] is a great example. (Video embedded below.) If you’re curious about why anyone would need these, check out the tiny hydraulic cylinders he built a while back, wherein you’ll learn that miniature RC snowplows are a thing. The video below starts with a brief but clear explanation about how hydraulic circuits work, as well as an explanation of the rotary dual-action proportional valve he designed. All the parts are machined by hand in the lathe from aluminum and brass stock. The machining operations are worth watching, but if you’re not into such things, skip to final assembly and testing at 13:44. The valve works well, providing very fine control of the cylinder and excellent load holding, and there’s not a leak to be seen. Impressive.

[TinC33] finishes the video with a tease of a design for multiple valves in a single body. That one looks like it might be an interesting machining challenge, and one we’d love to see.

Thanks to [mgsouth] for the tip.

Project Egress: A Bracket And A Bell Crank For The Latches

Put yourself in [This Old Tony]’s shoes: you get an email out of the blue asking you to take part in making a replica of a 50-year-old spacecraft. Would you believe it? He didn’t, at least not at first, but in the end it proved to be true enough that he made these two assemblies for Project Egress in his own unique style.

If you haven’t heard of Project Egress, check out our coverage of the initial announcement. The idea is to build a replica of the crew hatch from the Apollo 11 Command Module Columbia, as part of the 50th anniversary of the Apollo 11 landing next week. [Adam Savage] at Tested has enlisted 44 hackers and makers to help, spreading the work out among the group and letting everyone work in whatever materials and with whatever methods they feel like. [Old Tony], perhaps unsurprisingly, chose mainly Apollo-era dehydrated space-grade aluminum, machined using a combination of manual and CNC machining. We really like the finish he chose – a combination of sandblasting and manual distressing to give it a mission-worn look.

As for exactly what the parts themselves are, the best [Old Tony] could come up with to call them is a bracket and a bell crank. From the original hatch drawings, it looks like there were two bell cranks, which will transmit force around the hatch to the latches that [Fran Blanche], [Joel] and [Bob], and no doubt others have contributed to the build.

We’re eagerly anticipating the final assembly, to be executed by [Adam] live at the Smithsonian’s National Air and Space Museum on July 18. Project Egress is as much a celebration of the maker movement as it is a commemoration of Apollo, and we’re pleased that people will get a chance to see the fruits of the labors of all these hackers in so public a forum.

Continue reading “Project Egress: A Bracket And A Bell Crank For The Latches”

How Art Became Science In Machining

Machining is one of those fascinating fields that bridges the pre-scientific and scientific eras. As such, it has gone from a discipline full of home-spun acquired wisdom and crusty old superstitions to one of rigorously analyzed physics and crusty old superstitions.

The earliest machinists figured out most of what you need to know just by jamming a tool bit into spinning stock and seeing what happens. Change a few things, and see what happens next. There is a kind of informal experimentation taking place here. People are gradually controlling for variables and getting better at the craft as they learn what seems to affect what. However, the difference between fumbling around and actually knowing something is controlling for one’s own biases in a reproducible and falsifiable way. It’s the only way to know for sure what is true, and we call this “science”. It also means being willing to let go of ideas you had because the double-blinded evidence clearly says they are wrong.

That last part is where human nature lets us down the most. We really want to believe things that confirm our preconceived notions about the world, justify our emotions, or make us feel better. The funny thing about science, though, is that it doesn’t care whether you believe in it or not. So go get your kids vaccinated, and up your machining game with scientific precision. Let’s take a look.

Continue reading “How Art Became Science In Machining”

[Ben Krasnow] Drills Really Small Holes With Electricity

Drilling holes is easy; humans have been doing it in one form or another for almost 40,000 years. Drilling really tiny holes in hard materials is more challenging, but still doable. Drilling deep, straight holes in hard materials is another thing altogether.

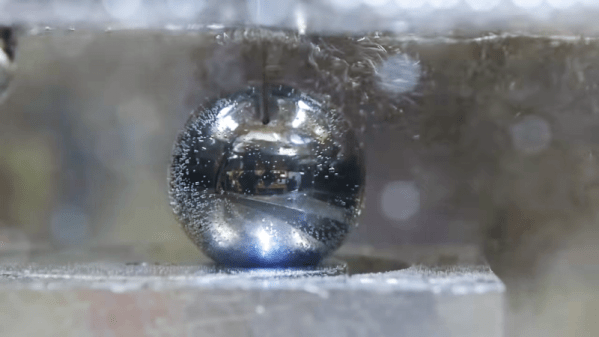
Luckily, these days we have electric discharge machining (EDM), a technique that opens up all kinds of possibilities. And just as luckily, [Ben Krasnow] got his hands on some EDM gear to try out, with fascinating results. As [Ben] explains, at its heart EDM is just the use of a small arc to ablate metal from a surface. The arc is precisely controlled, both its frequency via an arc controller, and its location using CNC motion control. The arc controller has always been the sticking point for home EDM, but the one [Ben] tried out, a BaxEDM BX17, is squarely aimed at the small shop market. The whole test platform that [Ben] built has a decidedly home-brew look to it, with a CNC gantry rigged up to a water tank, an EDM drill head spinning the drill rods slowly, and an airless paint gun providing high-pressure process fluid. The video below shows that it works remarkably well nonetheless.

While we’re certainly keen to see [Ben]’s promised videos on EDM milling and cutting, we doubt we’ll line up to shell out €2,950 for the arc controller he used. If you have more courage than money, this mains-powered EDM might be a better fit.

Continue reading “[Ben Krasnow] Drills Really Small Holes With Electricity”

Creating Lenses On Cheap CNC Machines

There are a lot of CNC machines sitting around in basements and garages, but we haven’t seen anything like this. It’s making lenses using a standard CNC machine and a lot of elbow grease.

The process of making a lens with a CNC machine begins by surfacing a waste board and taping an 8mm sheet of cast acrylic down with double-stick tape. The lens is then cut out with an 8mm endmill, removed from the stock material, and wet sanded to remove the tool marks. Wet sanding begins at 400 grit and progresses to 2000 grit, after which the lens is polished with a polishing compound meant for high-gloss car finishes. This was done by hand, but in this instance there’s no shame in using a real buffing wheel.

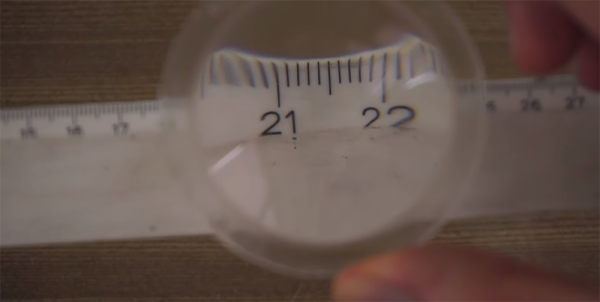
Several other lenses are demonstrated, including a cylindrical convex lens, but these are only planoconvex lenses, or lenses that are flat on one side. Biconvex lenses can be constructed by gluing two planoconvex lenses back to back, which is done with an acrylic glue, in this case Acrifix adhesive. The result is remarkable: with a lot — and we mean a lot — of sanding and polishing, you can make an acrylic lens on a cheap hobby CNC machine. The trick is just a very small stepover on your CNC path.

There are a few more videos planned in this series, including one on using Fusion 360 on defining the shape of the lens to have the right focal length. We can’t wait to see that.

Continue reading “Creating Lenses On Cheap CNC Machines”

Know Your Fits And Tolerances

When designing parts on a screen, it’s very easy to type in a bunch of nice round numbers and watch everything slot together in perfect harmony. Unfortunately, the real world is not so kind. A 10mm shaft will not readily fit in a 10mm hole, and producing parts to perfect dimensions simply isn’t possible. This is where fits and tolerances come in, and [tarkka] have created a practical demonstration of this on Youtube.

Tighter tolerances require more care and thus increase production costs significantly.

Hole and shaft tolerances are important to ensure parts mate correctly and as intended. If a shaft is to fit into a hole easily and the dimensions aren’t critical, a clearance fit is called for. If assembly should be easy but the part is required to locate accurately, a running fit is called for. Alternatively, if the parts are intended to be pressed together permanently, an interference or force fit should be used.

The video covers the basics of fits and tolerances in an easy to understand way, with visual examples. The fits discussed are based in Imperial measurements, but the metric standard of hole and shaft tolerances (ISO 286-2) is also noted.

Getting your tolerances right is key to making good parts – we’ve covered common issues such as tolerance stacking before. Video after the break.

Continue reading “Know Your Fits And Tolerances”

Eight Years Of Partmaking: A Love Story For Parts

Over my many years of many side-projects, getting mechanical parts has always been a creative misadventure. Sure, I’d shop for them. But I’d also turn them up from dumpsters, turn them down from aluminum, cut them with lasers, or ooze them out of plastic. My adventures making parts first took root when I jumped into college. Back-in-the-day, I wanted to learn how to build robots. I quickly learned that “robot building” meant learning how to make their constituent parts.

Today I want to take you on a personal journey in my own mechanical “partmaking.” It’s a story told in schools, machine shops, and garages of a young adulthood spent making parts. It’s a story of learning how to run by crawling through e-waste dumps. Throughout my journey, my venues would change, and so would the tools at-hand. But that hunger to make projects and, by extension, parts, was always there.

Dear partmakers, this is my love letter to you.

Continue reading “Eight Years Of Partmaking: A Love Story For Parts”