The Mother Of All Belt Grinders

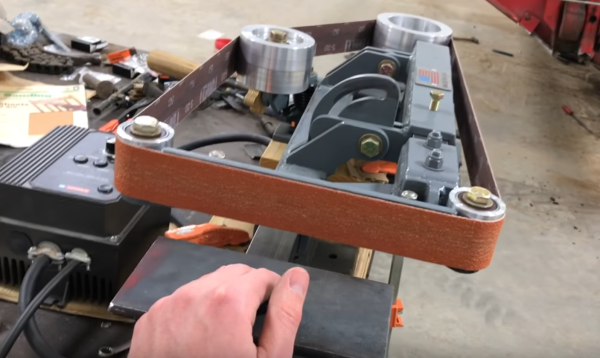
It seems like everyone is building belt grinders these days. You might think [Jeremy Schmidt] is just hoping on the bandwagon, but you’d be wrong. He took a full two years to design the perfect belt grinder for his needs. Now he’s built his perfect beast, and we must say, it’s quite impressive!

[Jeremy] had seen grinders which can tilt, but most of them tilt the entire machine, including the table. He designed his machine with an independent table. This means the belt can be placed at any angle, while the table remains flat. He’s achieved some really interesting finishes with a course grind on a 45-degree angle to the workpiece.

No build is without its problems. In [Jeremy’s] case it was building the box which acts as a receiver for the machine and the tables. Regular square tube stock wasn’t quite rigid enough, so bar stock was the way to go. The first attempt at building the box resulted in a warped tube, due to the stresses of welding. [Jeremy] was more careful the second time, moving from section to section of the four welds. This kept the heat from building up, and the box stayed straight.

The final result is an incredibly rigid machine which definitely will withstand anything that [Jeremy] can throw at it.

If you want to see more belt grinders at work, check out [Bob]’s treadmill belt grinder, or [Mike’s] conversion.
Continue reading “The Mother Of All Belt Grinders”

Building A Metalworking Vise, Layer By Layer

Machine shop wisdom says the lathe is the king of machine tools. We ascribe to that belief, although the common aphorism that the lathe is the only tool that can make copies of itself seems a bit of a stretch. But in the shadow of the almighty lathe is a tool without which even the simplest projects would be vastly more difficult: the lowly vise. Trouble is, finding a good vise can be a tall order. So why not take matters into your own hands and build this very sturdy vise from scratch?

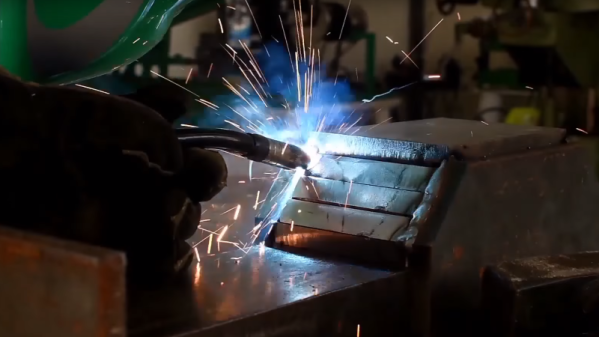
Most commercially available vises are made from a couple of large castings, but as complete as [MakeItExtreme]’s metalworking shop has become, casting molten iron is not a tool in their kit — yet. So they turned back to what they know and welded up the body and jaw of the vise from mild steel. The video below shows the long sessions of welding and grinding that bring the body and the jaw into being, in the process consuming miles of MIG wire. The main screw is cut from stainless steel and threaded with the correct Acme form for such a high load application, especially given the mechanical advantage the long handle provides. The jaws have dovetails for replaceable inserts, too, which is a nice touch that’s hard to find on commercial units.

Vises on Hackaday tend to the lighter duty varieties, such as a 3D-printed vise, the Stickvise for PCBs, or even a fancied-up woodworking vise. It’s nice to see a heavy metal build for a change.

Continue reading “Building A Metalworking Vise, Layer By Layer”

Plasma Cutter Jig Notches Tubing Quickly And Cleanly

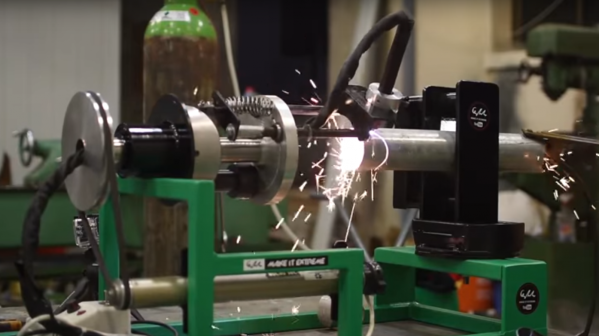
It may be [MakeItExtreme]’s most ambitious build to date. There are a lot of moving parts to this plasma cutter tubing notcher, but it ought to make a fine addition to the shop and open up a lot of fabrication possibilities.

We have to admit to a certain initial bafflement when watching the video below for the first time. We can usually see where [MakeItExtreme]’s builds are going right from the first pieces of stock that get cut, but the large tube with the pressed-in bearing had us scratching our heads. The plan soon became clear — a motorized horizontal rotary table with a hollow quill for the plasma torch leads. There’s a jig for holding the torch itself that can move in and out relative to the table. Cams made of tube sections can be bolted to a fixed platen; a cam follower rides on the cams and moves the torch in and out as the table rotates. This makes the cuts needed to properly fit tubes together — known as fish mouth cuts or saddle cuts. The cams can be removed for straight cuts, and the custom pipe vise can be adjusted to make miter cuts.

All in all a sturdy and versatile build that ought to enable tons of new projects, especially when teamed up with [MakeIt Extreme]’s recent roll bender.

Continue reading “Plasma Cutter Jig Notches Tubing Quickly And Cleanly”

How To Have An Above Average Time With A Cheap Horizontal Bandsaw

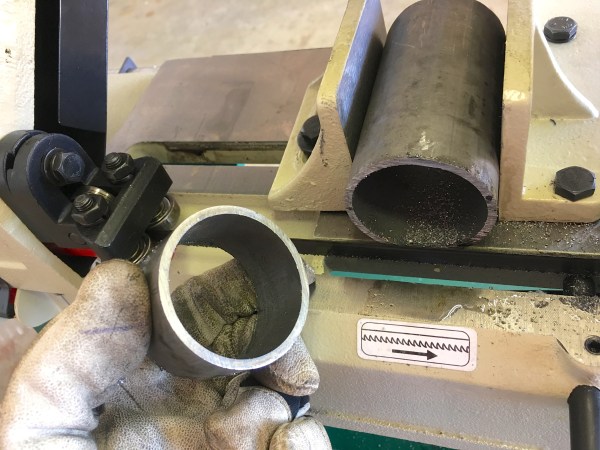
[Quinn Dunki] has brought yet another wayward import tool into her garage. This one, all covered in cosmoline and radiating formaldehyde fumes, is a horizontal bandsaw.

Now, many of us have all have some experience with this particular model of horizontal saw. It waits for us at our work’s machine shop, daring us to rely on it during crunch time. It lingers in the corner of our hackerspace’s metalworking area, permanently stuck in the vertical position; at least until someone finally removes that stripped screw. Either that or it’s been cannibalized for its motor, the castings moldering in a corner of the boneyard.

This article follows on the heels of [Quinn]’s other work, a treatise on the calibration of a drill press, and it outlines all the steps one has to take to bring one of these misunderstood tools into consistent and reliable operation. It starts with cultivating a healthy distrust of the factory’s assurances that this device is, “calibrated,” and needs, “no further attention.” It is not, and it does. Guides have to be percussively maintained out of the blade’s way. Screws have to be loosened and adjusted. It takes some effort to get the machine running right and compromises will have to be made.

In the end though, with a high quality blade on, the machine performs quite well. Producing clean and quality cuts in a variety of materials. A welcome addition to the shop.

Likely Everything You Need To Know Before Adopting A Drill Press

Oh sure, the thought of owning a happy whirring drill press of your very own is exciting, but have you really thought about it? It’s a big responsibility to welcome any tool into the home, even seemingly simple ones like a drill press. Lubricants, spindle runout, chuck mounts, tramming, and more [Quinn Dunki], of no small fame, helps us understand what it needs for happy intergration into its new workshop.

[Quin] covers her own drill press adventure from the first moments it was borne into her garage from the back of a truck to its final installation. She chose one of the affordable models from Grizzly, a Washington based company that does minimal cursory quality control on import machinery before passing on the cost to the consumer.

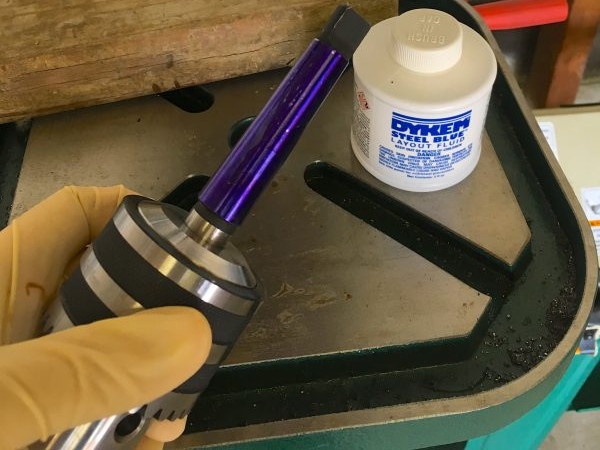
The first step after inspection and unpacking was to remove all the mysterious lubricants and protectants from the mill and replace them with quality alternatives. After the press is set-up she covers some problems that may be experience and their workarounds. For example, the Morse taper on the chuck had a few rough spots resulting in an incomplete fit. The chuck would work itself loose during heavier drilling operations. She works through the discovery and repair of this defect.

Full of useful tips like tramming the drill press and recommended maintenance, this is one of the best guides on this workshop staple that we’ve read.


Hack A Bike Electroetching

[Melka] wanted a track bike, but never quite got around to buying a nice one. Then he found an inexpensive abandoned project bike for 10 Euro. He had to do a lot of work to make it serviceable and he detailed it all in a forum post. What caught our eye, though, was his technique for electroetching.

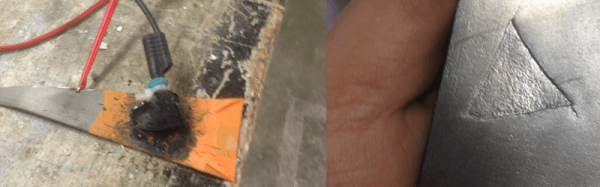
The process is simple, but [Melka] says the procedure caused hydrochloric acid fumes as a byproduct. Your lungs don’t like HCl fumes. Apart from the danger, you probably have everything you need. He used electrical tape to create a stencil on the metal (although he mentioned that Kapton tape might come off better afterward) and a saturated solution of common table salt as the electrolyte.

Power comes from a bench power supply set to about 24V. The positive lead was connected to the metal and the ground to the sponge. From the photos, it looks like the particular piece and solution caused about 600mA to flow. After 10 minutes, the metal etched out to about 0.2 mm. After the etching, [Melka] brazed some brass into the etched area to make an interesting looking logo.

If you have a laser cutter, you can skip the chemicals. We’ve even seen laser etching combine with a 3D printer to produce PCBs. [Melka’s] method is a little messier and probably would not do fine lines readily, but if you need to etch steel and you don’t mind the fumes, it should be simple to try.

Propane Tanks Transformed Into Extreme Sandblaster

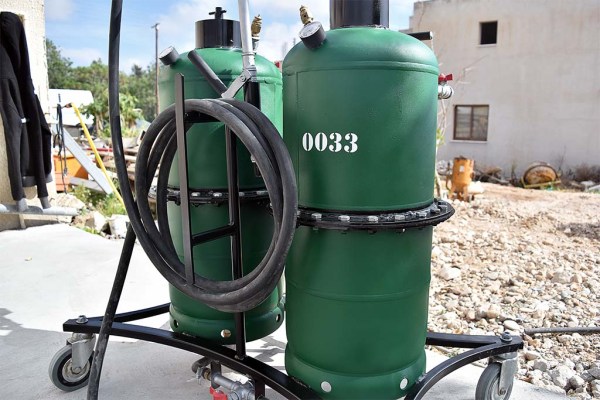
The [Make It Extreme] team has been racking up the builds lately, and a lot of them are heavy with metalworking. When you’re doing that kind of work, and you put as much care into finishing your builds like they do, it’s a good idea to have access to a sandblaster. So naturally, they built a really nice one.

We’ve featured a couple of [Michalis Mavros] and team’s build recently; you’ll no doubt recall this viciously effective looking spot welder and a sketchy angle grinder cum belt sander. The sandblaster build, centered as it is around scrap propane tanks, has some lethal potential, but luckily the team displaced any remaining gas from the tanks with water before doing any cutting. The design allows for a lot of sand in the tanks, with plans to provide a recycling system for the grit, which is a nice touch. And it works great – they even used it to clean it up before final finishing in the trademark [Make It Extreme] green and black paint job.

What we really like about the video, though, is that it’s a high-speed lesson on metalworking techniques. There’s a ton to learn here about all the little tricks needed to bring a large-scale metalworking project to fruition. It also demonstrates that we really, truly need a plasma cutter and a metalworking lathe.

Continue reading “Propane Tanks Transformed Into Extreme Sandblaster”