Extinguish Squeaks 24/7 With Refillable WD-40

It’s 10:34PM and you’ve just run out of water displacement formula #40. You could wait until tomorrow to get a new can, or you could spend the rest of the night turning an old, empty fire extinguisher into a refillable and re-pressurizable WD-40 dispenser like [liquidhandwash] did. The part count is pretty low, but it’s awfully specific.

And the emphasis is on empty extinguisher. Part of the deal involves twisting the gauge off, and we wouldn’t want you to get blasted in the face with any last gasps of high-powered firefighting foam. In order to make the thing re-pressurizable, [liquidhandwash] stripped all the rubber from a tire valve and removed the core temporarily so it could be soldered into the fitting where the gauge was. The handy hose is from a large can of WD-40, which is also where the label came from — since it’s no longer a fire extinguisher, it needs to stop bearing resemblance to one, so [liquidhandwash] removed the sticker, painted it blue, and glued the cut-open can to the outside.

To use it, [liquidhandwash] fills it up about halfway and then pressurizes it through the tire valve with a bike pump or compressor. (We think we’d go with bike pump.) Since [liquidhandwash] goes through so much lubricant, now, they can just buy it by the gallon and keep refilling the extinguisher.

Is WD-40 your everything hammer? Variety is the spice of shop life.

Mechanisms: Mechanical Seals

On the face of it, keeping fluids contained seems like a simple job. Your fridge alone probably has a dozen or more trivial examples of liquids being successfully kept where they belong, whether it’s the plastic lid on last night’s leftovers or the top on the jug of milk. But deeper down in the bowels of the fridge, like inside the compressor or where the water line for the icemaker is attached, are more complex and interesting mechanisms for keeping fluids contained. That’s the job of seals, the next topic in our series on mechanisms.

Continue reading “Mechanisms: Mechanical Seals”

You Got A 3D Printer, Now What?

Given the incredibly low prices on some of the models currently on the market, it’s more than likely a number of Hackaday readers have come out of the holiday season with a shiny new desktop 3D printer. It’s even possible some of you have already made the realization that 3D printing is a bit harder than you imagined. Sure the newer generation of 3D printers make it easier than ever, but it’s still not the same “click and forget” experience of printing on paper, for instance.

In light of this, I thought it might be nice to start off the new year with some advice for those who’ve suddenly found themselves lost in a forest of PLA. Some of this information may seem obvious to those of us who’ve spent years huddled over a print bed, but as with many technical pursuits, we tend to take for granted the knowledge gained from experience. For my own part, the challenges I faced years ago with my first wooden 3D printer were wholly different than what I imagined. I assumed that the real challenge would be getting the machine assembled and running, but the time it took to build the machine was nothing in comparison to the hours and hours of trial and error it took before I gained the confidence to really utilize the technology.

Of course, everyone’s experience is bound to be different, and we’d love to hear about yours in the comments. Grand successes, crushing defeats, and everything in between. It’s all part of the learning process, and all valuable information for those who are just starting out.

Continue reading “You Got A 3D Printer, Now What?”

How To Have An Above Average Time With A Cheap Horizontal Bandsaw

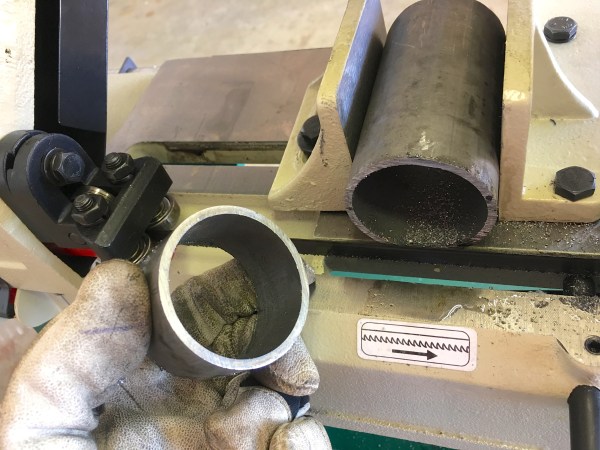
[Quinn Dunki] has brought yet another wayward import tool into her garage. This one, all covered in cosmoline and radiating formaldehyde fumes, is a horizontal bandsaw.

Now, many of us have all have some experience with this particular model of horizontal saw. It waits for us at our work’s machine shop, daring us to rely on it during crunch time. It lingers in the corner of our hackerspace’s metalworking area, permanently stuck in the vertical position; at least until someone finally removes that stripped screw. Either that or it’s been cannibalized for its motor, the castings moldering in a corner of the boneyard.

This article follows on the heels of [Quinn]’s other work, a treatise on the calibration of a drill press, and it outlines all the steps one has to take to bring one of these misunderstood tools into consistent and reliable operation. It starts with cultivating a healthy distrust of the factory’s assurances that this device is, “calibrated,” and needs, “no further attention.” It is not, and it does. Guides have to be percussively maintained out of the blade’s way. Screws have to be loosened and adjusted. It takes some effort to get the machine running right and compromises will have to be made.

In the end though, with a high quality blade on, the machine performs quite well. Producing clean and quality cuts in a variety of materials. A welcome addition to the shop.

Likely Everything You Need To Know Before Adopting A Drill Press

Oh sure, the thought of owning a happy whirring drill press of your very own is exciting, but have you really thought about it? It’s a big responsibility to welcome any tool into the home, even seemingly simple ones like a drill press. Lubricants, spindle runout, chuck mounts, tramming, and more [Quinn Dunki], of no small fame, helps us understand what it needs for happy intergration into its new workshop.

[Quin] covers her own drill press adventure from the first moments it was borne into her garage from the back of a truck to its final installation. She chose one of the affordable models from Grizzly, a Washington based company that does minimal cursory quality control on import machinery before passing on the cost to the consumer.

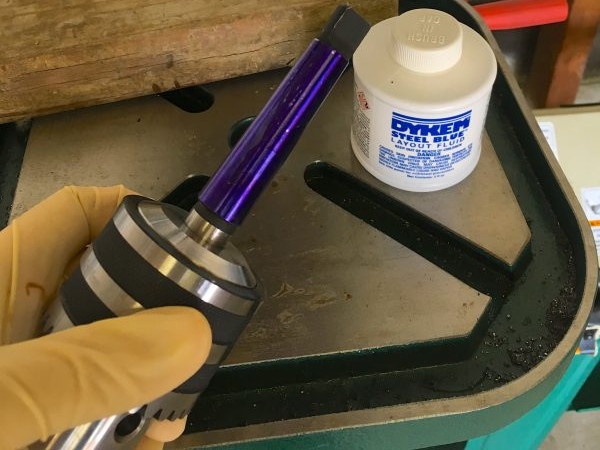
The first step after inspection and unpacking was to remove all the mysterious lubricants and protectants from the mill and replace them with quality alternatives. After the press is set-up she covers some problems that may be experience and their workarounds. For example, the Morse taper on the chuck had a few rough spots resulting in an incomplete fit. The chuck would work itself loose during heavier drilling operations. She works through the discovery and repair of this defect.

Full of useful tips like tramming the drill press and recommended maintenance, this is one of the best guides on this workshop staple that we’ve read.


Repairing Vintage Clock Movements

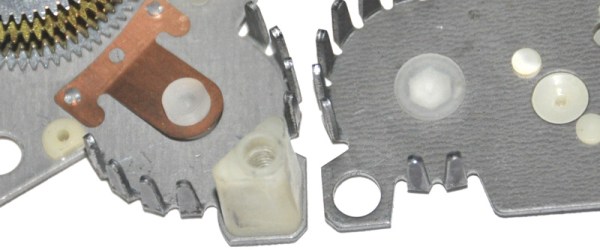
It’s obvious that [Matthew] cares a great deal for vintage electric clocks. He is especially fond of the bedside alarm variety, which in our experience cast a warm orange glow on the numbers and emitted a faint, gentle hum. [Matthew] has written up a thorough treatment of Sunbeam movements in particular that covers identification, disassembly, cleaning, and repair.

These workhorse timepieces are cheap and fairly plentiful if you work the estate sale or thrift store circuit. Sometimes there is a bit of trouble with motor pinions disintegrating or the teeth wearing down on the nylon gears. The decades-old petroleum lubricant combined with heat from the spinning rotor can eat away at the motor pinion, causing it to crumble if disturbed.

Wishing to save some of these clocks from landfills, [Matthew] designed motor pin replacements specifically for Sunbeam electric movements, the relatively  inexpensive alternative that graced many a mid-century household clock. He only had the shaft and a broken original to work with, but was able to design a sturdy acrylic replacement using this involute spur gear builder to generate a DXF file. Then it was just a matter of creating an STL file with Rhino 3D and shipping it off to Shapeways.

If you’ve ever wanted to get into clock or watch repair, this looks like a great way to get your feet wet unless you’re ready for some serious vintage watch repair. There’s no need to reinvent the pinion because [Matthew] sells them through his site. If you have a printer, the STL files await you.

CNC3020 Linear Rail and Lead Screw Lubrication

A Little Lubricant Goes A Long Way…. With Your CNC Machine

[Peter] has been having some positional repeatability problems with his CNC3020 Router recently. The problem was mostly in the Z axis and was measured to be up to 0.3mm off position after 10cm of travel. This may not seem like a lot but it was enough to break a few 1mm diameter end mills. The X and Y axes generally seemed OK. Surfing the ‘net reveled that the control board’s power rails did not have any filtering capacitors and that may have been the cause of the problems. Unfortunately, the positioning problem still persisted even after the cap’s were added. Frustrated, [Peter] then started a full-blown investigation to figure out why his Z axis wasn’t cutting the mustard.

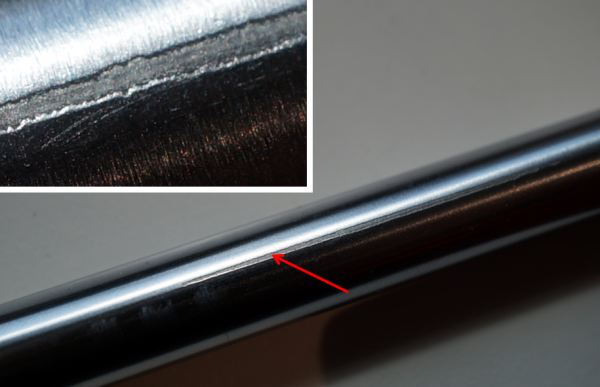
In a CNC system there are 2 major components, the electronics and the physical machine. Since it was unknown which portion of the system contained the problem, [Peter] decided to quickly swap the X and Z channels, running the Z axis with the X axis electronics. The problem was still evident on the Z axis which means that there is something wrong in the mechanics of the machine. The Z electronics were put back on the Z axis and the testing continued by lowering the acceleration and the maximum speed. The positioning error was still there. Since it is possible that the Z motor could be the problem, it was decided to swap the X and Z motors but midway through the process the problem became evident. When trying to rotate the Z axis lead screw by hand there was a noticeable lack of smoothness and the axis seemed to jump around a bunch!

Continue reading “A Little Lubricant Goes A Long Way…. With Your CNC Machine”