These days, MIDI controllers are just plain cool. There are a million of them out there, and they’re all dressed to the nines in flashing LEDs and sporting swag like USB MIDI interfaces and sliders that just feel right. With our italics budget running out, I should get to the point – you can make your own, and the OpenDeck platform makes it easy.
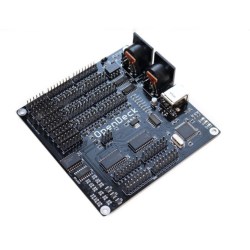
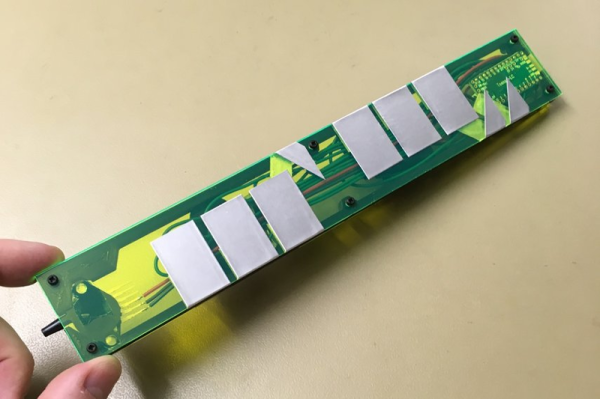
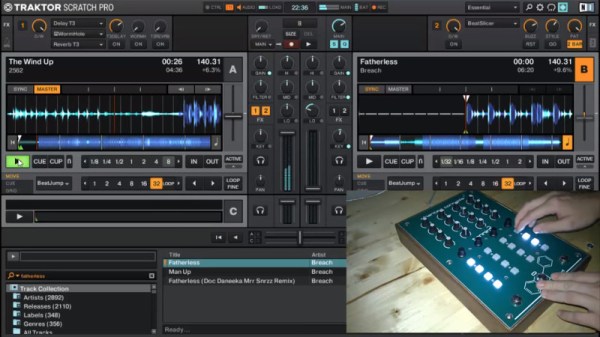
In its most refined form, the OpenDeck is a board covered in pin headers. To these, you may connect an absolute truckload of buttons, encoders, sliders, and LEDs. The OpenDeck handles all of the inputs and outputs, while you get to have fun attaching your various gizmos to the control surface/keytar/birthday cake you happen to be building. It saves you reinventing the wheel as far as reading switches and potentiometers goes, allowing you to focus on the creative side of your project. All configuration is handled through a simple web interface.
Boards are available on Tindie, but it’s also possible to take the code and run it on various Arduinos and the like, as it’s wonderfully opensource. This gives you the power to take things to a higher level once you’re good and ready.
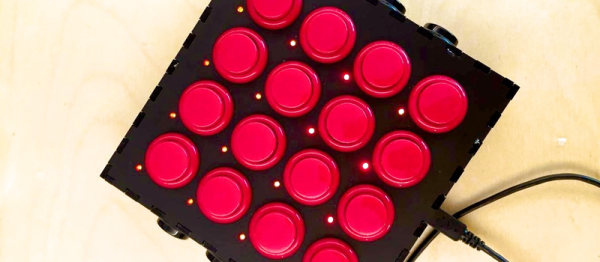
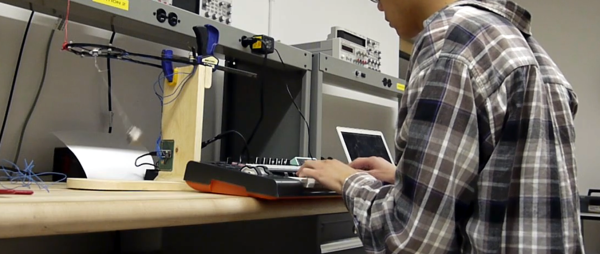
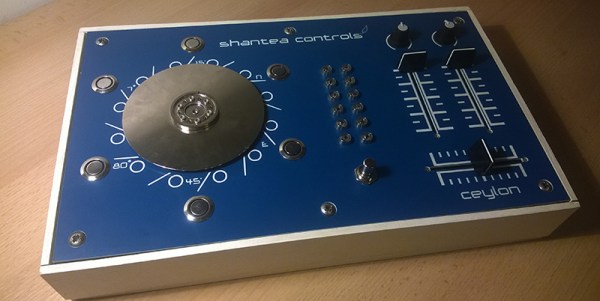
We’ve seen a rather cool OpenDeck build already, and if you’ve got more, you know where to reach us.