We have a contest going on right now challenging you to do the most with a coin cell. There are already quite a few interesting entries, and a few Hackaday writers are getting into the action by asking the question, ‘how do you open up a coin cell?’. The first thoughts were to open a lithium coin cell up while submerged in oil, but eBay came to the rescue with the cases for CR2025 cells. Of course that’s a thing.
Also falling into the, ‘of course that’s a thing’ category, there’s a project on Hackaday.io to execute arbitrary code on a calculator. A small group of calculator hackers have discovered an exploit on a line of Casio calculators running the obscure nX-U8/100 architecture. Right now, there’s not much to the project — just an LCD filled with bits of memory. However, this is a project we’re keenly watching, and we can’t wait to see what comes of it.
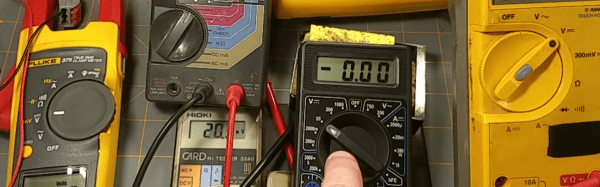
Hold onto your butts, because the ultimate multimeter is here. [Dave Jones] of the EEVBlog has released the 121GW Multimeter on Kickstarter. What’s cool about this meter? SD card logging, the ability to send data over Bluetooth, a 15V diode test voltage, a burden voltage display, and a whole bunch of hackable features. If you have a Fluke on your Christmas list, you would do well to check out the 121GW.
Also on Kickstarter, a new LattePanda board has been released. What’s a LattePanda? It’s a small single board computer built around a low-voltage Intel processor. This board features an Intel m3-7Y30 processor, comparable to the processor you’d get in a proper laptop that doesn’t have an i3, 8 gigs of DDR3, 64 gigs of eMMC, 802.11ac, BlueTooth 4.2, USB 3.0 with a Type C connector, HDMI, and a whole bunch of GPIOs. Yes, it runs Windows (but why would you?). If you need a somewhat beefy x86 system in a small form factor, there ‘ya go.
We’ve seen 3D printed remote-controlled airplanes, but never one this big. The guys at Flite Test printed a 1.6 meter Spitfire. It’s got flaps, it’s got retracts, and it’s friggin’ huge. The files for the print came from 3DLabPrint, and it flies beautifully, despite being a Spitfire. Want to see the video? Here ya go.
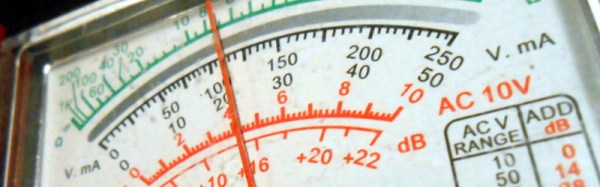


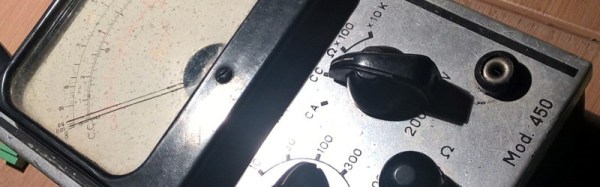
 Strictly speaking, [Giulio Pons]’s clock project isn’t new at all. He’s taken a broken multimeter from the 1950s, and with the help of an Arduino Nano and an ESP8266 module,