We’ve all been there. You’re manning the battle station, deep in the sim-racing or some other n00b-pwning zone and suddenly some loudmouth blows out your eardrums over Discord. It’s insulting to have to stop what you’re doing to find the right Windows volume slider. So why do that? Build [T3knomanzer]’s simple yet elegant multi-volume knob and stay zen in the zone.
 It’s easy, just turn the knob to cycle through your programs until Discord comes up on the little screen, and then push down to change it into a volume knob. If you need to change another volume, just click it again. Since there’s no Alt+Tabbing out to the desktop, no checkered flags should ever slip through your fingers.
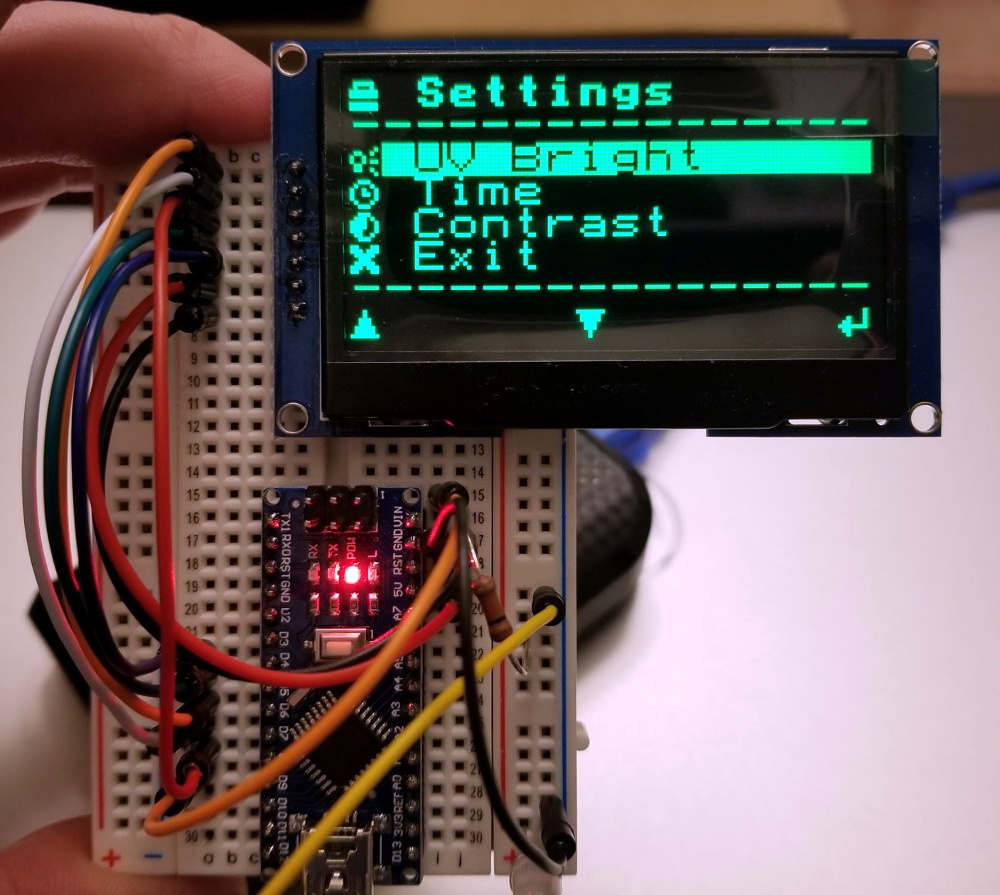
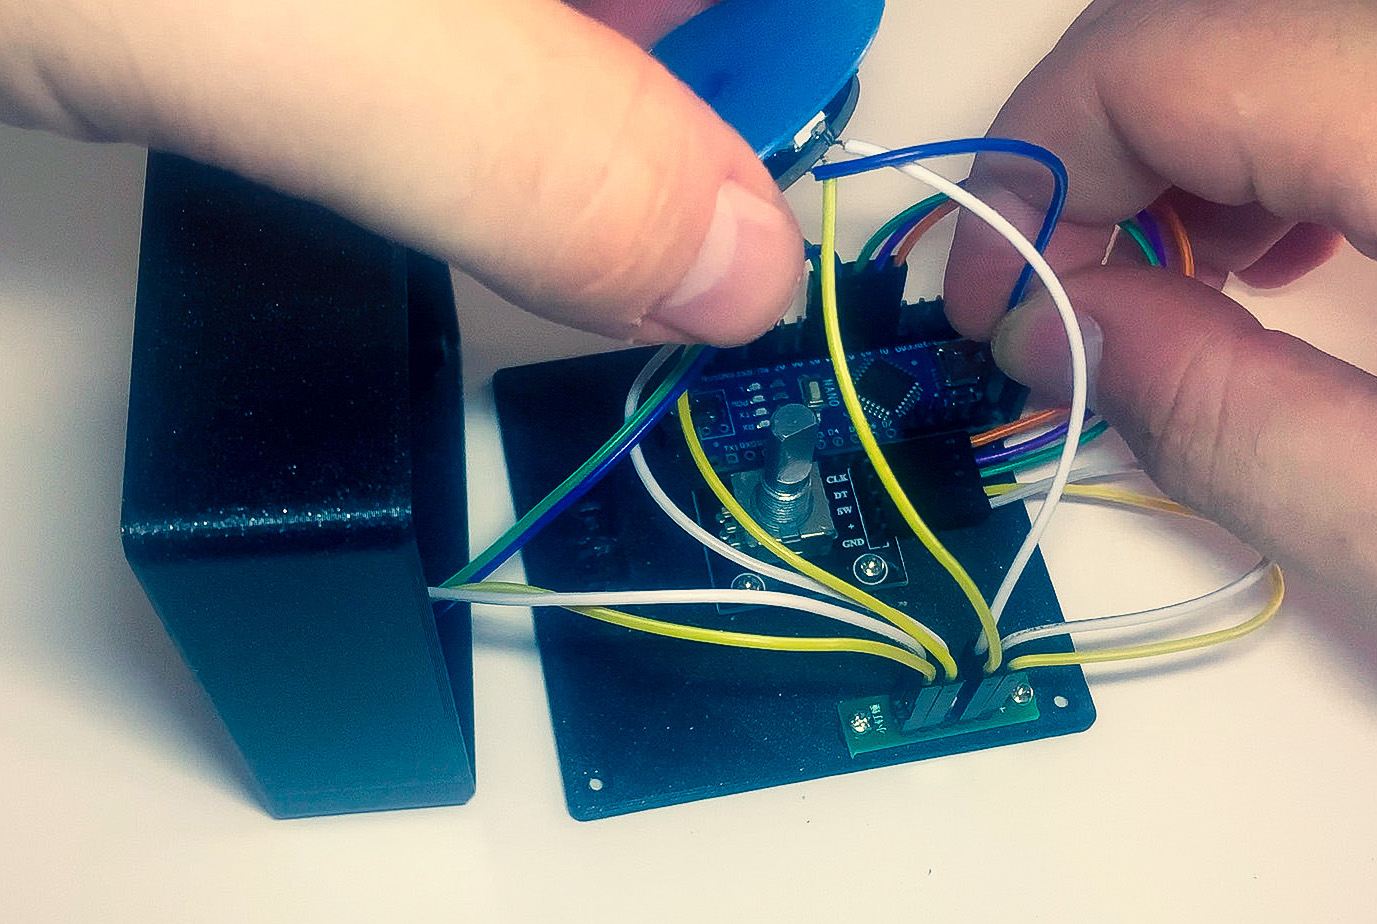
Inside the well-designed case you’ll find the usual suspects — Arduino Nano, rotary encoder, an OLED display, and an LED ring, each with their own place carved out.
This completely open-source knob looks great, and we love that it’s been made incredibly easy to replicate by standing up a site with foolproof, well-depicted, step-by-step instructions. Watch them take it for a spin after the break.
Want more than volume at your fingertips? Here’s a DIY USB knob that does shortcuts, too.
Continue reading “Multi-Volume Knob Gives All Your Programs A Turn”