Filament Dry Box Design Goes Way Over The Top

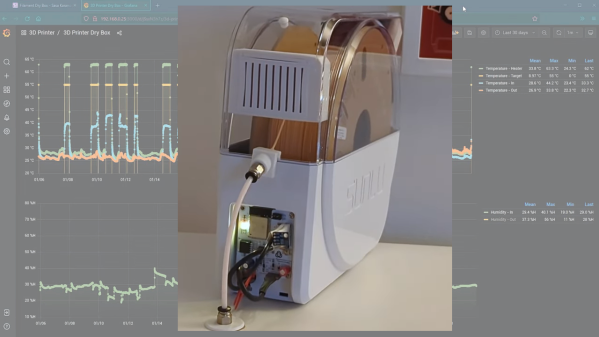
There’s a fine line between simple feature creep and going over the top when it comes to project design. It’s hard to say exactly where that line is, but we’re pretty sure that this filament dry box has at least stepped over it, and might even have erased it entirely.

Sure, we all know the value of storing 3D printer filament under controlled conditions, to prevent the hygroscopic plastics from picking up atmospheric moisture. But [Sasa Karanovic] must really, REALLY hate the printing artifacts that result. Starting with a commercially available dry box that already had a built-in heating element, [Sasa] took it to the next level by replacing the controller and display with an ESP32. He added a fan to improve air circulation inside the enclosure and prevent stratification, as well as temperature and humidity sensors. Not satisfied with simply switching the heating element on and off at specific setpoints, he also implemented a PID loop to maintain a constant temperature. And of course, there’s a web UI and an API available for third-party control and monitoring.

The video below details [Sasa]’s design thoughts and goes into some detail on construction and performance. And while we may kid that this design is over-the-top, what really comes through is that this is a showcase for design ideas not only for one application, but for hardware projects in general. There are certainly simpler heated dry box designs, and zero-cost solutions as well, but sometimes going overboard has its own value too.

Continue reading “Filament Dry Box Design Goes Way Over The Top”

Pico Does PID

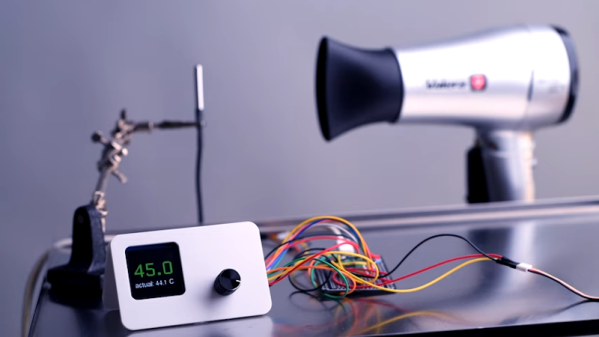
If you wanted to, say, control a temperature you might think you could just turn on a heater until you reach the desired temperature and then turn the heater off. That sort of works, but it is suboptimal — you’ll tend to overshoot the goal and then as the system cools down, you’ll have to catch up and the result is often a system that oscillates around the desired value but never really settles on the correct temperature. To solve that, you can use a PID — proportional integral derivative — loop and that’s what [veebch] has done with a Rasberry Pi PICO and Micropython.

The idea is to control an output signal based on the amount of difference between the actual temperature and the desired temperature (the proportional error). In addition, the amount is adjusted based on the long term error (integral) and any short term change (the derivative). You can also see a video about using the control loop to make a better sous vide burger, below. Continue reading “Pico Does PID”

Fail Of The Week: Magnetic Levitation

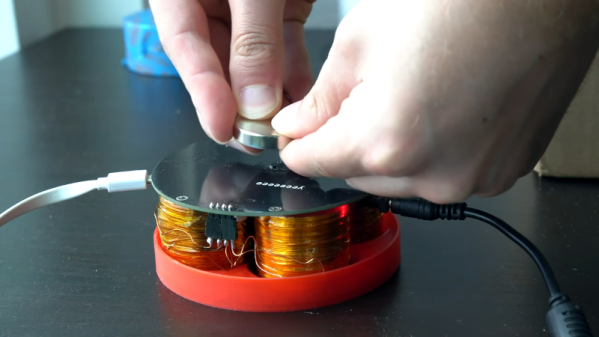
We are big fans of the little desktop magnetic levitation setups that float a small object on a magnet. As [3D Printed Life] points out, they look like magic. He was surprised that the commercial units use analog electronics. He decided to build a digital version but didn’t know what he was getting into. He details his journey in the video you can see below.

Along with a custom control board, he decided to wind his own electromagnets. After finding that tedious he built a simple coil winder to automate some of the work.

Continue reading “Fail Of The Week: Magnetic Levitation”

Self Balancing Robot Needs A Little Work

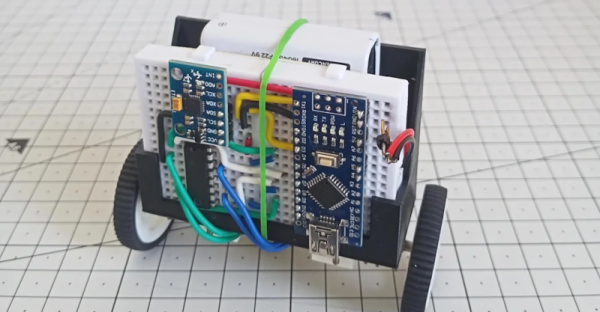
A self-balancing robot isn’t a new idea, but we liked the aesthetics of [Maker ATOM’s] build. The use of a breadboard and a printed bracket looks good, as you can see in the video, below.

Like most first-time projects, though, there were some lessons learned. The power supply needs a little work and the range of balance compliance didn’t meet expectations. But those problems are soluble and, as usual, you often learn more from working through issues like these.

Continue reading “Self Balancing Robot Needs A Little Work”

Line Following Robot Uses PID For Speed

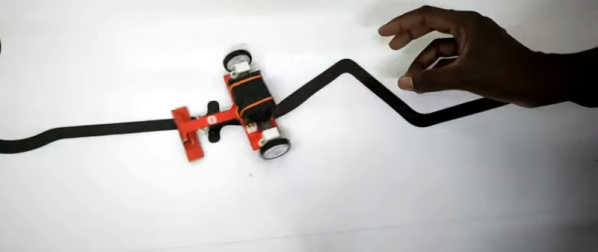
While a line-following robot may not be the newest project idea in the book, this one from [Edison Science] is a clean build using modern components and gets a good speed thanks to PID control feedback instead of the more traditional bang-bang control you see in low-end robots.

Of course, PIDs need tuning and that seems to be the weak link — you’ll have to experiment with the settings. The sensors also require calibration, but we bet both of those issues could be fixed pretty easily.

Continue reading “Line Following Robot Uses PID For Speed”

This Custom Dynamometer Is A Stirling Example Of Homebrewing

[Leo Fernekes] has fallen down the Stirling engine rabbit hole. We mustn’t judge — things like this happen in the best of families, after all. And when they do happen to someone like [Leo], things can get interesting mighty quickly.

His current video, linked below, actually has precious little to do with his newfound Stirling engine habit per se. But when you build a Stirling engine, and you’re of a quantitative bent, having some way to measure its power output would be handy. That’s a job for a dynamometer, which [Leo] sets out to build in grand fashion. Dynos need to measure the torque and rotational speed of an engine while varying the load on it, and this one does it with style.

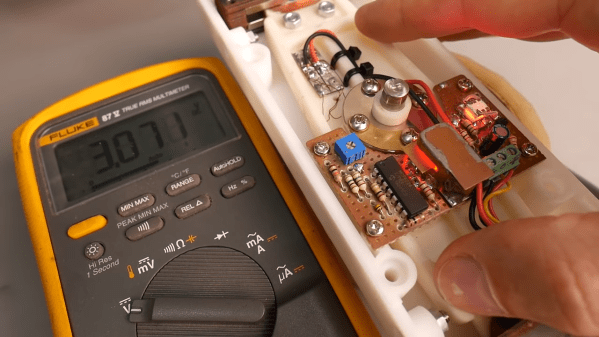
[Leo]’s torque transducer is completely DIY, consisting of hand-wound coils on the ends of a long lever arm that’s attached to the output shaft of the engine under test by a magnetic coupling. The coils are free to move within a strong magnetic field, with a PID loop controlling the current in the coils. Feedback on the arm’s position is provided by an optical sensor, also DIY, making the current necessary to keep the arm stationary proportional to the input torque. The video goes into great detail and has a lot of design and build tips.

We just love the whole vibe of this build. There may have been simpler or quicker ways to go about it, but [Leo] got this done with what he had on hand for a fraction of what buying in off-the-shelf parts would have cost. And the whole thing was a great learning experience, both for him and for us. It sort of reminds us of a dyno that [Jeremy Fielding] built a while back, albeit on a much different scale.

Continue reading “This Custom Dynamometer Is A Stirling Example Of Homebrewing”

Parkinson’s Spoon Uses Control Theory For Good

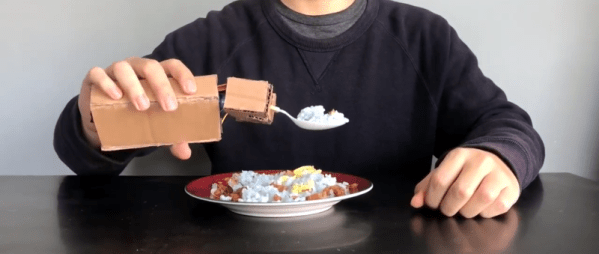
When we first saw [Barqunics’] design for a self-stabilizing spoon for people suffering from Parkinson’s disease, we wondered how well something like that could work. But take a look at the video below and you’ll see this does a fine job of responding to the user’s hand movements and keeping the spoon perfectly level through a wide range of motion.

There’s at least one commercial product that attempts to stabilize a spoon in the same way so that people suffering from that affliction can retain a measure of independence. This shows that you don’t need injection molding and factory made boards to prove the concept. An MPU6050 provides sensor information and two servo motors control the spoon using PID control.

PID — short for proportional, integral, derivative — is a way to adjust something to a desired point. For example, consider trying to heat a cup of water to 95 °C. If you simply turn the heater on full blast until you get to 95 °C, the water will actually get hotter because you’ll overshoot. Using PID, the amount of heating provided will depend on how far off you are now (proportional), how far off you’ve been over the long term (integral), and how much change you’ve effected recently (derivative). The same algorithm works for spoon-balancing and many other types of controls.

This isn’t the first bootstrapped assistive spoon project we’ve seen. We even looked at the commercial version, awhile back.

Continue reading “Parkinson’s Spoon Uses Control Theory For Good”