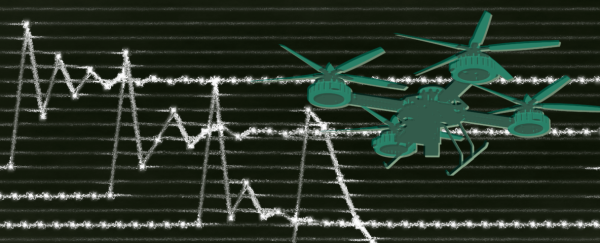
Your quad-copter is hovering nicely 100 feet north of you, its camera pointed exactly on target. The hover is doing so well all the RC transmitter controls are in the neutral position. The wind picks up a bit and now the ‘copter is 110 feet north. You adjust its position with your control stick but as you do the wind dies and you overshoot the correction. Another gust pushed it away from target in more than one direction as frustration passes your lips: ARGGGHH!! You promise yourself to get a new flight computer with position hold capability.
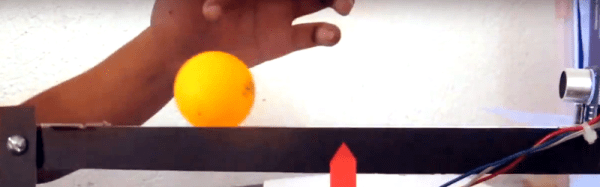
How do multicopters with smart controllers hold their position? They use a technique called Proportional – Integral – Derivative (PID) control. It’s a concept found in control systems of just about everything imaginable. To use PID your copter needs sensors that measure the current position and movement.
The typical sensors used for position control are a GPS receiver and an Inertial Management Measurement Unit (IMU) made up of an accelerometer, a gyroscope, and possibly a magnetometer (compass). Altitude control would require a barometer or some other means of measuring height above ground. Using sensor fusion techniques to combine the raw data, a computer can determine the position, movement, and altitude of the multicopter. But calculating corrections that will be just right, without over or undershooting the goal, is where PID comes into play. Continue reading “Flying With Proportional – Integral – Derivative Control”
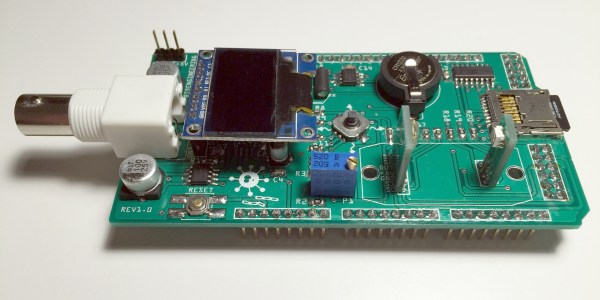
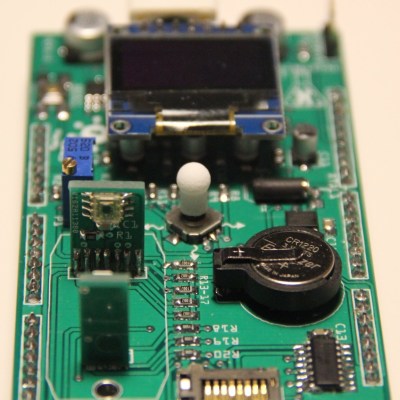 Taking the form of an Arduino mega-shield that supports a pH meter, a spectrophotometer, and a PID-controlled hot plate, [M. Bindhammer]’s design has a nice cross-section of the instruments needed to start biohacking in your basement. Since the shield piggybacks on an Arduino, all the data can be logged, and decisions can be made based on the data as it is collected. One example is changing the temperature of the hot plate when a certain pH is reached. Not having to babysit your experiments could be a huge boon to the basement biohacker.