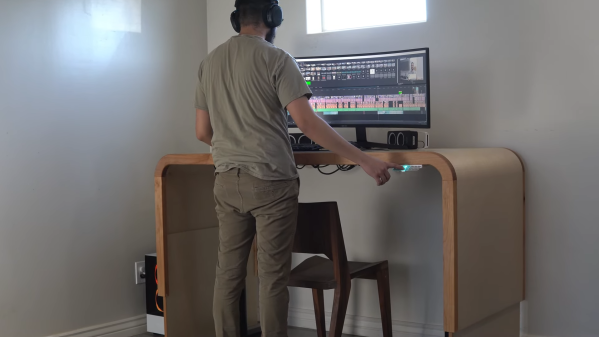
Standing desks (also known as sit-stand desks) are somewhat polarizing. The height is adjustable, but the idea is that you move between sitting and standing while you work. Hundreds of manufacturers are out there, but they’re all the same. Two metal legs that extend and one or more motors to move the legs up and down. [JAR Made] tried to make something slightly different for their standing desk with an extending curved surface.
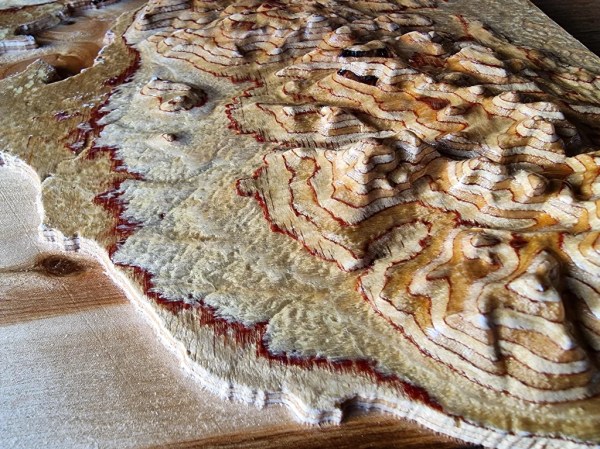
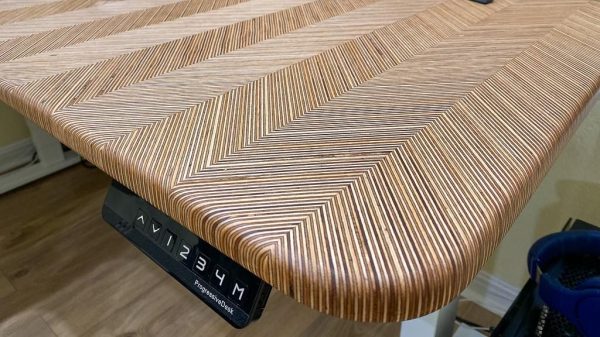
The build started with some gorgeous alder that was milled into square with a track saw and a planer — no jointer was required. However, he wanted long boards and was debating how to butt join the pieces together and decided on pocket holes with dowels to try and clamp the boards together while the glue dried. The resulting product was one that [JAR Made] was unhappy with. He pivoted on his feet by switching Baltic birch plywood for the main desk surface. Which was bent using a kerf-cutting technique (though just using a track saw rather than a CNC bit).
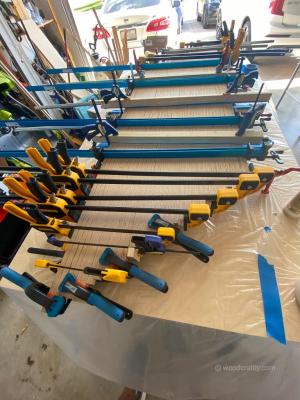
Here is where you can see him learn from his earlier mistakes. He routed a half lap in the plywood for the butt joint to give it more strength and devised a clever clamping mechanism using CA glue and painter’s tape to get good clamping pressure. The alder from earlier came in use to serve as a front edge for the plywood and a groove to hold the sliding piece of plywood that extends and retracts as the desk goes up and down.
Regular old standing desk legs screw into the underside of the desk and allow it to move up and down. Overall, it’s a wonderful build of a gorgeous desk. We love seeing people make mistakes and then pivot and learn from them. Perhaps the next step is to automate the desk to move on its own.