[ClownVamp]’s art project The Junk Machine is an interactive and eye-catching machine that, on demand, prints out an equally eye-catching and unique yet completely meaningless (one may even say corrupted) AI-generated advertisement for nothing in particular.
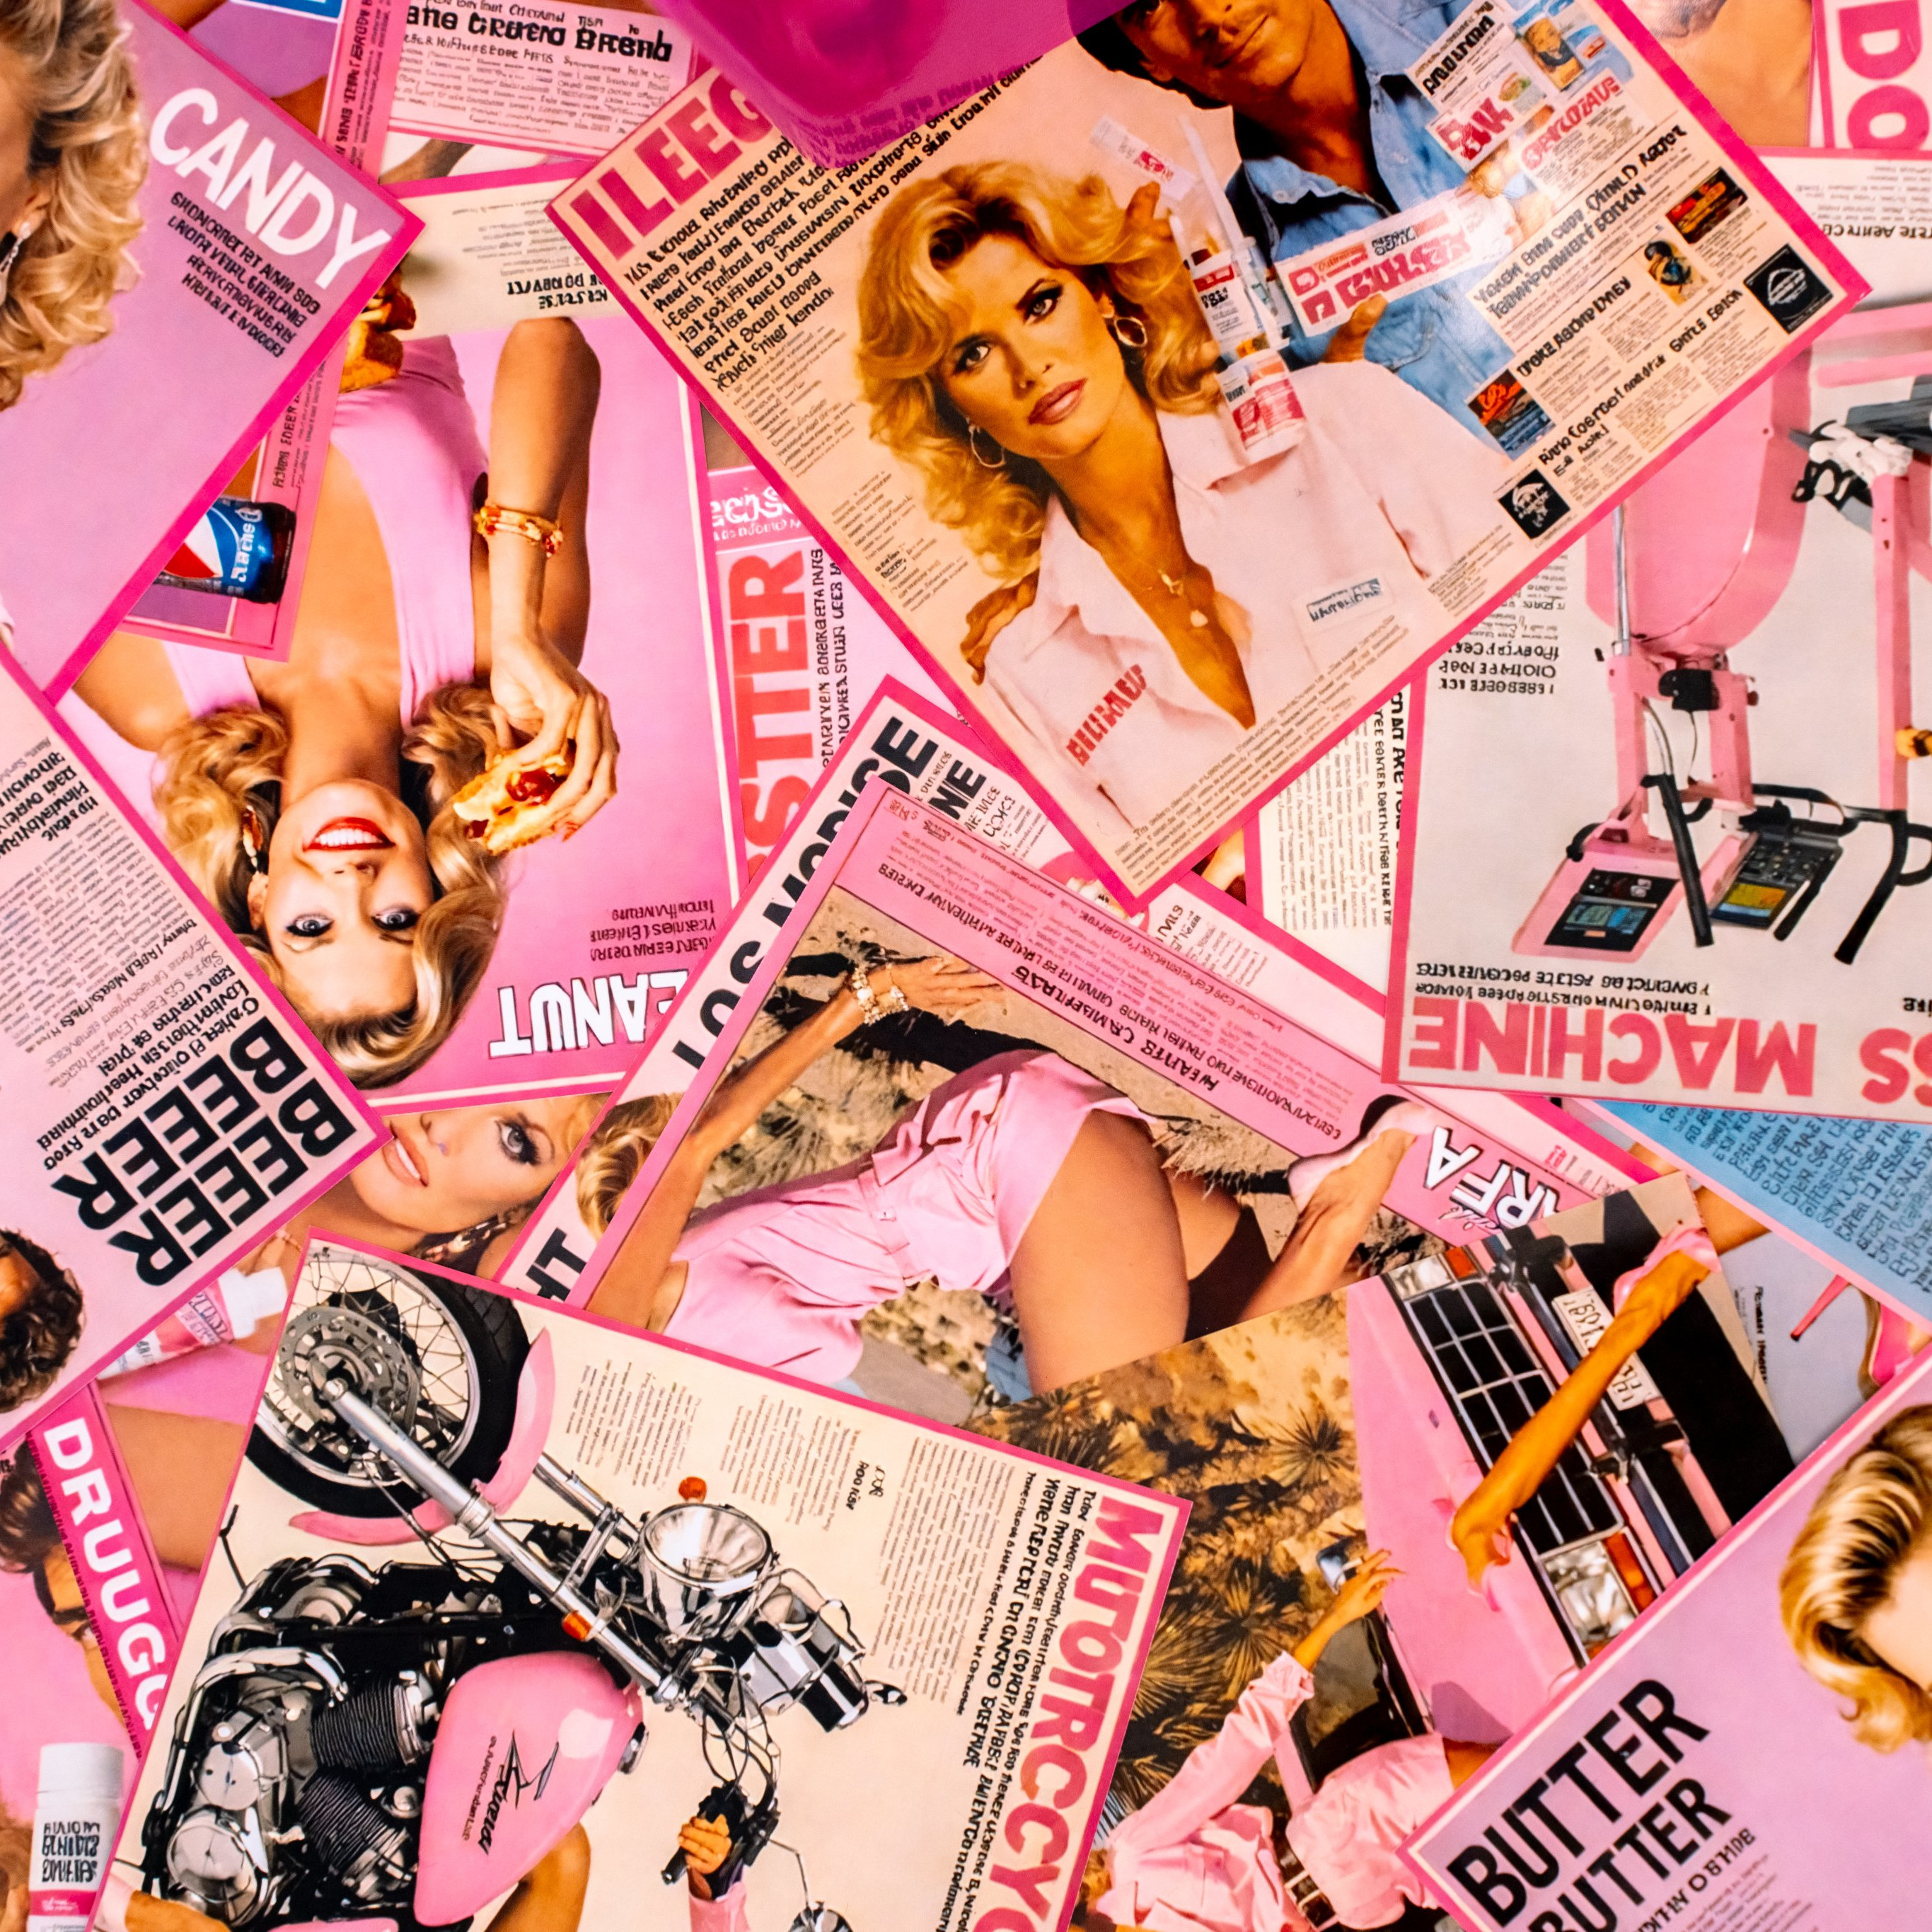 The machine is an artistic statement on how powerful software tools that have genuine promise and usefulness to creative types are finding their way into marketer’s hands, and resulting in a deluge of, well, junk. This machine simplifies and magnifies that in a physical way.
We can’t help but think that The Junk Machine is in a way highlighting Sturgeon’s Law (paraphrased as ‘ninety percent of everything is crud’) which happens to be particularly applicable to the current AI landscape. In short, the ease of use of these tools means that crud is also being effortlessly generated at an unprecedented scale, swamping any positive elements.
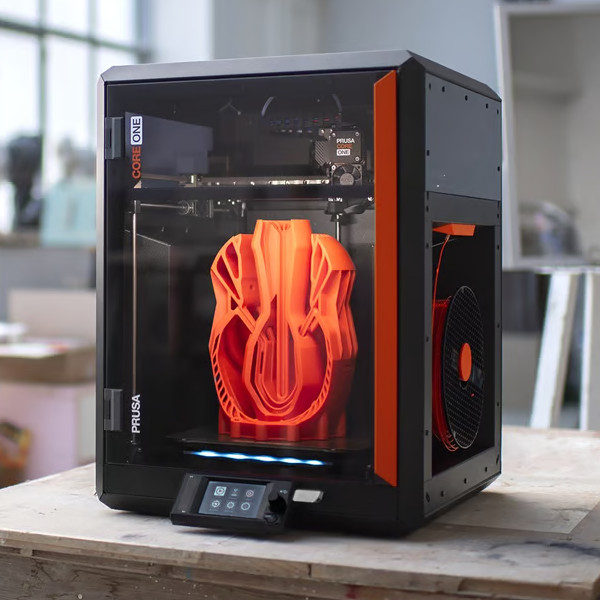
As for the hardware and software, we’re very interested in what’s inside. Unfortunately there’s no deep technical details, but the broad strokes are that The Junk Machine uses an embedded NVIDIA Jetson loaded up with Stable Diffusion’s SDXL Turbo, an open source AI image generator that can be installed and run locally. When and if a user mashes a large red button, the machine generates a piece of AI junk mail in real time without any need for a network connection of any kind, and prints it from an embedded printer.
Watch it in action in the video embedded below, just under the page break. There are a few more different photos on [ClownVamp]’s X account.
Continue reading “The Junk Machine Prints Corrupted Advertising On Demand”