DIY Planetarium Built From PVC Pipes And Cardboard

When you think about DIY projects, you probably don’t consider building your own planetarium. Why would you? Building the thing is surely outside the capabilities of the individual, and even if you could figure it out, the materials would be far too expensive. There’s a limit to DIY projects, and obviously building a planetarium is on the wrong side of the line. Right?

Well, apparently not. [Gabby LeBeau] has documented the planetarium she built as her senior project, and if you’ll forgive the pun, it’s absolutely out of this world. Using readily available parts and the help of family and friends, she built a fully functional planetarium big enough to seat the Physics Department. No word on what grade she got, but it’s a safe bet she screwed the curve up for the rest of the class.

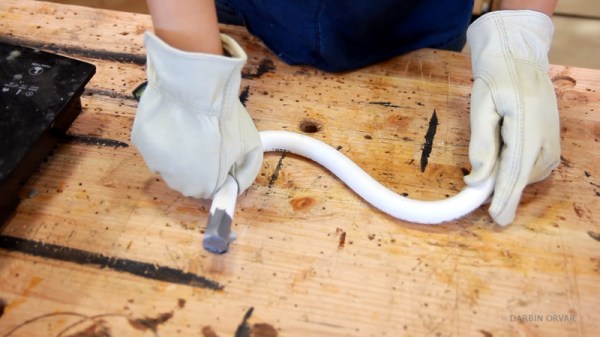
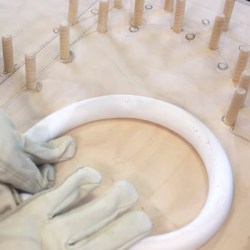
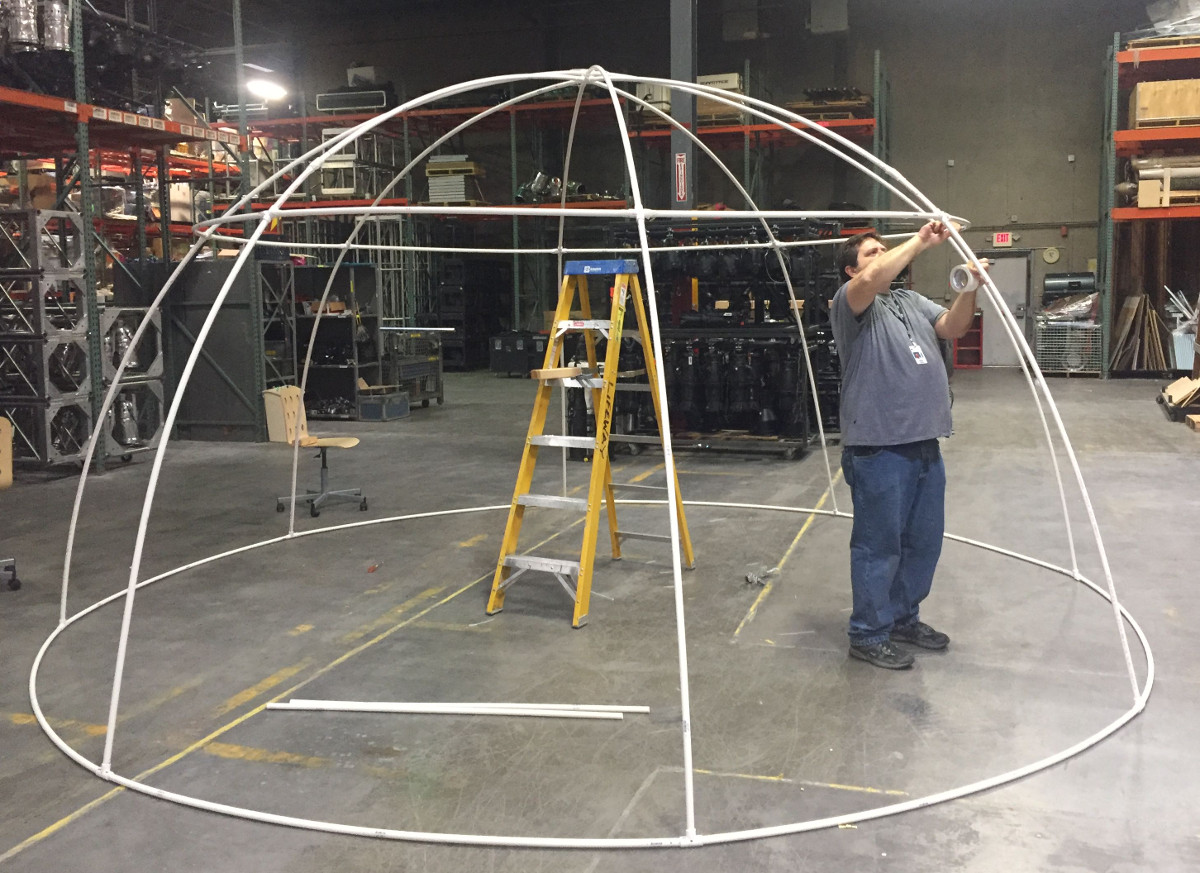
After two months of research and a couple of smaller proof of concept builds, she was able to find a business who graciously allowed her to construct the full scale planetarium in their warehouse. The frame is made of PVC pipes held together with zip ties. The big advantage to using the PVC pipes (beyond being cheap and easy to works with) is that they will automatically find a hemispherical shape when bent; saving the time and trouble it would take to create the shape with more rigid building materials.

Once the PVC frame was up, white cardboard panels were cut to shape and attached to the inside. The panels were lined up as closely as possible, but gaps were covered with white tape so the fit didn’t need to be perfect. When the dome was finished, it was lifted and placed on metal trusses to get some room underneath, and finally covered with a black tarp and stage curtain to block out all light.

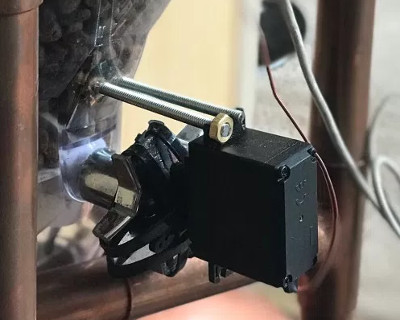
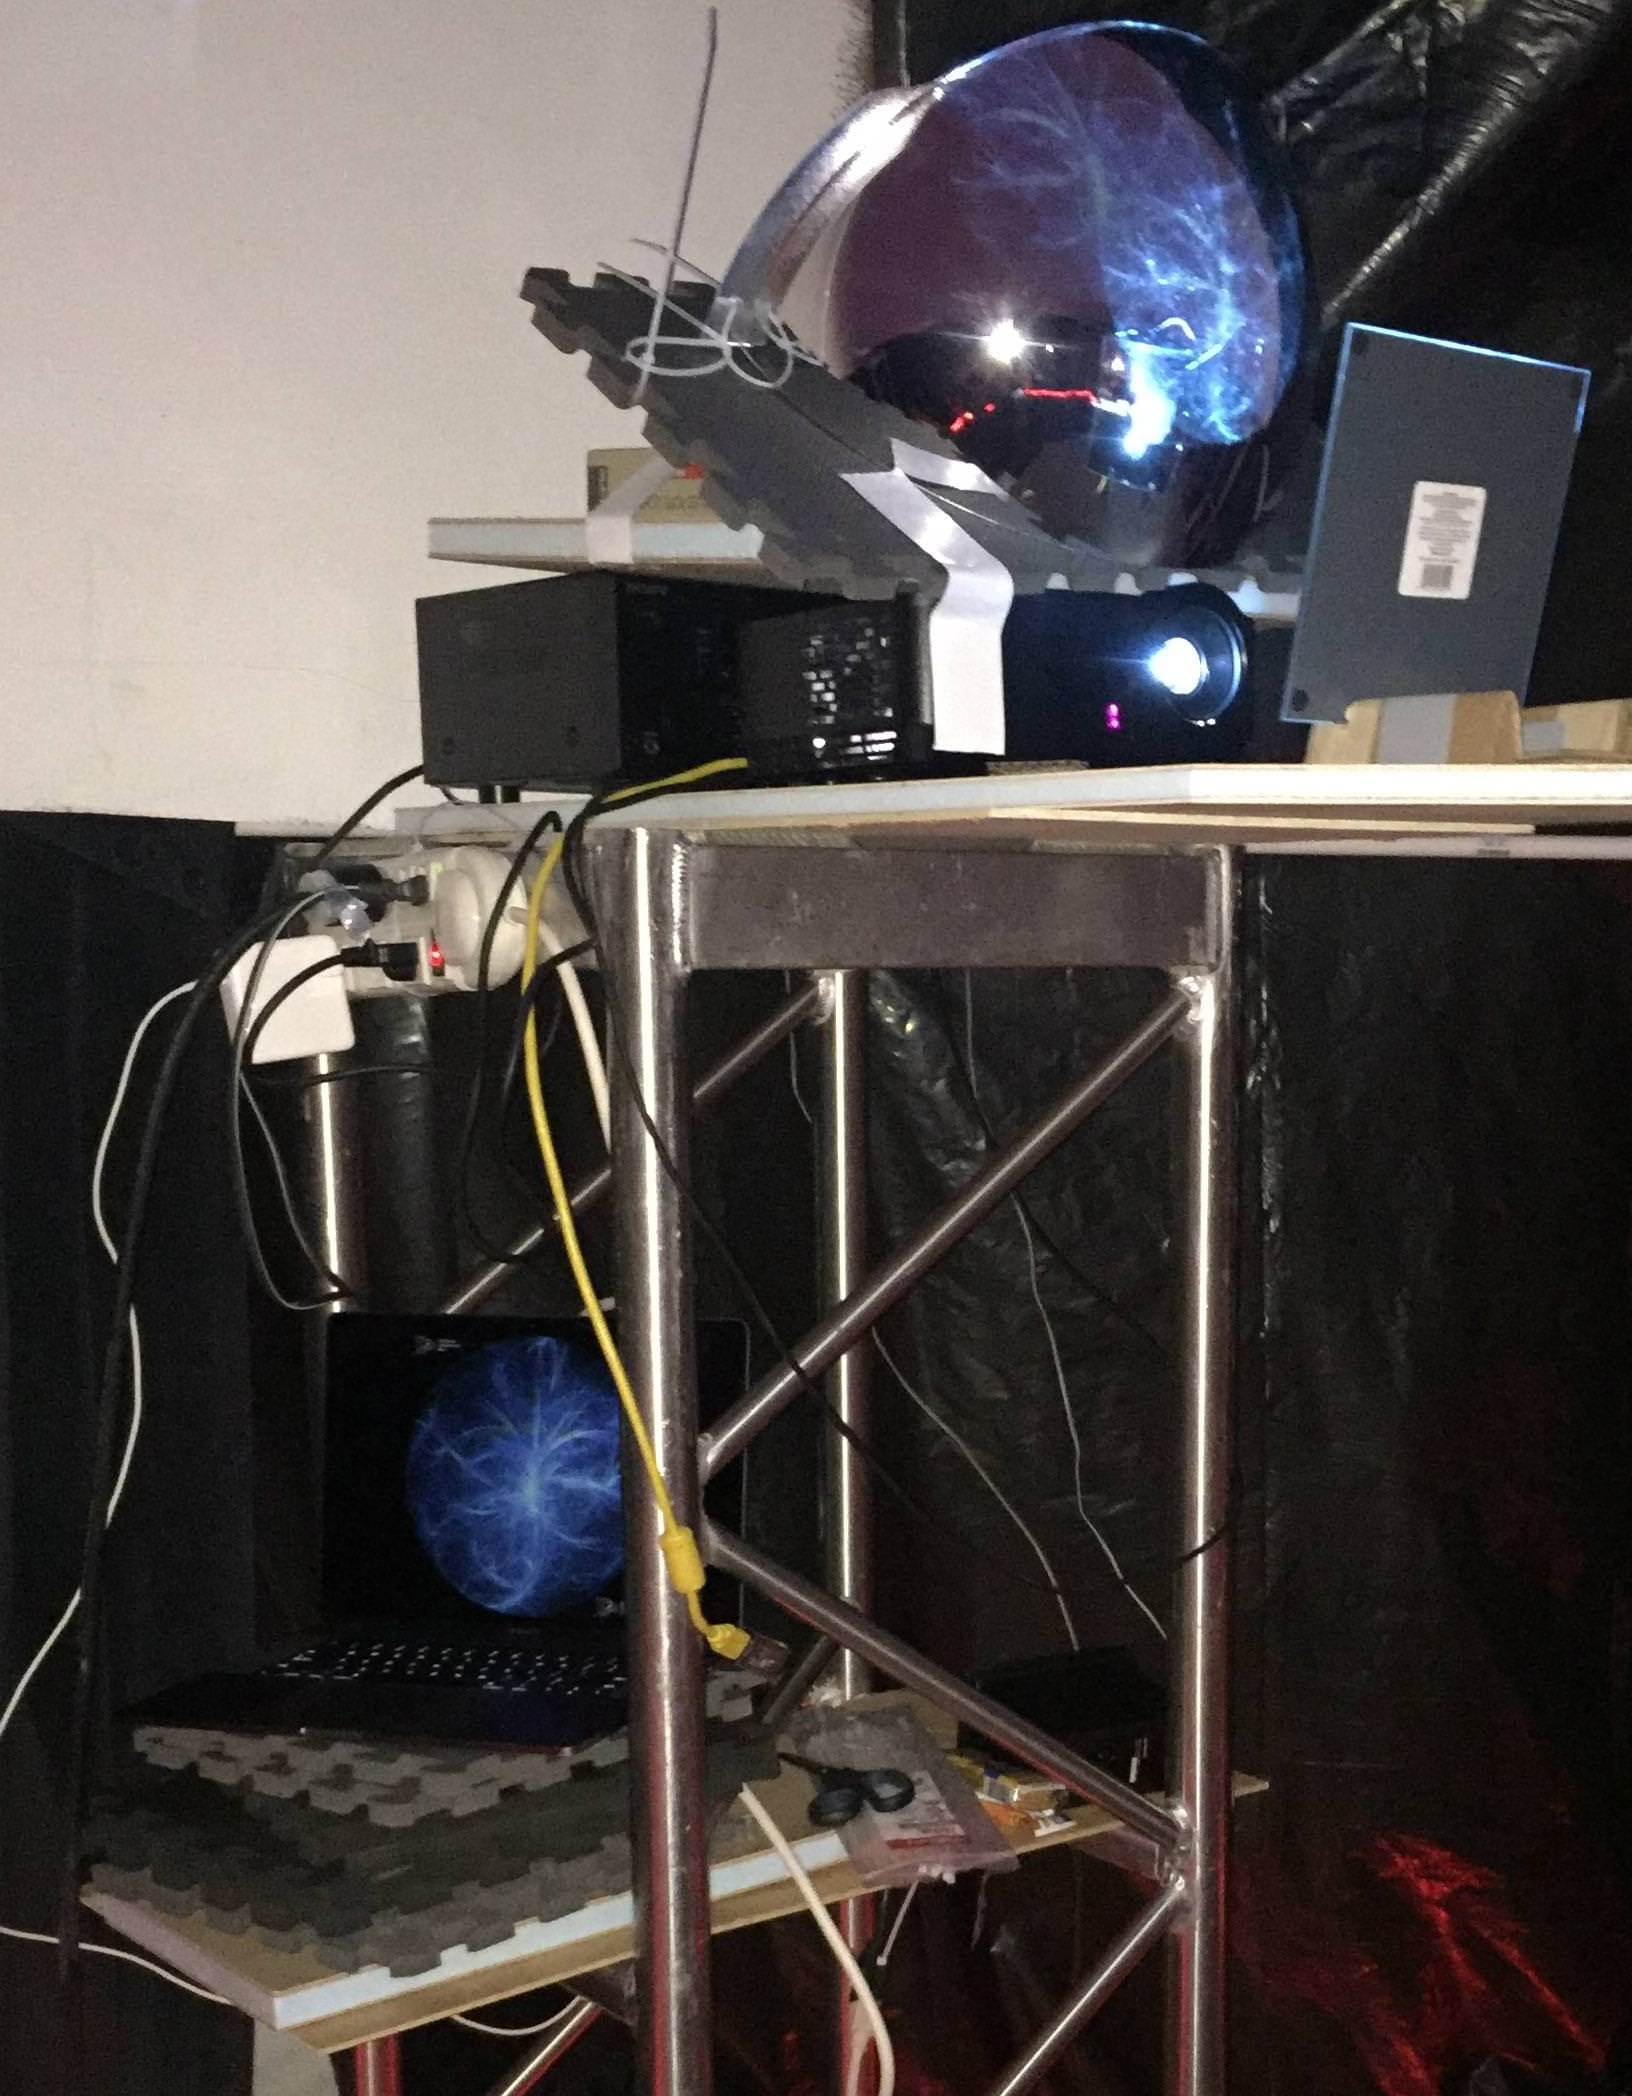
Of course, she didn’t go through all this trouble to just stick some glow in the dark stars on the inside of this thing. The image from a standard projector is directed at a flat mirror, which then bounces off of a convex mirror. Driving the projector is a laptop running Stellarium. While there were some imperfections she couldn’t get polished or cleaned off of the mirrors, the end result was still very impressive.

Unfortunately, you can’t really do a planetarium justice with a camera, so we aren’t able to see what the final image looked like. But judging by the slack-jawed faces of those who are pictured inside of it, we’re going to go out on a limb and say it was awesome.

We might suggest trying to quiet down the projector or adding some lasers to the mix, but overall this is a truly exceptional project, and we’re jealous of everyone who got to experience it first hand.

PipeCam: Shallow-Water Exploration With Raspberry Pi

In what began as a personal challenge he issued to himself, [Fred] is in the process of building an underwater camera that’s capable of long-term photography in shallow waters. He’d like it to last about five hours on a charge while taking a photo every five minutes. Ideally, it will be as cheap as possible and constructed from readily available parts. Solving the cheap/available equation would theoretically make the camera easily to replicate, which is the third major requirement.

[Fred] has recently made great strides, both in the circuitry and the capsule design. The latest version uses a Raspberry Pi 3 with a V2 camera module and runs on a 12 V, 2.4 Ah rechargeable lead-acid battery. Everything is mounted on a piece of hardboard that slides into a 110mm piece of PVC. At one end, the camera looks out through a 10mm  acrylic lens fixed into a heavy-duty PVC fitting, and a DS1307 RTC provides a handy clock for shooting time lapses. With a friend’s help, he pressure-tested the housing and found that it can withstand 4 bar without leaking. He is still doing dry tests and trying hard to resist the urge to throw it in the water.

PipeCam is a work in progress, and [Fred] has many ideas for improvements. He’d like to add an Arduino to govern the battery use and provide its vital signs back to the Pi, and add an LDR to decide whether there’s enough light to warrant turning the Pi on to take pictures.

PVC is great for custom capsule building. But if you want to get started with underwater photography a little faster and want to build something instead of just buying a GoPro, try sealing your camera in something that’s already watertight.

Easy, Modular Alphanumeric Displays Are Full Of Flappy Goodness

There are plenty of ways to make large alphanumeric displays that are readable at great distances. LED signboards come to mind, as do big flat-screen LCD displays. But such displays feel a little soulless, and nothing captures the atmosphere of a busy train station like an arrivals and departures board composed of hundreds of split-flap displays.

In a bid to make these noisy but intriguing displays practical for the home-gamer, [Scott Bezek] has spent the last couple of years on a simple, modular split-flap display unit, and from the look of the video below, it’s pretty close to ready. The build log details the design process, which started with OpenSCAD and took advantage of the parametric nature of the scripting language to support any number of characters, within reason. Costs are kept low with laser-cut MDF frames and running gear, and cheap steppers provide the motion. Character cards are just PVC ID badges with vinyl letters, and a simple opto-sensor prevents missed steps and incorrect characters. The modules can be chained together into multi-character displays, and the sound is satisfyingly flappy.

[Scott] has put a lot of thought into these displays, and even if it’s not the simplest split-flap display we’ve seen, it’s really worth checking out.

Continue reading “Easy, Modular Alphanumeric Displays Are Full Of Flappy Goodness”

Automatic Dust Collection For The Whole Shop

If you’ve got a woodworking area, or even if you’ve just got something that really churns out dust like a belt sander or table saw, there’s an excellent chance you hate sawdust with a passion. It gets all over your clothes, jams up everything mechanical, and as a fun little bonus can be explosive if not handled properly. Thankfully newer tools tend to come with their own dust collection bags (back in the old days, you weren’t really a man unless you were coughing up wood fibers), but if you’ve got a half a dozen tools with half a dozen different dust bags you’ve got to empty, that can get pretty annoying.

Especially if you take woodworking as seriously as [Brad Wright] does. Over on his YouTube channel [DIY Builds], he quickly runs through the construction of a whole-shop dust collection system with some very neat features. Not everyone needs a system this intricate, but the tips and tricks he shows off during the build are great and can certainly be adapted to less grandiose setups.

Dust collection connector with closeable gate
One of the scratch-built gates.

[Brad] goes into a bit more detail in this gallery, revealing that the heart of the build is a Harbor Freight dust collection system that he modified into a cyclone separator. Big chunks fall down into the 55 gallon bucket, and what’s left gets blown out of the shop via a louvered vent through an exterior wall. An intricate system of 4 inch PVC pipe is then used to connect up each individual machine’s dust collection port. Even individual hand sanders get into the act via a three way manifold. His table saw lacked a dust port, so he enclosed the motor with a piece of plywood and made his own.

One of the most interesting aspects of the build is the scratch-built blast gates. These are essentially valves which open and close the different sections of the PVC where they mate to the individual stations. This prevents the dust collection system from wasting suction by trying to pull from all the stations at once when only one is in use at any given time. [Brad] even wired up the blast gates with switches that will turn the dust collection system on when the gate is open, and off when it’s closed.

This isn’t the first time we’ve covered the lengths people will go to rid their shop of dust. Cyclone dust separators are an especially popular build, using everything from sheet metal to 3D printed parts.

Continue reading “Automatic Dust Collection For The Whole Shop”

Tis The Season For Terror With DIY Krampus

The holiday season is full of many sounds; walking through your neighborhood on a winter night you may hear time-honored songs, the tinkling of glasses, and the laughter of good company. But if the chilly wind also brings to your ear the panicked sounds of screaming children, you may have wandered a bit to close to [Tyler Garner]’s house.

Rather than old Saint Nick or a couple of reindeer, [Tyler] decided to top the roof of his home with a disturbingly well done rendition of everyone’s favorite��Austro-Bavarian goat-demon, Krampus. While he did finish the build off with a store-bought Krampus mask, every other component was made with about a 60/40 ratio of hardware to craft store scores. While your holiday decorations this year may not include any spawns of hell, the general construction techniques and resourcefulness [Tyler] shows in this build may come in handy when Halloween rolls around again.

The “skeleton” of Krampus is made up of PVC pipes and fittings mounted on an MDF base. Not only do the PVC fittings make it easy to recreate the rough anatomy of a humanoid figure, but if you don’t glue them all together, you can take it apart later for storage. We might have gone with something a little heartier than MDF for the base, but at least [Tyler] added a few pieces of galvanized pipe at the bottom to give it a little weight down low.

Things start to get interesting when [Tyler] adds sections of drainage pipe to his PVC skeleton to give it a more girth, as he was finding the bare PVC didn’t have a realistic presence when the robes were thrown over them. [Tyler] also uses expanding spray foam to soften up areas such as the hunched back, which may look messy but has the dual advantages of being cheap and fast.

The figure’s robes are made up of a patchwork of burlap, waterproofed with a spray on liner intended for pickup truck beds. With the application of red and black spray paint and the customary white fringe, it really nails the look.

A particularly nice detail is the hoof peeking out from beneath the robes, which [Tyler] made out of painted air-dry clay. It’s an awesome detail, though almost impossible to see once Krampus is mounted on the roof. Maybe it’s just us, but we think putting so much effort into a nearly hidden feature of a project is the true mark of a master craftsman; this is a secret little hoof that [Bob Ross] himself would be proud of.

While we can’t say we’ve played host to holiday scamps like Krampus or Belsnickle before, Hackaday has certainly seen its fair share of festive hacks over the years.

Cat Feeder Has Steampunk Flair And A GMail Account

While it is often said that “necessity is the mother of invention”, we can’t say that’s always been our experience here at Hackaday. You won’t need to search too long before you find a project or hack on this site that definitely falls out of the realm of strict necessity. But that’s part of the fun, there’s a reason this site isn’t called AppropriateUseOfTime.com

But when [Sam Storino] couldn’t seem to stop his cats from howling for their supper at 3:00 AM, he had the perfect opportunity to fulfill that age-old wisdom. Not only did he manage to turn a trip to the plumbing isle of his local home improvement store into a very Steampunk-looking automatic cat feeder, but he also found the time to write up an exceptionally detailed series of blog posts on what he learned during the process.

The heart of the machine is everyone’s favorite Linux board, the Raspberry Pi. You might be thinking the Pi is overkill for a simple timer, and you’d be right. Rather than just dump the food out on a set schedule, [Sam] decided to get a little fancy and come up with some Python scripts that will monitor a GMail inbox and activate the feeder hardware when it receives an email with the title “feed cats”. He then uses IFTTT to send the appropriately named email to the GMail account of his cat feeder on a specific schedule. Hey, nobody said necessity was the mother of straightforward invention.

In the final post of the series, [Sam] goes over the hardware side of the device. Copper pipe makes up the frame, which holds a commercial off-the-shelf dry food dispenser. The feeder was designed for manual operation, but by attaching a continuous rotation servo [Sam] can spin it up and dump a pre-measured amount of food via the Pi’s GPIO pins. The addition of some PVC pipe and fittings takes the food and (at least in theory) divides it equally between the two cat bowls below.

If you think [Sam] may have put a bit more thought than was necessary into something as simple as feeding his pets, keep in mind that he’s in exceptionally good company. Paging through the archives, it seems the intersection of felines and hackers is littered with gloriously complex contraptions.

How To Bend PVC The Nice Way

PVC pipe is a valuable material to the backyard hacker. It’s cheap, readily available, and comes in a range of different sizes. However, what do you do if you need to bend it? The typical approach would be to grab a heat gun or blowtorch, warm it up, and go from there. These methods can get messy however, with kinks and melted surfaces spoiling the final result. Now [Linn] has released a video with a method that delivers impressively neat results.

A bending jig can help create repeatable results.

The method is simple, using that classic hacker staple — duct tape. The end of the pipe is taped off, and the pipe filled with sand. With the correct amount measured out, the sand is heated on a cooktop, then poured back into the pipe. After giving the heat some time to soften the plastic, the pipe can then be manipulated into the desired shape.

[Linn] does a great job of explaining the process in a clear and concise manner, and shares tips on how to use a bending jig to guide the final shape. Results are best with smaller pipes that are easier to heat through, but larger sections can be manipulated with patience.

We can’t wait to see what [Linn] builds with this new technique. The possibilities could be further expanded by combining with these PVC fittings designed just for building stuff.

[Thanks to George for the tip!]