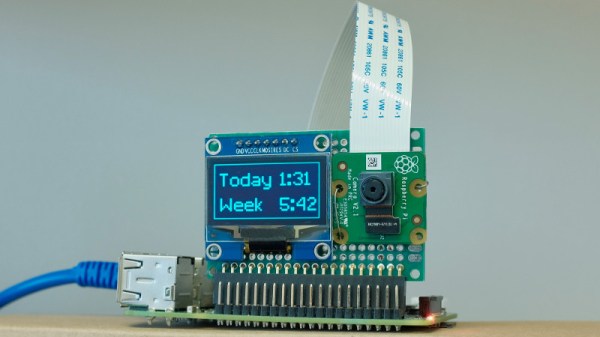
In a previous post, I showed how you could upload images into a Discord server from Python; leveraging the popular chat platform to simplify things like remote monitoring and push notifications on mobile devices. As an example, I showed an automatically generated image containing the statistics for my Battlefield 1 platoon which gets pushed to member’s devices on a weekly basis.
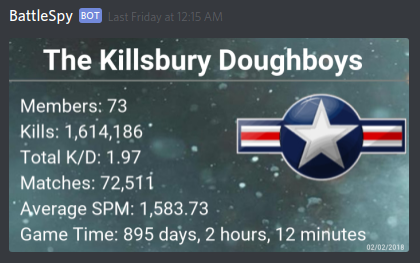
The generation of that image was outside the scope of the original post, but I think it’s a technique worth discussing on its own. After all, they say that a picture is worth 1000 words. So that means a picture that actually contains words must be worth way more. Like, at least 2000, easy.
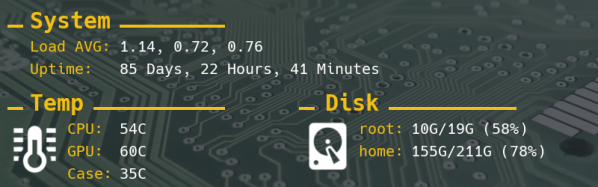
Being able to create images from your textual data can lend a bit of flair to your projects without the need to create an entire graphical user interface. By putting a text overlay on a pre-rendered image, you can pull off some very slick visuals with a minimum amount of system resources. So long as you have a way of displaying an image file, you’re good to go.
In this post I’ll quickly demonstrate how to load an image, overlay it with text, and then save the resulting image to a new file. This technique is ideal in situations where a display doesn’t need to be updated in real-time; visuals can be generated at regular intervals and simply displayed as static images. Possible uses include weather displays, “magic” mirrors, public signage, etc. Continue reading “Making Pictures Worth 1000 Words In Python”