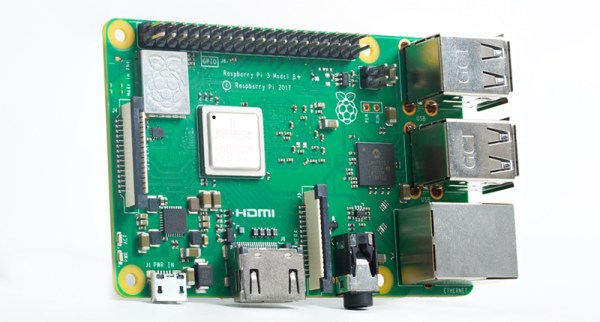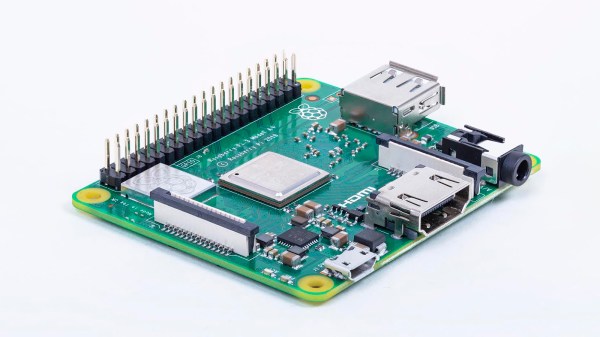
It’s that time of year again, and the Raspberry Pi Foundation has some new hardware for you. This time, it’s an improved version of the Raspberry Pi Model A, bringing it the speed and power of its bigger brother, the Raspberry Pi Model 3 B+.
 The Raspberry Pi Model A is the weird middle child of the Raspberry Pi lineup, or maybe it’s the Goldilocks choice. It’s not as powerful and doesn’t have the USB ports or Ethernet jack found in the latest revision of the family, the Raspberry Pi Model 3 B+, and it’s not as small or as cheap as the Raspberry Pi Zero W. If you’re running a Pi as just something that takes in power and spits out data on the GPIO pins, the Model A might be all you need.
The full specs include:
- Broadcom BCM2837B0 Cortex A-53 running at 1.4GHz
- 512 MB of LPDDR2 SRAM
- 2.4 GHz and 5 GHz 802.11 b/g/n/ac wireless LAN, Bluetooth 4.2/BLE
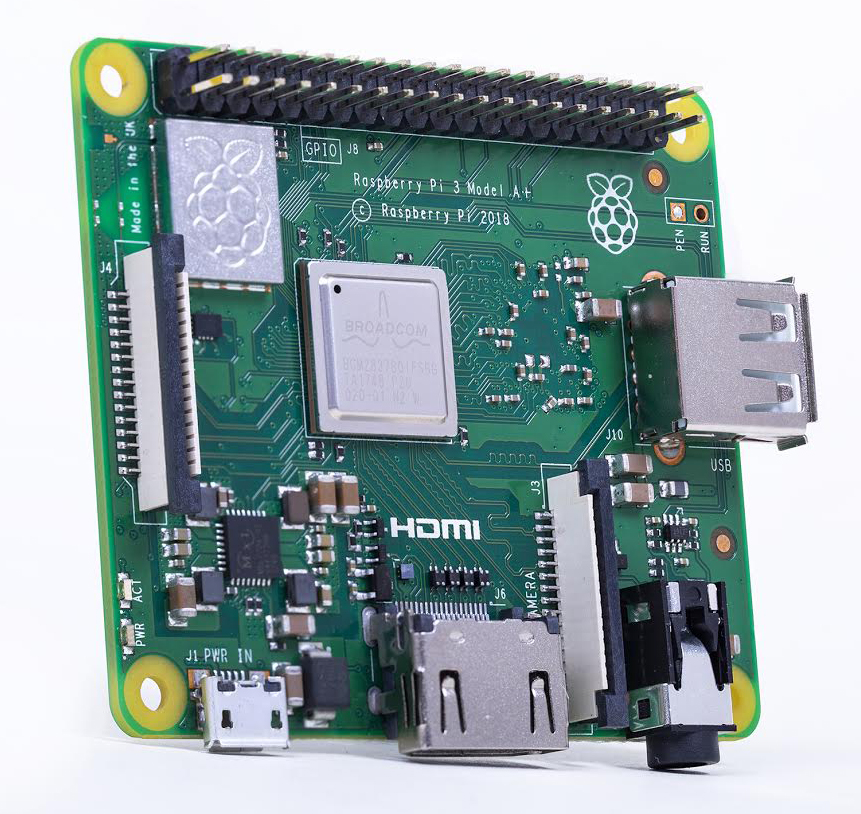
- Full size HDMI
- MIPI DSI display port / CSI camera port
- Stereo Output and composite video port
In short, we’re looking at a cut-down version of the Raspberry Pi Model 3 B+ released earlier this year, without an Ethernet port and only one USB port. The wireless chipset is hidden under a lovely embossed can, and until we get our hands on this new model and a pair of pliers, we’re assuming this is a CYW43455, the Cypress chipset found in the Pi 3 B+.
The price of the Raspberry Pi 3 Model A+ will be $25 USD, with availability soon at the usual retailers. Since there’s no such thing as a Pi Zero 3 yet, if you’re looking for a powerful Linux computer, with wireless, in a small form factor, you’re not going to do much better than this little guy. You could of course desolder a Pi 3 B+, but for now this is the smallest, most powerful single board computer with good software support.