
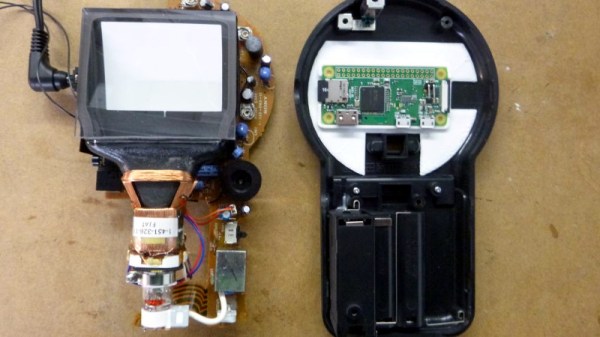
Those who have children of their own might argue that the youth of today are getting far too much internet time. [Nick] decided to put an emergency stop to it and made this ingenious internet kill switch to threaten teenagers with. Rather unassuming on the outside, the big red button instantly kills all network traffic as soon as you push it down, doing its label justice. Reset the toggle button, and the connection is restored, simple as that.
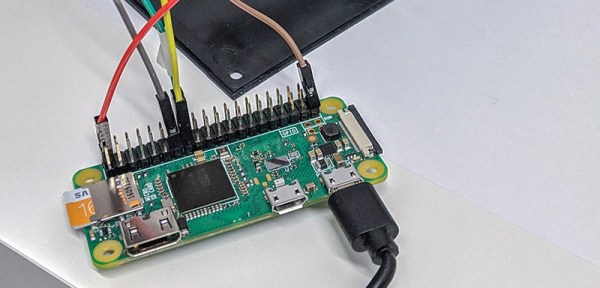
In order to achieve this, [Nick] fit inside the enclosure a Raspberry Pi Zero W, along with a battery and a wireless charging circuit for portability and completely wireless operation. The button is wired into the Pi’s GPIO and triggers a command to the router via SSH over WiFi, where a script listening to the signal tells it to drop the network interfaces talking to the outside world. It’s simple, it’s clean, and you can carry it around with you as a warning for those who dare disobey you. We love it.
Another use for big red buttons we’ve seen in the past is an AC power timer, but you can do just about anything with them if you turn one into an USB device. Check this one in action after the break.
Continue reading “Curbing Internet Addiction In A Threatening Manner”


 The hardware for this build is a traffic light table lamp available on Amazon for twenty bucks. Inside this traffic light, you get a PCB with three LEDs and a small microcontroller to control the LEDs. The microcontroller isn’t used in this case, instead the microcontroller is removed and a few wires are soldered up to the base of the transistors used to drive the LEDs. The other ends of these wires are attached to a trio of pins on a Raspberry Pi Zero W, giving this traffic light table lamp Linux and a connection to the Internet.