Drone racing is nifty as heck, and a need all races share is a way to track lap times. One way to do it is to use transponders attached to each racer, and use a receiver unit of some kind to clock them as they pass by. People have rolled their own transponder designs with some success, but the next step is ditching add-on transponders entirely, and that’s exactly what the Delta 5 Race Timer project does.
The open-sourced design has a clever approach. In drone racing, each aircraft is remotely piloted over a wireless video link. Since every drone in a race already requires a video transmitter and its own channel on which to broadcast, the idea is to use the video signal as the transponder. As a result, no external hardware needs to be added to the aircraft. The tradeoff is that using the video signal in this way is trickier than a purpose-made transponder, but the hardware to do it is economical, accessible, and the design is well documented on GitHub.
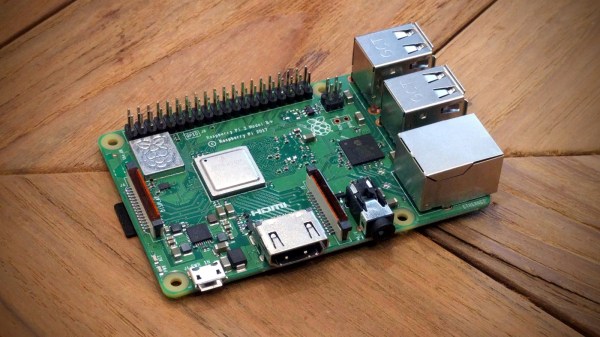
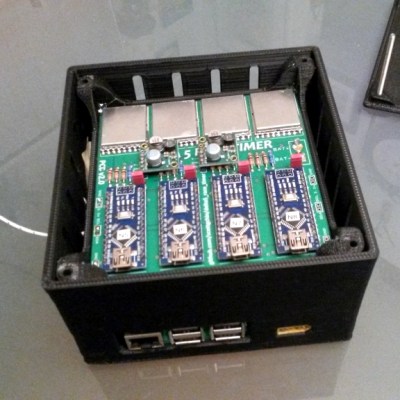
The hardware consists of RX508 RX5808 video receiver PCBs modified slightly to enable them to communicate over SPI. Each RX508 RX5808 is attached to its own Arduino, which takes care of low-level communications. The Arduinos are themselves connected to a Raspberry Pi over I2C, allowing the Pi high-level control over the receivers while it serves up a web-enabled user interface. As a bonus, the Pi can do much more than simply act as a fancy stopwatch. The races themselves can be entirely organized and run through the web interface. The system is useful enough that other projects using its framework have popped up, such as the RotorHazard project by [PropWashed] which uses the same hardware design.
While rolling one’s own transponders is a good solution for getting your race on, using the video transmission signal to avoid transponders entirely is super clever. The fact that it can be done with inexpensive, off the shelf hardware is just icing on the cake.