For this year’s office holiday party, [Gavan Fantom] wanted to do something really special. Coworkers were messing with LEDs to come up with displays and decorations, but they lack that old-school feel of mechanical displays. He wanted to create something that had retro look of moving elements, but didn’t want to just recreate the traditional flip mechanism we’ve all seen over and over.
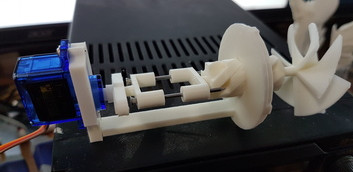
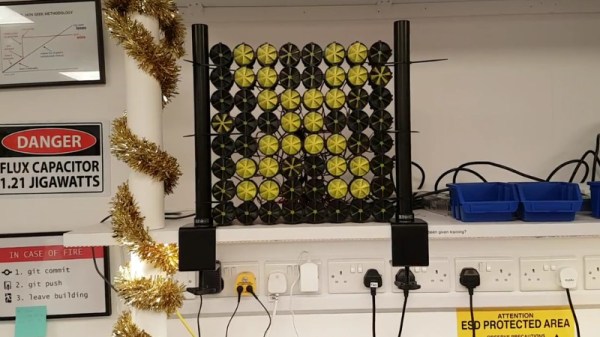
What [Gavan] came up with is breathtakingly impractical 8×8 display that sounds as cool as it looks. Each “pixel” in the display is a 3D printed screw mechanism rotated by a hobby servo. As the pixel is rotated in its case, it becomes progressively more visible to the observer. The opacity of the pixel can even be adjusted by varying the degree of rotation, allowing for rudimentary display of grayscale images.
Each element in the display is made up of seven 3D printed parts and two nails, which the mechanism slides on to move forward and backward. An 8×8 display needs 64 elements, which means the entire display needs 64 servos, 128 nails, and a whopping 448 3D-printed parts. Even with two printers attacking the production in parallel, the printing alone took over two weeks to complete.
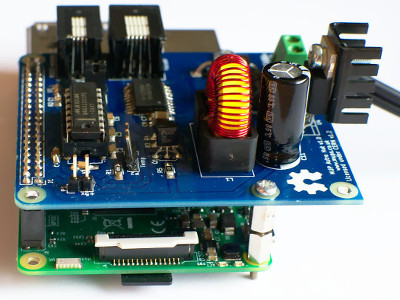
The display is powered by a Raspberry Pi and three “Mini Maestro” controllers which can each handle 24 servos. [Gavan] found some sample code in Python to pass commands to the Maestro servo controllers, which he used as a template when writing his own software. The Python script opens image files, converts them to grayscale, and then maps the value of each pixel to rotation of the corresponding servo. He says the software is a little rough and that there’s still some calibration to be done, but we think the results are phenomenal so far.
Mechanical displays are a favorite of hackers, due in no small part to the awesome noises they make while in operation. While we’ve seen some very creative approaches to this type of display before, what [Gavan] has created here is certainly in a league of its own.
Continue reading “A Gloriously Impractical Electromechanical Display”