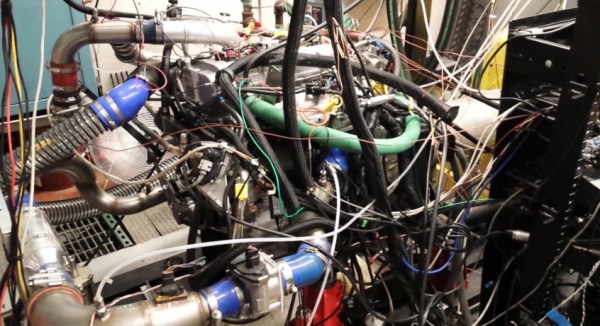
For his PhD at the University of Michigan, [Adam] designed a Raspberry Pi-based system that controls an HCCI engine, a type of engine which combines the merits of both diesel and gasoline engines. These engines exhibit near-chaotic behavior and are very challenging to model, so he developed a machine learning algorithm on a Raspberry Pi that adaptively learns how to control the engine.
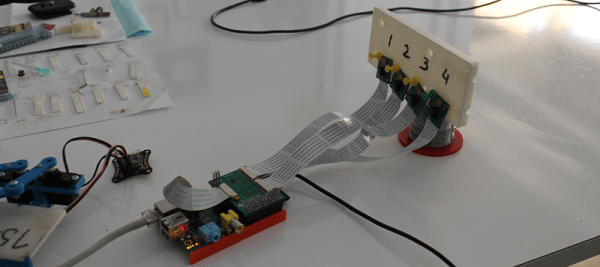
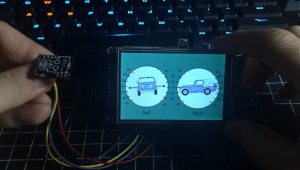
[Adam]’s algorithm needs real-time readings of cylinder pressures and the crankshaft angle to run. To measure this data on a Raspberry Pi, [Adam] designed a daughterboard that takes readings from pressure sensors in each cylinder and measures the crankshaft angle with an encoder. The Pi is also equipped with a CAN transceiver that communicates with a low-level engine control unit.
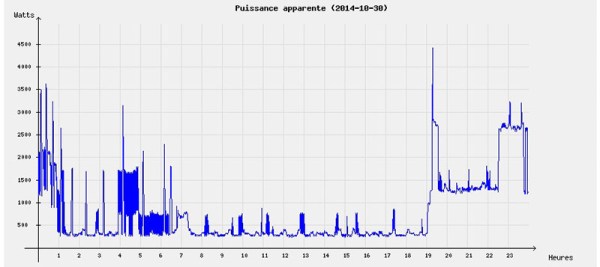
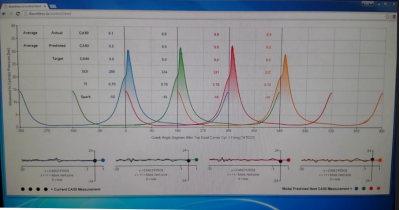 [Adam]’s algorithm calculates engine control parameters in real-time on the Pi based on the pressure readings and crankshaft position. The control values are sent over CAN to the low-level engine controller. The Pi monitors changes in the engine’s performance with the new values, and makes changes to its control values to optimize the combustion cycle as the engine runs. The Pi also serves up a webpage with graphs of the crankshaft position and cylinder pressure that update in real-time to give some user feedback.
For all the juicy details, take a look at [Adam]’s paper we linked above. For a more visual breakdown, check out the video after the break where [Adam] walks you through his setup and the awesome lab he gets to work in.
Continue reading “Raspberry Pi Learns How To Control A Combustion Engine”