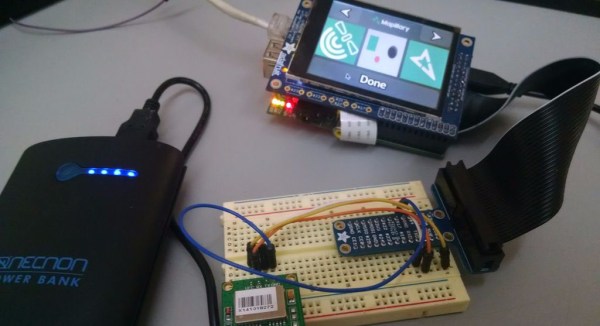
If you live out in the boondocks, out of reach from the Google Maps car, you might have noticed there aren’t too many pictures of your area on the Internet. Mapillary is hoping to change that with crowdsourced photos of the entire planet, with mobile apps that snap a pic and upload it to the web. [sabas1080] is bringing this capability to the most popular ARM dev board out there, the Raspberry Pi.
The Raspberry Pi is not a phone, the usual way to upload pics to Mapillary. There’s no GPS, so geotagging is out of the question. The Pi doesn’t have a camera or a screen, and if you’re taking pictures of remote locations, a battery would be a good idea.
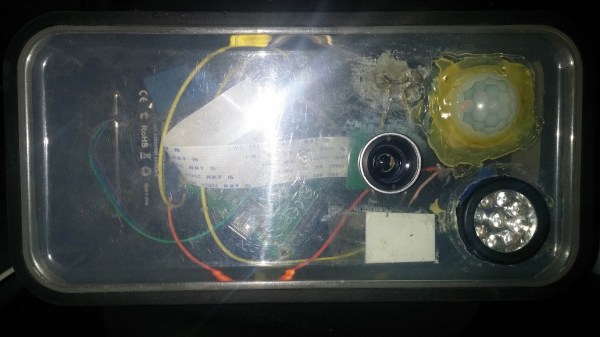
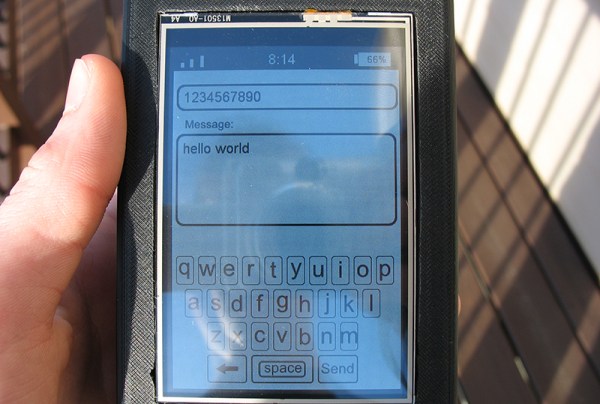
All these pieces are available for the Pi, though; [sabas1080] sourced a display from Adafruit, the camera is a standard Raspi affair, and the GPS is a GY-NEO6MV2 module from the one of the numerous Chinese retailers. Add a big power bank battery, and all the hardware is there.
The software is where this build gets tricky. Mapillary has a nice set of free tools written in Python, no less, but this is only part of the build. [sabas1080] needed to connect the camera, set up the display, and figure out how to make everything work with the Mapillary tools. In the end, [sabas] was able to get the entire setup working as a programmable, mobile photo booth.
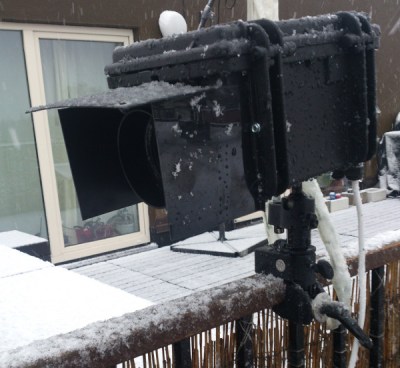 Once the Pi was outfitted with a 3G modem, [madis] can log in and change the camera settings from anywhere. It’s normally set up to take a picture once every fifteen minutes, but ONLY during working hours. Presumably this saves a bunch of video editing later whereas a normal timelapse camera would require cutting out a bunch of nights and weekends.