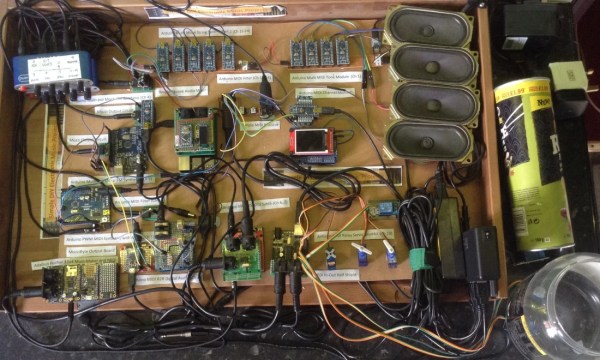
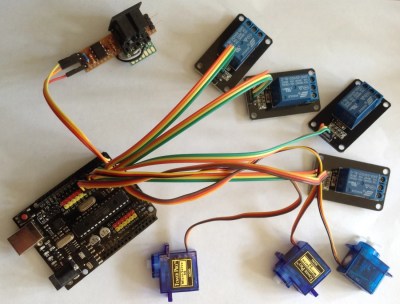
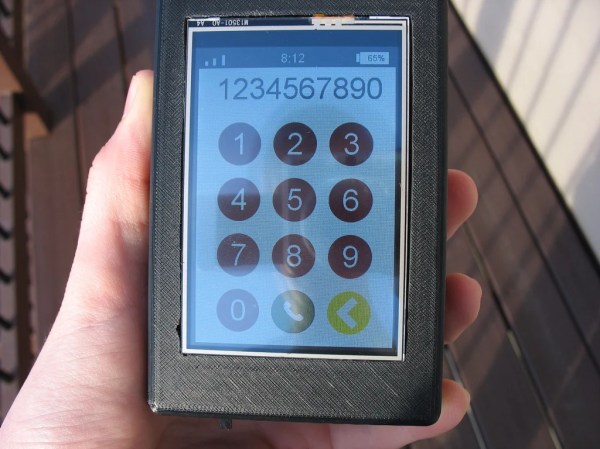
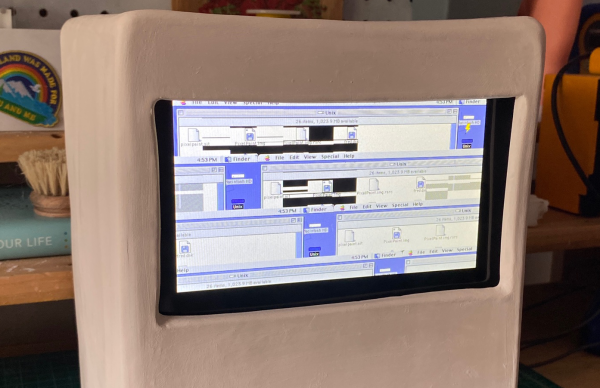
Homebrew HVAC systems are one of those projects that take such a big investment of time, effort and money that you’ve got to be a really dedicated (ideally home-owning) hacker with a wide variety of multidisciplinary skills to pull off an implementation that can work in reality. One such HVAC hacker is [Vadim Tkachenko] with his multi-zone Home Climate Control (HCC) project that we covered first back in 2007. We now have rare opportunity to look at the improvements fifteen years of part-time development can produce, when a project is used all day, all year round in their own home. At the start, things were simple, just opening and closing ventilators with none of those modern MQTT-driven cloud computing stuff. Continue reading “Is This The Oldest Open Source HVAC Project In Existence?”
raspberry pi1691 Articles
Livestreaming Backpack Takes Streaming On-The-Go
Anyone who’s anyone on the internet these days occasionally streams content online. Whether that’s the occasional livestream on YouTube or an every day video game session on Twitch, it’s definitely a trend that’s here to stay. If you want to take your streaming session on the go, though, you’ll need some specialized hardware like [Melissa] built into this livestreaming backpack.
[Melissa] isn’t actually much of a streamer but built this project just to see if it could be done. The backpack hosts a GoPro camera with a USB interface, mounted on one of the straps of the pack with some 3D printed parts, allowing it to act as a webcam. It is plugged into a Raspberry Pi which is set up inside the backpack, and includes a large heat sink to prevent it from overheating in its low-ventilation environment. There’s also a 4G modem included along with a USB battery pack to keep everything powered up.
The build doesn’t stop at compiling hardware inside a backpack, though. [Melissa] goes into detail on the project’s page about how to get all of the hardware to talk amongst themselves and where the livestream is setup as well. If you’d like a more permanently-located streaming setup with less expensive hardware, we have seen plenty of builds like this which will get the job done as well.
Loki Is Part Cyberdeck, Part Sinclair Spectrum, And Pretty Tricky
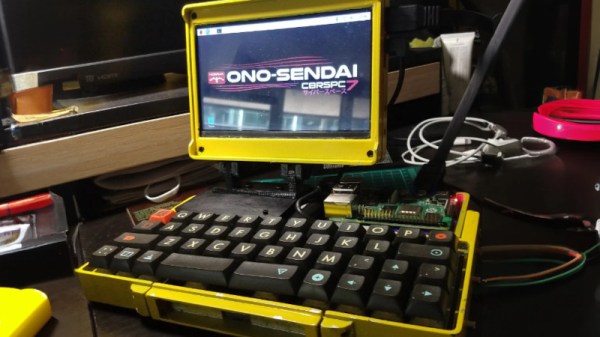
You’ve got to watch out for Loki — he’s a trickster, after all, and he might make you think this semi-cyberdeck mash-up machine is named after him, when the backstory on this build is more interesting than anything in the current Marvel scene.
According to [Steve Anderson], Loki was the name of a mocked-up machine that Sinclair teased in the mid-1980s as a competitor for the Amiga. [Steve] coveted the vaporware machine and never quite got over it, but rather than pine for something that never existed, he created his own Loki. He only loosely qualifies the machine as a cyberdeck — it has some features of the genre, like a Raspberry Pi and a cast-off iPad screen for a display, but isn’t really intended to be as portable as a real cyberdeck. To scratch his Sinclair itch, the machine also includes a ZX Uno, which is an FPGA emulator of the Sinclair Spectrum. The keyboard is hand-wired using mechanical switches, and is backed up by a Pico running custom software so it can talk both USB and PS/2.
[Steve] has much more detail on Loki and his other cyberdeck builds over on his blog, which you should probably check out. Somewhat surprisingly, it doesn’t look like he’s entered Loki in our new Cyberdeck Contest that just launched. Hopefully that’s just an oversight.
Converting An 80s Typewriter Into A Linux Terminal
Typewriters may be long past their heyday, but just because PCs, word processor software, and cheap printers have made them largely obsolete doesn’t mean the world is better off without them. Using a typewriter is a rich sensory experience, from the feel of the keys under your fingers that even the clickiest of PC keyboards can’t compare with, to the weirdly universal sound of the type hitting paper.
So if life hands you a typewriter, why not put it back to work? That’s exactly what [Artillect] did by converting an 80s typewriter into a Linux terminal. The typewriter is a Brother AX-25, one of those electronic typewriters that predated word processing software and had a daisy wheel printhead, a small LCD display, and a whopping 8k of memory for editing documents. [Artillect] started his build by figuring out which keys mapped to which characters in the typewriter’s 8×11 matrix, and then turning an Arduino and two multiplexers loose on the driving the print head. The typewriter’s keyboard is yet used for input, as the project is still very much in the prototyping phase, so a Raspberry Pi acts as a serial monitor between the typewriter and a laptop. The video below has a good overview of the wiring and the software, and shows the typewriter banging out Linux command line output.
For now, [Artillect]’s typewriter acts basically like an old-school teletype. There’s plenty of room to take this further; we’d love to see this turned into a cyberdeck complete with a built-in printer, for instance. But even just as a proof of concept, this is pretty great, and you can be sure we’ll be trolling the thrift stores and yard sales looking for old typewriters.
Continue reading “Converting An 80s Typewriter Into A Linux Terminal”
CV Based Barking Dog Keeps Home Secure, Doesn’t Need Walking
Meet [Tanner]. [Tanner] is a hacker who also appreciates the security of their home while they’re out of town. After doing some research about home security, they found that it doesn’t take much to keep a house from being broken into. It’s true that truly determined burglars might be more difficult to avoid. But, for the opportunistic types who don’t like having their appendages treated like a chew toy or their face on the local news, the steaks are lowered. All it might take is a security camera or two, or a big barking dog to send them on their way. Rather than running to the local animal shelter, [Tanner] used parts that were already sitting around to create a solution to the problem: A computer vision triggered virtual dog.
Continue reading “CV Based Barking Dog Keeps Home Secure, Doesn’t Need Walking”
Custom Raspberry Pi Case Shows The Whole Workflow
If you are a process junkie and love seeing the end-to-end of how a thing is made and with what tools, then watch [Michael Klements] show off his Raspberry Pi case design. His case has quite a few cool-looking elements to it, and incorporates 3D printing as well as laser-cut and clear bent acrylic for a gorgeous three-quarter view.
[Michael]’s write-up (and accompanying video, embedded below) are partly a review of his Creality 3D printer, and partly a showcase of his Raspberry Pi case design (for which he sells the design files for a small fee on his Etsy store.) But the great part is seeing the creation of every piece that goes into the end product. Not everyone is familiar with the way these tools work, or what they can create, so it’s nice to see attention paid to that side of things.
Both the blog post and the video nicely show off what goes into every part. The video opens with unpacking and setting up the 3D printer (skip ahead to 4:58 if you aren’t interested), followed by printing the parts, laser-cutting the acrylic on a K40 laser cutter, bending the acrylic using a small hand tool, and finally, assembling everything. For the curious, there are also links to the exact parts and equipment he uses.
Like we said, it’s part 3D printer review and part showcase of a design he sells, but it’s great to see each of the parts get created, watch the tools get used, and see the results come together in the final product. And should you wish to go in the opposite direction? A one-piece minimalist case for your Raspberry Pi is only a 3D printer away.
Continue reading “Custom Raspberry Pi Case Shows The Whole Workflow”
Digital “Toy” Camera, Made For Tilt-Shift And Other Analog-Like Experimenting
Like many others, [volzo] loves playing with photography in a playful and experimental way. Oddball lenses, vintage elements, and building from kits is what that world looks like. But that kind of stuff is really the domain of film cameras, or at least it was until [volzo] created his Digital Toy Camera design. The result? A self-built, lomography-friendly digital camera that allows for all kinds of weird and wonderful attachments and photo shenanigans.

To make a DIY digital camera that allowed that kind of play, the first problem [volzo] had to solve was deciding on an image sensor. It turns out that sourcing image sensors as an individual is a pretty cumbersome process, and even if successful, one still needs to write a driver and create things from the ground up. So, the guts of [volzo]’s creations use the Raspberry Pi and camera sensor ecosystem and M12 lenses, a decision that allows him to focus on the rest of the camera.
3D printing, a bit of CNC machining, and some clever design yields a “toy” camera: simple, inexpensive, and enabling one to take a playful and experimental approach to photography. The design files are available on GitHub, and there are some neat elements to the design. Magnetic mounts allow for easy swapping of lens assemblies, and a M12 x 0.75 tap cuts perfect threads into 3D-printed pieces for M12 lenses.
Heat-set inserts also provide robust fastening that can hold up to disassembly and re-assembly (and don’t miss that our own [Joshua Vasquez] has shared how best to design for and use heat-set inserts.)
[volzo] has a fantastic video to accompany his project; give it a watch (embedded below, under the page break) and see if you don’t come away with some inspiration of your own.
Continue reading “Digital “Toy” Camera, Made For Tilt-Shift And Other Analog-Like Experimenting”