It’s no secret that Maker Faire is highly geared toward the younger crowd. This doen’t mean the Faire is completely devoid of the historic; the Bay Area Maker Faire is right in the heart of the beginnings of the computer industry, and a few of the booths are showing off exactly how far computers have come over the last forty years.
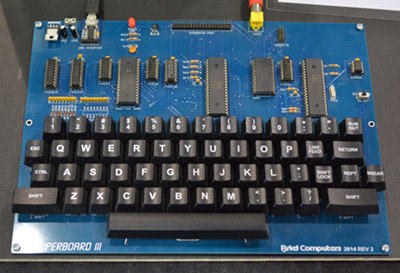 [Vince Briel] of Briel Computers has a booth showing off his wares, mostly modern reimaginings of vintage computers. His table is loaded up with replica 1s, a board that’s much smaller but still completely compatible with the Apple I. The MicroKIM made an appearance, but the crown jewel is [Vince]’s Superboard III, a replica of the Ohio Scientific Superboard II. It’s your basic 6502 computer with 32k of RAM, but unlike just about every other modern retrocomputer out there, [Vince] put the keyboard right on the main board.
The switches are Cherry MX, the keys are from WASDkeyboards. [Vince] is actually getting a lot of interest in making modern ASCII keyboards to replace the old and busted boards that came in the home computers of the 70s and 80s. That might be a project [Vince] will release sometime in the future.

The Replica I, fully compatible Apple I replica

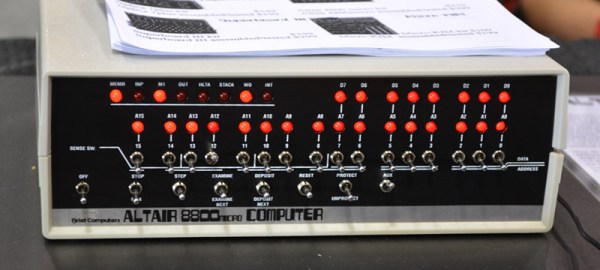
A much, much smaller version of the Altair

MicroKIM

The Superboard III
[Jef Raskin], the Swift Card, and the Canon Cat
[Steve Jobs] may have been the father of the Macintosh, but he was, by no means, solely responsible for the Mac. It was a team of people, and when you talk about the UI of the Mac, the first name that should come up is [Jef Raskin].
One of [Jef Raskin]’s finest works was the Swyft Card, an add-on to the Apple II that was basically just a ROM card that had an OS and Forth interpreter on it. The distinguishing feature of the Swyft card was the use of ‘leap’ keys, a simple way to change contexts when using the computer. We’ve seen replicas of the Swyft card before, courtesy of [Mike Willegal] at the Vintage Computing Festival East.
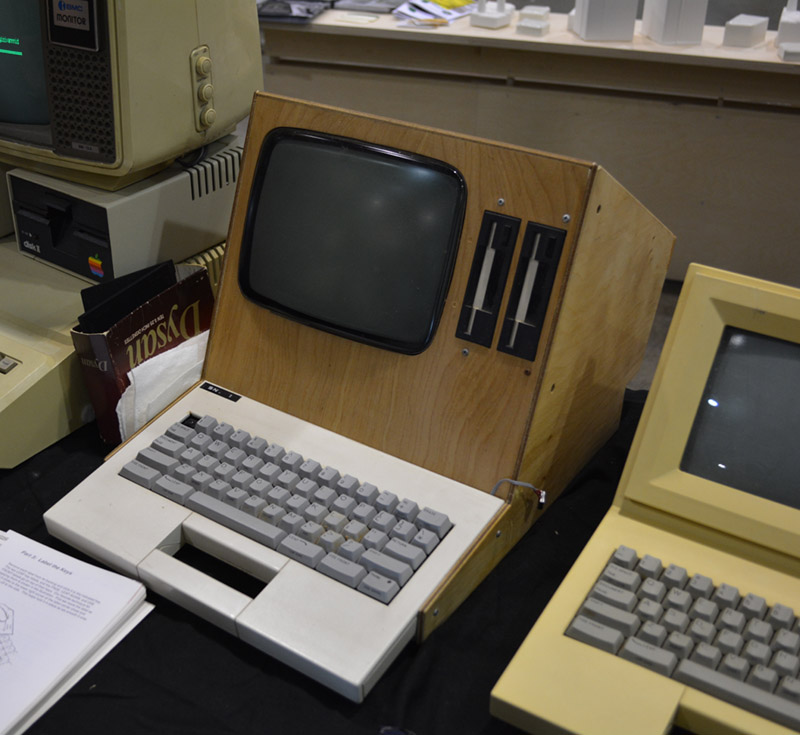
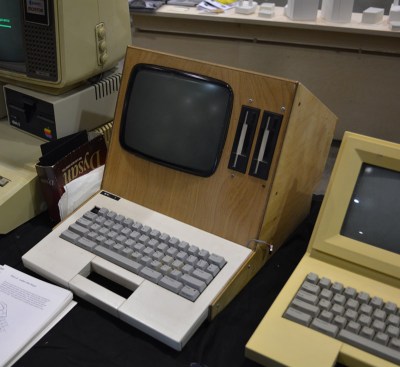 [Dwight Elvey] of the vintage-computer.com forum brought a few extra special items related to [Raskin] and the Canon Cat. The first was a Swyft card installed in an Apple IIe. The second was a prototype Swyft computer, with SERIAL NUMBER 1 printed on a Dymo label and fixed to the case.
The ‘woodie’, as [Dwight] calls it, has two 1.44 MB disk drives, of which half of the disk is actually usable. [Dwight] didn’t take the machine apart, but I’m 99% sure the CRT in it is the exact same tube found in early 9″ Macs.
Also in [Dwight]’s display is a production Swyft computer and a Canon Cat, the final iteration of [Jef Raskin]’s idea of what a text-based computer should be.
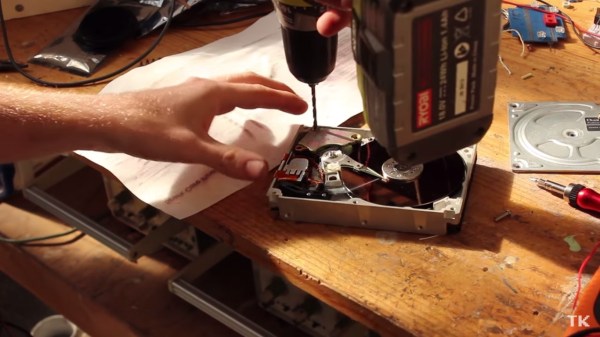
The vintage-computer booth also had a few interesting retrocomputers including a Commodore 128D, the Apple made, Bell & Howell branded Apple II, and an Amiga 2000. Right next door was the Computer History Museum, who brought a very kid-friendly storage medium display. Showing a 10-year-old an 8″ disk is fun.

Bell & Howell branded Apple II
![A Collection of [Jef Raskin]'s work](https://i0.wp.com/hackaday.com/wp-content/uploads/2015/05/jef-raskin.jpg?w=539&h=239&ssl=1 "Jef Raskin")
A Collection of [Jef Raskin]’s work

Leap keys for the Canon Cat

Cat Keyboard

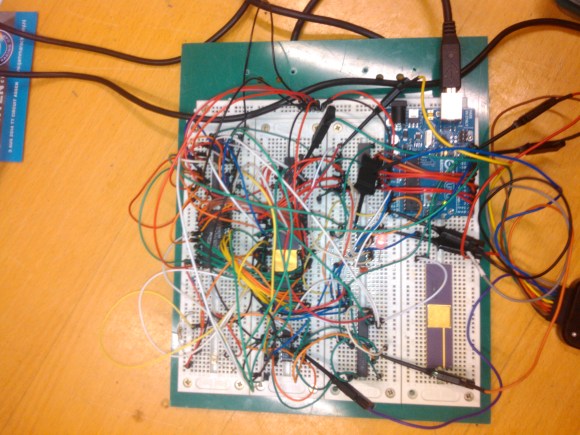
Analog computer from the Computer History Museum. It was display Chua’s Circuit.
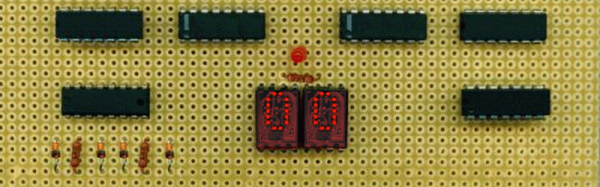

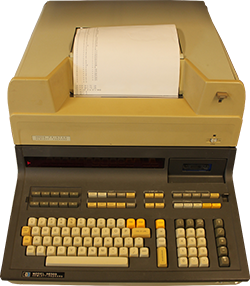 The early days of modern computing were downright weird, and the HP 9830B is a strange one indeed: it’s a gigantic calculator, running BASIC, on a CPU implemented over a dozen cards using discrete logic. In 2014 dollars, this calculator cost somewhere in the neighborhood of $50,000. [Mattis] runs a retrocomputer museum and recently acquired one of these ancient machines,


