Good news, everyone! Security researcher [Mordechai Guri] has given us yet another reason to look askance at our computers and wonder who might be sniffing in our private doings.
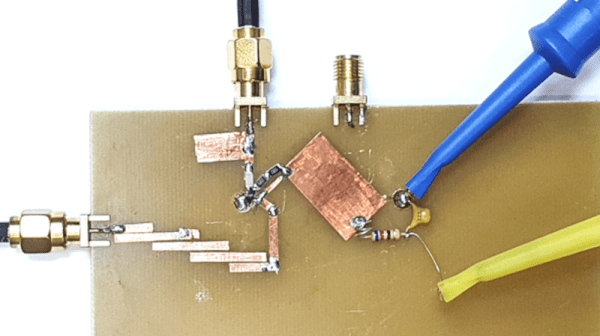
This time, your suspicious gaze will settle on the lowly Ethernet cable, which he has used to exfiltrate data across an air gap. The exploit requires almost nothing in the way of fancy hardware — he used both an RTL-SDR dongle and a HackRF to receive the exfiltrated data, and didn’t exactly splurge on the receiving antenna, which was just a random chunk of wire. The attack, dubbed “LANtenna”, does require some software running on the target machine, which modulates the desired data and transmits it over the Ethernet cable using one of two methods: by toggling the speed of the network connection, or by sending raw UDP packets. Either way, an RF signal is radiated by the Ethernet cable, which was easily received and decoded over a distance of at least two meters. The bit rate is low — only a few bits per second — but that may be all a malicious actor needs to achieve their goal.
To be sure, this exploit is quite contrived, and fairly optimized for demonstration purposes. But it’s a pretty effective demonstration, but along with the previously demonstrated hard drive activity lights, power supply fans, and even networked security cameras, it adds another seemingly innocuous element to the list of potential vectors for side-channel attacks.
[via The Register]