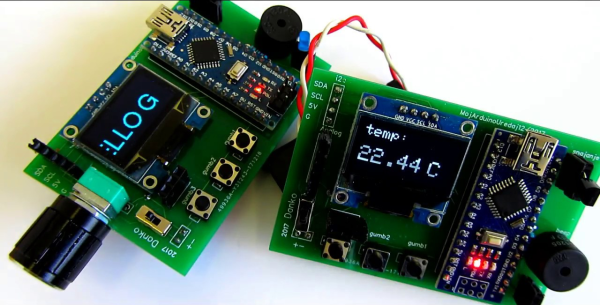
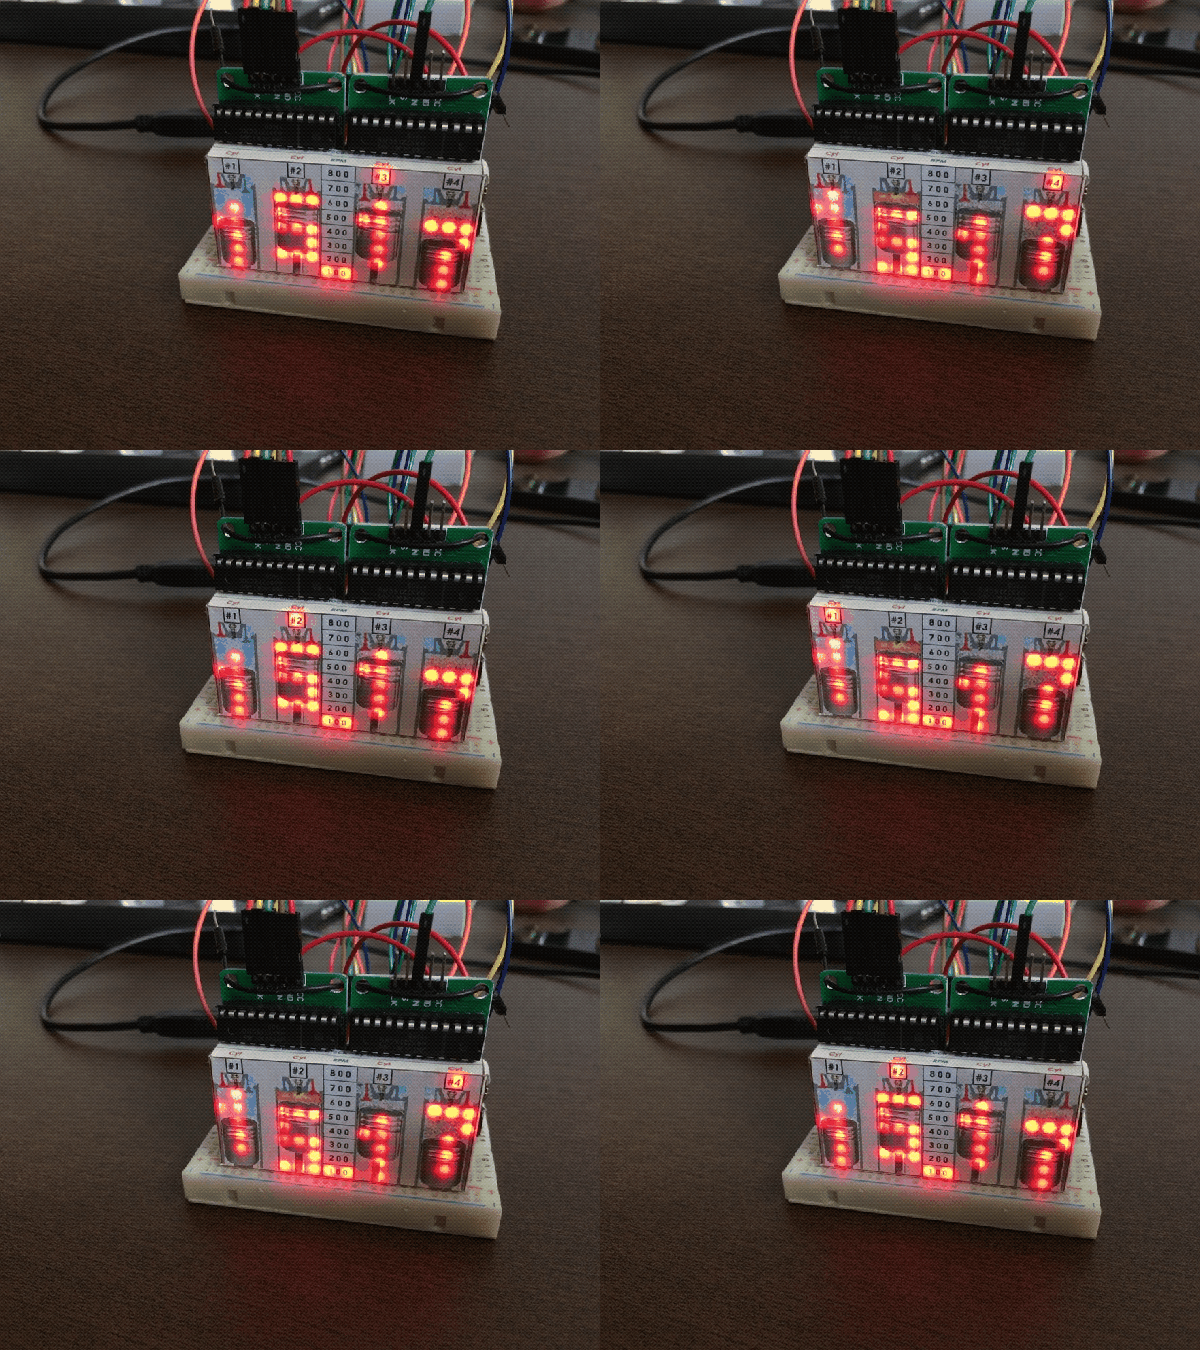
Not Your Typical POV Clock

Persistence of vision displays are fun, and a natural for clocks, but they’re getting a little Nixie-ish, aren’t they? There are only so many ways to rotate LEDs and light them up, after all. But here’s something a little different: a POP, or “persistence of phosphorescence” clock.

[Chris Mitchell] turned the POV model around for this clock and made the LEDs stationary, built into the tower that holds the slowly rotated display disk. Printed from glow-in-the-dark PLA, the disk gets charged by the strip of UV LEDs as it spins, leaving behind a ghostly dot matrix impression of the time. The disk rotates on a stepper, and the clock runs on a Nano with an RTC. The characters almost completely fade out by the time they get back to the “write head” again, making an interesting visual effect. Check it out in the video after the break.

Our only quibble is the choice to print the disk rather than cut it from sheet stock. Seems like there has to be commercially available phosphorescent plastic, or even the glow-in-the-dark paper used for this faux LED scrolling sign. But if you’ve got glowy PLA, why not use it?

Continue reading “Not Your Typical POV Clock”

Retro Flip Clock Gets A Retrofit

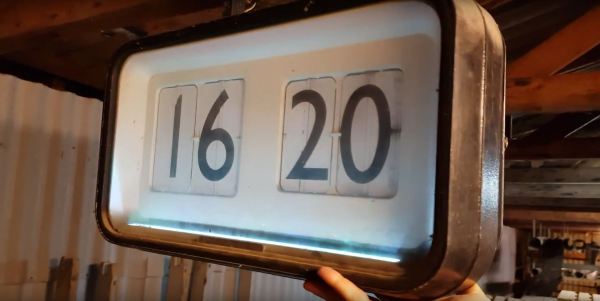
Retro tech is almost always ripe for the hacking — be it nostalgia, an educational teardown, or acknowledging and preserving the shoulders upon which we stand. Coming across an old West-German built flip clock, YouTuber [Aaron Christophel] retrofitted the device while retaining its original mechanical components!

No modern electronics are complete without LEDs of some kind, so he has included a strip in the base of the clock face for visibility and cool factor. He doesn’t speak to the state of the clock beforehand, but he was able to keep the moving bits of the clock working for its second shot at life.

Continue reading “Retro Flip Clock Gets A Retrofit”

7-Segment Digits Slide Stylishly On This OLED Clock

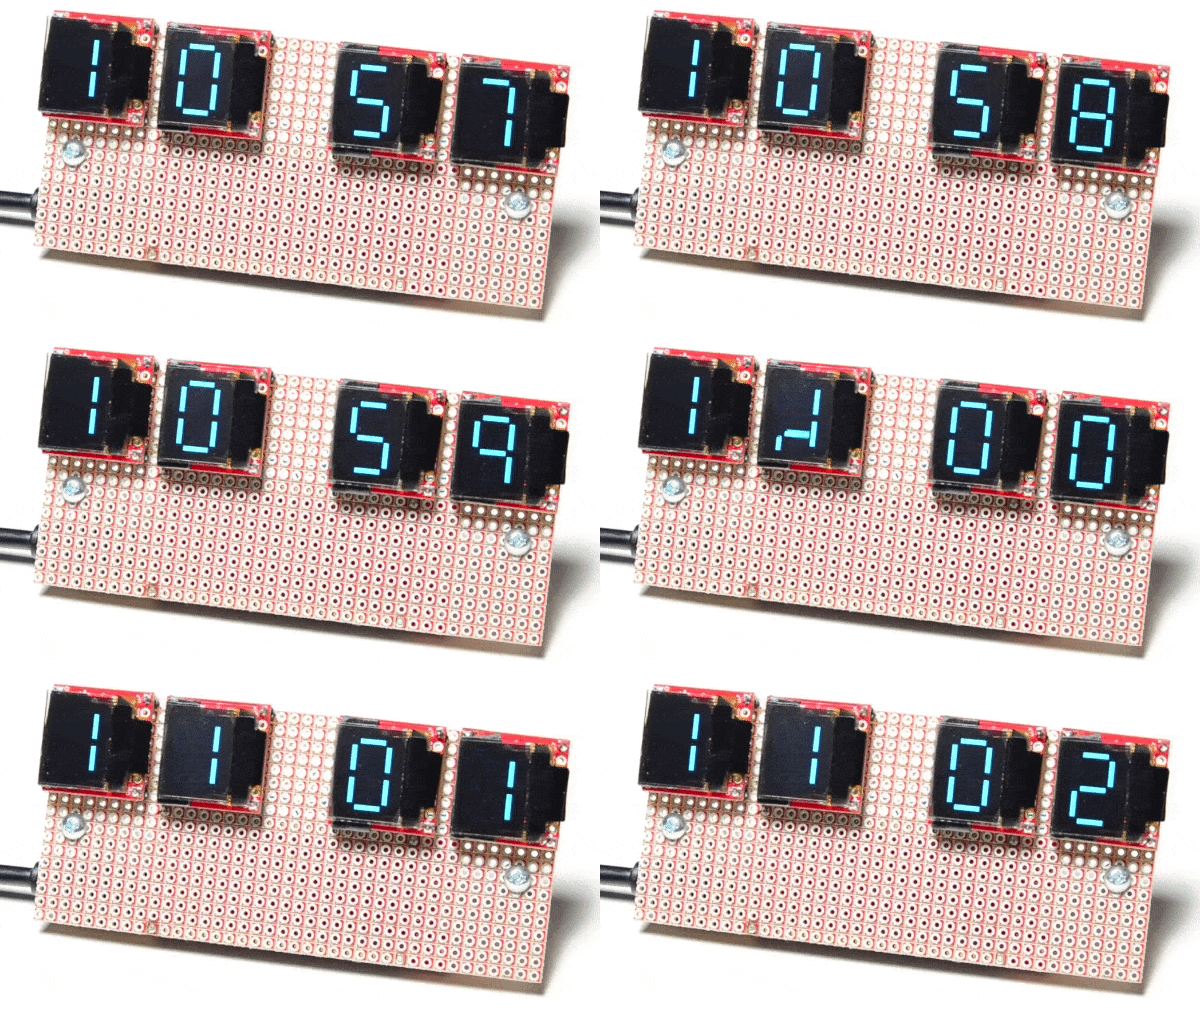
Over at Sparkfun, [Alex] shared an OLED clock project that’s currently in progress but has a couple interesting twists. The first is the use of a small OLED screen for each digit, to which [Alex] added a stylistic touch. Digits transition by having segments slide vertically in a smooth animated motion. It’s an attractive effect, and the code is available on his github repository for anyone who wants to try it out.

[Alex] also found that by using an ESP32 microcontroller and synchronizing the clock via NTP over WiFi, the added cost of implementing a real-time clock in hardware becomes unnecessary. Without an RTC, time would drift by a few seconds every day and require a reset. At the moment the clock requires the SSID and password to be hardcoded, but [Alex] would prefer to allow this to be configured via a web page and could use some help. If you have implemented a web server on the ESP32, [Alex] would like to know how you handled multiple pages. “I’ve been scratching my head throughout the build on how to get this done,” he writes. “With the ESP8266, there’s on(const String &uri, handler function), but that seems to have been removed on the ESP32.” If you can point [Alex] in the right direction, be sure to pipe up.

OLED displays and clocks often go together, as we have seen with projects like the DIY OLED Smart Watch, but it’s nice to see someone using the OLED’s strengths to add some visual flair to an otherwise plain display.

Word Clock Five Minutes At A Time

As this clock’s creator admits, it took far more than five minutes to put together, but it does display the time in five minute increments.

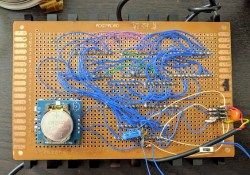
After acquiring five 4-character, 16 segment display modules that were too good to pass up, they were promptly deposited in the parts pile until [JF] was cajoled into building something by a friend. Given that each display’s pins were in parallel, there was a lot of soldering to connect these displays to the clock’s ATMega328P brain. On the back of the clock’s perfboard skeleton, a DS1307 real-time clock and coin cell keep things ticking along smoothly. The case is laser cut out of acrylic with an added red filter to up the contrast of the display, presenting a crisp, crimson glow.

Troubleshooting — as well as procrastination — proved to be the major stumbling block here. Each of the displays required extensive troubleshooting because — like Christmas lights of yore — one bad connection would cause all the other displays to fail. Furthermore, there isn’t any easy way to change the time, so the clock needs to be reprogrammed once in a while

We love word clocks because there are so many ways to configure them and for the oddities. That isn’t to say radial clocks are any less creative.

Continue reading “Word Clock Five Minutes At A Time”

Spell Out The Time With Frickin’ Laser Beams

Clocks are a never-ending source of fascination to hackers. We get all kinds around here, from Steampunk Nixie clocks to retro cool flip clocks to clocks that don’t even look like clocks. But this is something new — a glow-in-the-dark laser tracing clock.

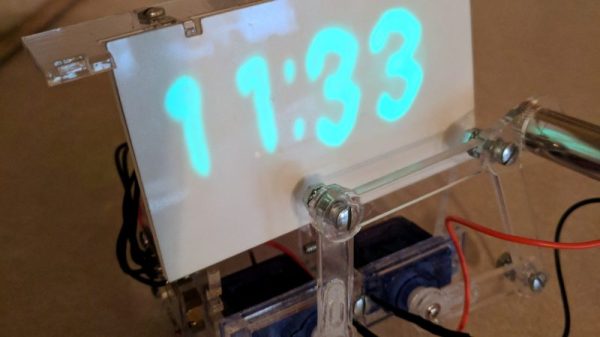
What [tuckershannon]’s clock lacks in practicality it makes up for in the gee-whiz department. The idea is simple: trace the characters out on a phosphorescent screen using a laser. To accomplish this, [tuckershannon] adapted the design of this whiteboard marker robot clock, replacing the drawing surface with glow-in-the-dark stickers. A 405 nm laser diode module is traced over the surface by the two-servo pantograph plotter, charging up the phosphors. He offers no clue as to how long the ghostly image lingers, but from the look of it, we’d bet that it lasts for a good fraction of a minute, especially in a dark room. Then again, you’d want the image totally faded before the next write cycle comes up, to prevent overwriting the previous time.

All in all, it’s a nice design and a clever new clock display modality. And who knows — maybe this whole glowing phosphor display thing could really catch on.

Continue reading “Spell Out The Time With Frickin’ Laser Beams”

Get Inside A TCXO Clock Chip

[Pete] wondered how real-time clock modules could be selling on eBay for $1.50 when the main component, the Maxim DS3231 RTC/TCXO chip, cost him more like $4 apiece. Could the cheap modules contain counterfeit chips?

Well, sure they could. But in this case, they didn’t, and [Pete] has the die shots to prove it. He started off by clipping the SOIC leads rather than desoldering — he’s not going to be reusing this chip after he’s cut it in half. Next was a stage of embrittling the case by heating it up with a lighter and dunking it in water. Then he went at it with sandpaper.

It’s cool. You can see the watch crystal inside, and all of the circuitry. The DS3231 includes a TCXO — temperature-corrected crystal oscillator — and it seems to have a bank of capacitors that it connects and disconnects depending on the chip’s temperature to keep the oscillator running at the right speed. [Pete] used one in an offline situation, and it only lost sixteen seconds over a year, so we’d say that they work fine.

If you’d like to know more about how crystals are used to keep time, check out [Jenny]’s excellent article. And if sixteen second per year is way too much for you, tune up your rubidium standard and welcome to the world of the time nuts.

A New Battery For A Potted Clock Module

If you did much dismantling of PCs back in the 1980s and 1990s, you might be familiar with the Dallas Semiconductor range of potted real-time clock modules. These were chunky dual-in-line devices containing clock and non-volatile RAM chips, a crystal, and a lithium battery. The battery was good for about a decade, which was fine for most PCs of the day because the majority of desktop computers are replaced long before that deadline.

[Glitch], however has an industrial single-board computer with a 486 processor that has had a life much more prolonged than its desktop siblings due to its application. The battery in the onboard Dallas DS1387 has long ago expired, and since these devices are so long out of production to be unavailable, he’s had to improvise.

Improving on some previous documented projects he found through an internet search, he carefully ground away the potting compound to reveal a couple of the battery conductors, cut them with a PCB drill, and mounted a lithium cell holder on the top of the device with some tidily soldered Kynar wires to bring in the power. A CR1225 cell was used rather than the ubiquitous CR2032, as space was at a premium in the width of the ISA card form factor.

The potted RTC module is something of a rare device these days, but if you have a retro computer containing one this seems to be a very useful piece of work to bring it back to life. We’ve covered another similar one with a slightly larger battery in the past.