Movie Night At The Lake Cabin

[Andrew’s] family has a rustic lake cabin. There is a lot to do during the day, but since there’s no electricity your options are limited when the sun goes down. Sure there’s the traditional campfire, but lately they’ve been spicing things up with an outdoor movie viewing.

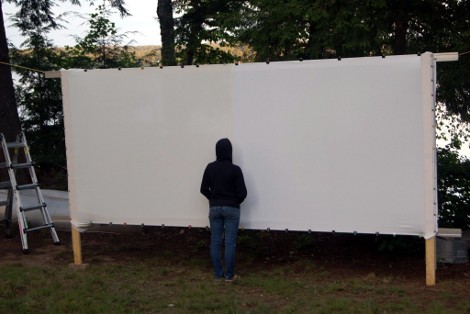
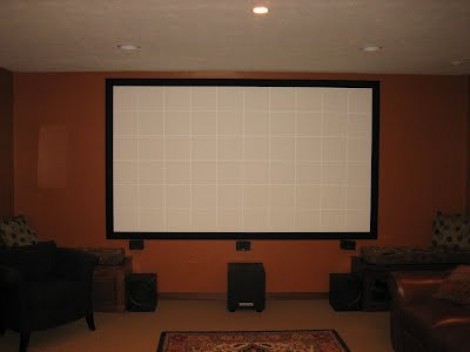
To get this up and running they needed to build a projection screen. He’s going for a 2.35:1 aspect ration, but the technique will work for any aspect if you do your own math. They had a couple of extruded aluminum channels from an old chalk board which work perfectly as the top and bottom rails of the frame. With the width set at fourteen feet he just needed to mount the cross pieces on uprights at 5.95 feet apart. This provides a 183″ viewing surface.

White bed sheets serve as the screen material. After it’s stretched into place they line the rails with binder clips to hold it in place. The projector is powered from two 12V batteries via an 800W inverter. During the day the batteries get topped off by a solar panel system.

Projection Screen Using Latex Paint And Sand Blasting Beads

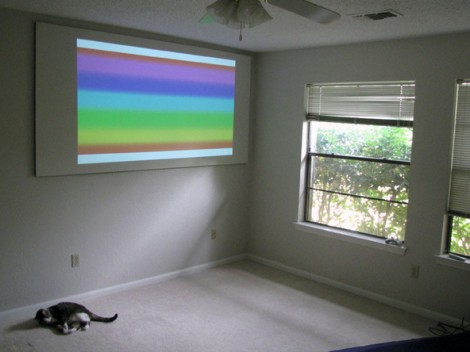
This method of building your own projection screen is new to us. [Sean Michael Ragan] ran across some sand blasting material made up of minuscule glass beads at Harbor Freight and inspiration struck. He purchased a fifty-pound bag and set out to see if it could be used with regular latex paint to create a projection screen. The answer is an absolute yes, but results are dependent on how you apply it.

Now there is paint you can buy which will turn your wall into a projector screen, but it’s expensive. [Sean’s] hack isn’t a direct replacement as he found the results of just mixing the beads with paint and applying them to a vertical surface weren’t up to the standards he’s looking for. But if you build a screen to hang on the wall you can let gravity work for you. He laid the screen flat and applied a heavy coat of paint to the surface. He then sprinkled a heavy coat of the glass bead over the wet paint and let it dry. Finally he cleaned off the material which didn’t stick and hung it on the wall.

Don’t have a projector to use with this hack? No problem, just build your own.

[Thanks Skuhl]

laptop_screen_polarized_art_fixture

Polarized Art Fixture Made From A Busted Laptop Screen

[Pedro] had a busted laptop LCD screen on his hands, but rather than throw it out, he brainstormed what he could possibly do with what would typically be considered a worthless item. He decided to make a simple art installation using the scrapped part, so he gathered a few other supplies and got to work.

The first thing he did was pull the LCD screen from the laptop, separating the front panel from the backlight panel. He drained the liquid crystal fluid from the display, and set it inside a picture frame in place of the glass. He added spacers around the edge of the frame so that the backlight could be mounted several inches behind the LCD panel.

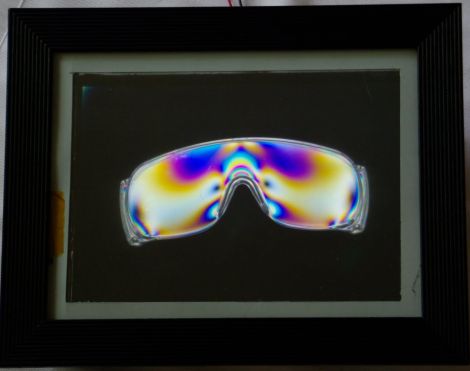
[Pedro] then found a few polystyrene and polycarbonate plastic items from around the house, and placed them inside the frame. As you can see in the picture above, the polarizing filter built into the LCD screen makes for some pretty cool effects.

While you could debate for hours over exactly what is art, there’s no denying that his PolFrame looks cool and is a great way to save electronics from the scrap heap. We just want to know what he did with the LC fluid he drained from the screen!

OLED Displays And Small Microcontrollers

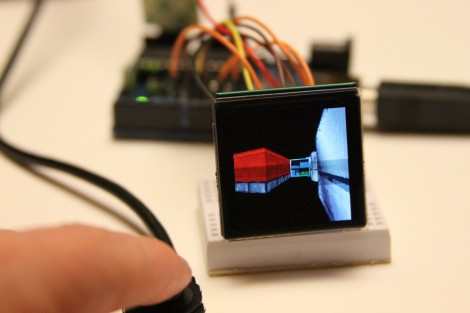
If you’ve ever thought of utilizing a small and inexpensive OLED display in your project [Rossum] has the details you need to get started. In the past we’ve seen him take a tour of available LCD screens and this is much the same, detailing his look at three different models. In the video after the break each is connected to a driver board that he made. The boards have two important components, the first is a boost driver for the 12-16V input the screens need, the second is an octal buffer necessary if you are using a 5V microcontroller. These take care of the hardware considerations, making it simple to drive them with a chip of your choosing.

Continue reading “OLED Displays And Small Microcontrollers”

Swiveling Arms Replace Laptop LCD Hinges

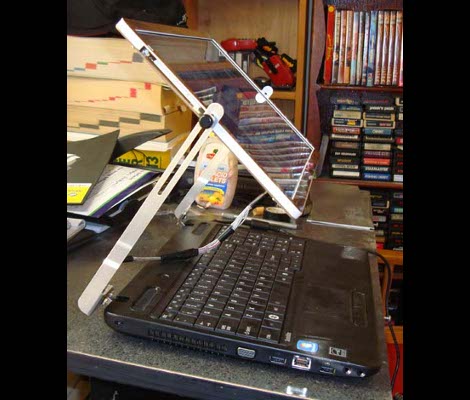
This swivel arm LCD screen is [Ben Heck’s] latest hack. It replaces the hinges that normally only allow one point of rotation on the screen. You can still use the laptop like normal, but when space is at a premium a second adjustment, both in rotation and linear position, has been added using the slots and screw knobs seen above. Ostensibly this is to use on an airplane, where there may not be enough space to fully open your laptop. We’ll let you decide if it’s wise to try to get your own hacks past airport security. Historically, the TSA hasn’t been impressed with hardware hackers. We like how this came out and could see ourselves using these techniques to make a convertible tablet notebook by reworking the cable routing.

We’ve embedded [Ben’s] quick demo of the finished product after the break. If you want to see the whole build process it is the subject of Episode 5 of the Ben Heck Show.

Continue reading “Swiveling Arms Replace Laptop LCD Hinges”

An Interesting Take On WEP Cracking

[Ben Kurtz] is doing a little WEP cracking but in a bit of a different way than we’re used to. WEP cracking makes us think of war driving; driving around with your laptop open, looking for WiFi access points, and stopping to run some software when you find them. [Ben’s] way is similar but different in one key way, he’s using an iPhone as the frontend.

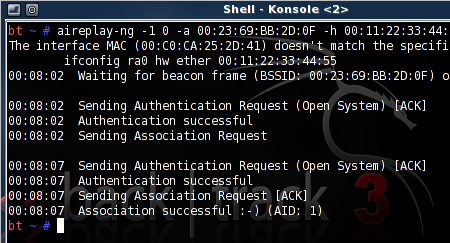
This started as a way to find a use for some leftover equipment. He threw together a Linux box and loaded up Aircrack-ng, the software we often see used in penetration testing. To remove himself from shady-looking activities in public he coded a web interface using the Python package Turbogears. It uses screen, a program often used with SSH to run services concurrently in different terminals, with the option to disconnect without stopping the processes. Now it’s just a matter of parking the hardware near an AP, and doing the work in a browser on your mobile device. You can check out the script he wrote, as well as installation instructions, in his post linked above.

[Thanks Tech B.]

[Note: Banner image not directly related to this post]

Repair A Malfunctioning LCD

When most people encounter dead pixels on an LCD text display, they figure that the display is dead and they decide to scrap it. However when the LCD display on one of [Joe]’s cordless phones started to show dead rows and columns of pixels, [Joe] decided that he could fix it. With only a pencil eraser, a hot air gun, and a screwdriver (for disassembly), [Joe] was able to fix his phone’s screen in just under 10 minutes. His process involves heating the glue holding the LCD’s ribbon cable to the phones PCB with a hot air gun and using a pencil eraser to reattach segments of the ribbon cable to the PCB. If anyone here has a problem similar to [Joe]’s, be sure to check out his detailed how-to complete with step-by-step pictures.