When designers and architects need a fancy centerpiece, a design element, or even some wall sconces, they don’t head over to the machine shop by themselves. They get someone else, who owns some fancy machines, knows how to use those fancy machines, and can create anything out of wood, foam, or metal to do the fabrication for them. Think of these companies as artisan contractors, capable of turning whatever an architect thinks of into a real, tangible object.
One of these such companies is MachineHistories, a joint venture between [Steven Joyner] and [Jason Pilarsky], who work in the medium of computer code and CNC programming. As part of the SupplyFrame Design Lab’s Detoured series, lead Staff Designer [Majenta Strongheart] takes us along for a tour of MachineHistories to figure out how this collaboration actually works.
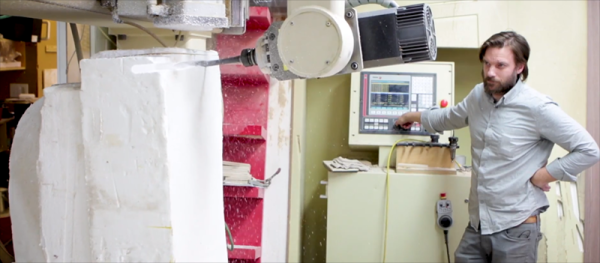
This collaboration began at the ArtCenter College of Design where [Steven] and [Jason] spent most of their time working in the shop. Eventually, they realized they didn’t actually need the ArtCenter and decided to sign a lease and strike out on their own. The first tools in their new shop were just a 3-axis CNC and a laser cutter, but MachineHistories gradually expanded to enormous five-axis machines and other incredible tools. These machines are put to work creating works of art for architectural and design installations, ranging from futuristic chairs, fine furniture, to sculptures and even new designs for simple home items.
The skill and craftsmanship that goes into these works of art are beyond compare, but this is a great insight into how all those manufactured panels, design elements, and artistic accents are created, and one that shows you can do anything, provided you have the right tools.