Have JBC Soldering Handle, Will USB-C Power Deliver

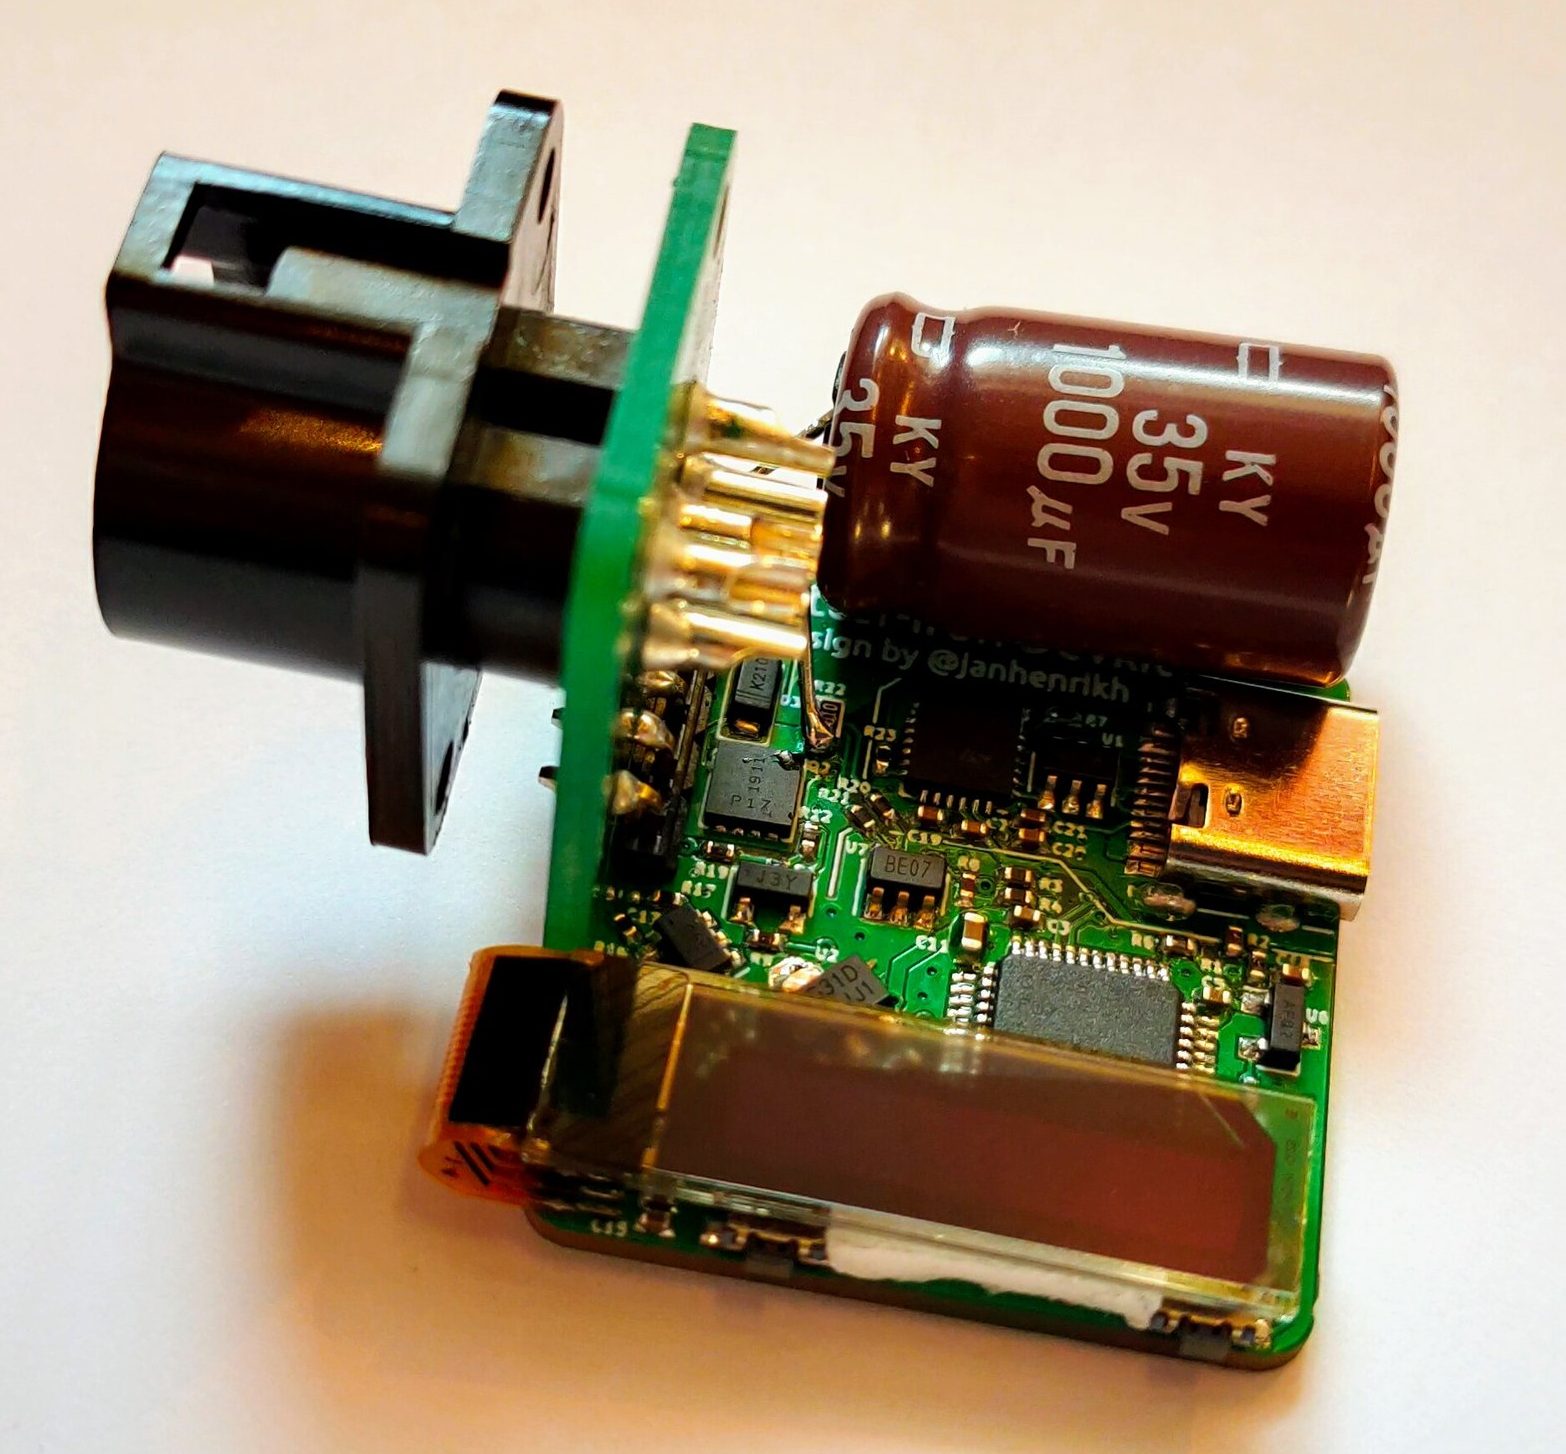
Frequent converter-of-tools-to-USB-C [Jana Marie Hemsing] is at it again, this time with a board to facilitate using USB Power Delivery to fuel JBC soldering iron handles. Last time we saw [Jana] work her USB-C magic was with the Otter-Iron, which brought Power Delivery to the trusty TS100 with a purpose built replacement PCBA. This time he’s taking a different approach by replacing the “station” of a conventional soldering station completely with one tiny board and one giant capacitor.

If you’ve been exposed to the “AC fire starter” grade of soldering iron the name JBC might be unfamiliar. They make tools most commonly found with Metcal’s and high end HAKKOs and Wellers on the benches of rework technicians and factory floors. Like any tool in this class each soldering station comes apart and each constituent piece (tips, handles, base stations, stands, etc) are available separately from the manufacturer and on the used market at often reasonable prices, which is where [Jana] comes in.

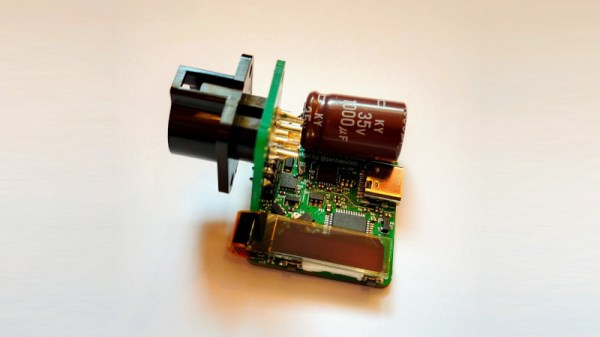
The Otter-Iron PRO is a diminutive PCBA which accepts a USB-C cable on one side and the connector from a standard JBC T245-A handle on the other. JBC uses a fairly typical thermistor embedded in the very end of the iron tip, which the Otter-Iron PRO senses to provide closed loop temperature control. [Jana] says it can reach its temperature setpoint from a cold start in 5 seconds, which roughly matches the performance of an original JBC base station! We’re especially excited because this doesn’t require any modification to the handle or station itself, making it a great option for JBC users with a need for mobility.

Want to make an Otter-Iron PRO of your own? Sources are at the link at the top. It sounds like v3 of the design is coming soon, which will include its own elegant PCB case. Check out the CAD render after the break. Still wondering how all this USB-PD stuff works? Check out [Jason Cerudolo’s] excellent walkthrough we wrote up last year.

Continue reading “Have JBC Soldering Handle, Will USB-C Power Deliver”

A Soldering LightSaber For The Speedy Worker

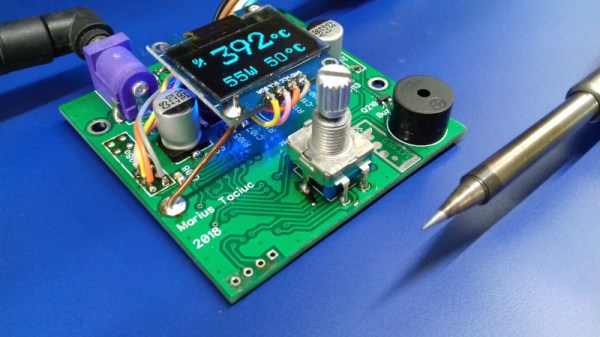
We all have our preferences when it comes to soldering irons, and for [Marius Taciuc] the strongest of them all is for a quick heat-up. It has to be at full temperature in the time it takes him to get to work, or it simply won’t cut the mustard. His solution is a temperature controlled iron, but one with no ordinary temperature control. Instead of a normal feedback loop it uses a machine learning algorithm to find the quickest warm-up.

The elements he’s using have a thermocouple in series with the element itself, meaning that to measure the temperature the power must be cut to the element. This duty cycle can not be cut too short or the measurements become noisy, so under a traditional temperature control regimen there is a limit on how quickly it can be heated up. His approach is to turn it on full-time for a period without stopping to measure the temperature, only measuring after it has had a chance to heat up. The algorithm constantly learns how long to switch it on to achieve what temperature, and is able to interpolate to arrive at the desired reading. It’s a clever way to make existing hardware perform new tricks, and we like that.

He’s appeared on these pages quite a few times over the years, but perhaps you’d like to see the first version of the same hardware. Meanwhile watch the quick heat up in action with a fuller explanation in the video below.

Continue reading “A Soldering LightSaber For The Speedy Worker”

Review: SanErYiGo SH72 Soldering Iron

When the Miniware TS100 first emerged from China nearly three years ago, it redefined what we could expect from a soldering iron at an affordable price. The lightweight DC-powered temperature controlled iron brought usable power and advanced features in a diminutive package that was easy in the hand, a combination only previously found in much more expensive soldering stations. All this plus its hackability and accessible hardware made it an immediate hit within our community, and many of us have adopted it as our iron of choice.

A surprise has been that it has attracted no serious competitors of a similar type, with the only iron mentioned in the same breath as the TS100 being Miniware’s own USB-C powered TS80. Perhaps that is about to change though, as before Christmas I noticed a new Chinese iron with a very similar outline to the TS100. Has the favourite finally generated a knock-off product? I bought one to find out. Continue reading “Review: SanErYiGo SH72 Soldering Iron”

A Homebrew Weller RT Soldering Station

Like a number of hackers before him, [MarcelMG] was impressed with Weller’s RT soldering iron tips, but considerably less enthused about the high purchase price on the station they’re designed to go into. Inspired by similar projects, he decided to try his hand at building his own soldering station which reaps the benefits of these active tips without the sticker shock.

The station’s user interface was kept intentionally simple, with little more than a four digit LED display to show the temperature and a rotary encoder to set it. The display alternates between the current temperature and the set temperature every few seconds while the knob is being turned, and if you push it in, the set temperature will be saved as the default for next time.

[MarcelMG] also included a feature that drops the iron’s temperature when it’s sitting in the holder, reducing tip wear and energy consumption. He originally planned on using a Hall effect sensor to detect when the iron was holstered without needing to physically interface with it, but in the end he realized the easiest approach was to simply connect one of the input pins on the microcontroller to the metal holder. Since the tip is grounded, he could easily detect if it was in place with a couple lines of code.

Speaking of which, the station is powered by an ATtiny24A with firmware written in C using the Atmel Studio IDE. [MarcelMG] mentions that the limited storage on the 24A was a bit of a challenge to work around, and suggests that anyone looking to follow in his footsteps uses something with a bit more flash under the hood. The LED display is a very common TM1637 type, the rotary encoder was salvaged from a radio, and the power supply was from an old laptop. All told, this looks like a very economical build.

Depending on your needs, a DIY soldering station can either have features to rival the commercial models or be exceedingly simplistic. In either case, the advent of low-voltage irons and active tips have made self-built soldering stations much more approachable. Attempts without the use of these modern niceties tended to be somewhat less glamorous.

Your TS80 – Music Player

By now most readers will be familiar with the Miniware TS100 and TS80 soldering irons, compact and lightweight temperature controlled soldering tools that have set a new standard at the lower-priced end of the decent soldering iron market. We know they have an STM32 processor, a USB interface, and an OLED display, and that there have been a variety of alternative firmwares produced for them.

Take a close look at the TS80, and you’ll find the element connector is rather familiar. It’s a 3.5 mm jack plug, something we’re more used to as an audio connector. Surely audio from a soldering iron would be crazy? Not if you are [Joric], who has created a music player firmware for the little USB-C iron. It’s hardly a tour de force of musical entertainment and it won’t pull away the audiophiles from their reference DACs, but it does at least produce a recognisable We Wish You A Merry Christmas as you’ll see from the video below the break.

Since the TS100 arrived a couple of years ago we’ve seen a variety of inventive firmware for it. You may remember [Joric]’s previous triumph of a Tetris game for the iron, but our favourite is probably the TS100 oscilloscope.

Continue reading “Your TS80 – Music Player”

Adding USB-C To The TS100, But Not How You Think

USB-C has its special Power Delivery standard, and is capable of delivering plenty of juice to attached hardware. This has led many to modify their TS-100 soldering irons to accept the connector. [Jana Marie] is the latest, though she’s taken rather a different tack than you might expect.

[Jana] didn’t want to modify the original hardware or hack in an adapter. Instead, she struck out on her own, developing an entire replacement PCB for the TS-100 iron. The firmware is rough and ready, and minimal work has been done on the GUI and temperature regulation. However, reports are that functionality is good, and [Jana]’s demonstration shows it handling a proper desoldering task with ease.

Files are on Github for those that wish to spin their own. The PCB is designed to snap neatly inside the original case for a nice fit and finish. Power is plentiful too, as the hardware supports USB Power Delivery 2.0, which is capable of running at up to 100 W. On the other hand, the stock TS-80 iron, which natively supports USB-C, only works with Quick Charge 3.0, and thus is limited to a comparatively meager 36 W.

We’ve seen plenty of TS-100 hacks over 2019. Some have removed the standard barrel jack and replaced it with a USB-PD board. Meanwhile, others have created adapters that plug in to the back of the iron. However, [Jana] is dictating her own terms by recreating the entire PCB. Sometimes it pays to go your own way!

[Thanks to elad for the tip!]

3D Printing New Cases For The TS100 Soldering Iron

About a year back, [BogdanTheGeek] found himself in need of a new case for this TS100 soldering iron. Unfortunately, while the product is often billed as being open source friendly (at least in the firmware sense), he was surprised to discover that he couldn’t find the detailed dimensions required to 3D print his own replacement case. So he took it upon himself to document the case design and try to kick off a community around custom enclosures for the popular portable iron.

The main goals while designing the replacement case was to make it printable without support, and usable without additional hardware. He also wanted it to be stronger than the original version, and feature a somewhat blockier design that he personally finds more comfortable. The case was designed with PLA in mind, and he says he’s had no problems with the lower-temperature plastic. But if you’re still concerned about the heat, PETG would be an ideal material to print yours in.

It took him many attempts to get the design to where it is today, and still, there are improvements he’d like to make. For one, there’s no protective cover over the iron’s OLED screen. He’d also like to make the switch from SolidWorks over to FreeCAD so the project is a bit more accessible, and says he’d appreciate anyone who wants to chip in. We’re excited to see what develops once the hacking world realizes that there are accurate open source CAD files for the TS100 floating around out there.

Our very own [Jenny List] put the TS100 through its paces not so long ago, and found a decidedly solid little tool. While it won’t replace your high-end soldering station, it’s very convenient for quick repairs and simple tasks, especially if you find yourself away from the workbench proper.