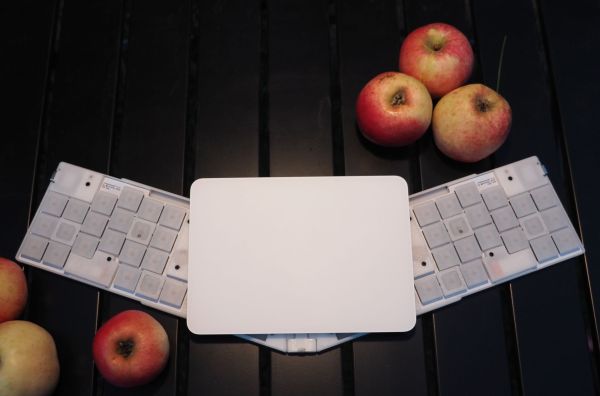
Cats are notorious for interrupting workflow. Whether it’s in the kitchen, the garden, or the computer, any feline companion around has a way of getting into mischief in an oftentimes disruptive way. [Robin] has two cats, and while they like to sit on his desk, they have a tendency to interrupt his mouse movements while he’s using his Apple trackpad. Rather than solve the impossible problem of preventing cats from accessing areas they shouldn’t, he set about building a customized tiny trackpad that integrates with his keyboard and minimizes the chance of cat interaction.
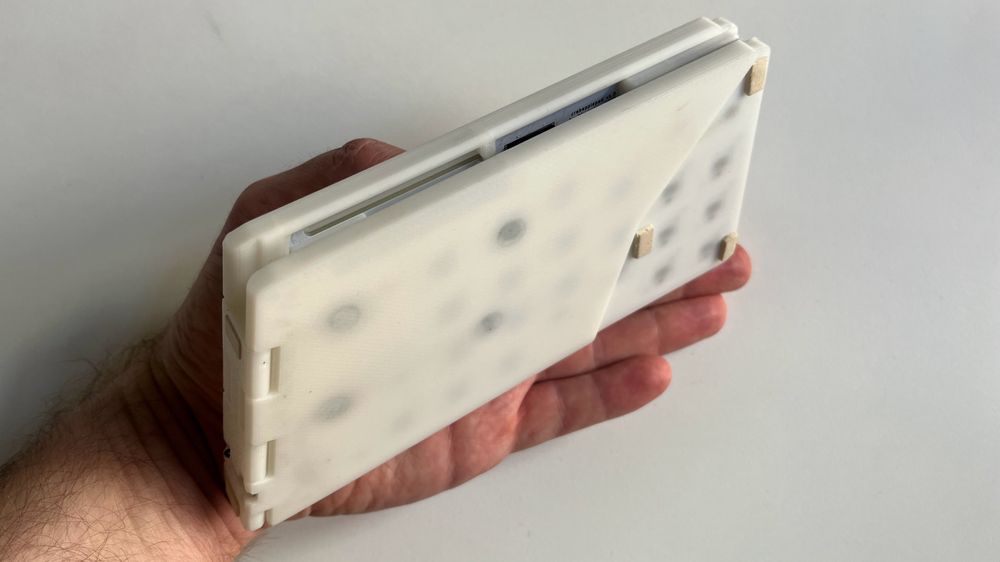
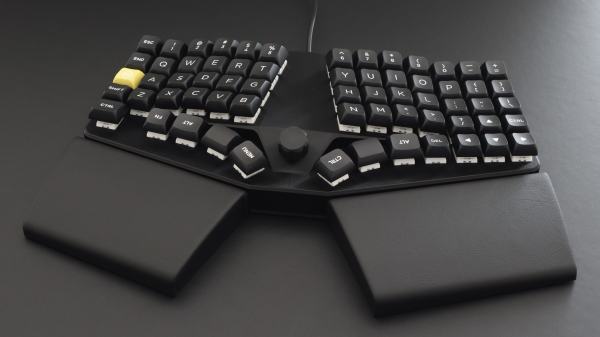
The keyboard [Robin] uses is a split ergonomic keyboard. While some keyboards like this might use a standard USB connection to join the two halves, the ZSA Voyager uses I2C instead and even breaks the I2C bus out with a pogo pin-compatible connector. [Robin] originally designed a 3D-printed integrated prototype based on a Cirque trackpad that would clip onto the right side of the keyboard and connect at this point using pogo pins, but after realizing that the pogo pin design would be too difficult for other DIYers to recreate eventually settled on tapping into the I2C bus on the keyboard’s connecting cable. This particular keyboard uses a TRRS connector to join the two halves, so getting access to I2C at this point was as simple as adding a splitter and plugging in the trackpad.
With this prototype finished, [Robin] has a small trackpad that seamlessly attaches to his ergonomic keyboard, communicates over a standard protocol, and avoids any unwanted cat-mouse action. There’s also a build guide if you have the same keyboard and want to try out this build. He does note that using a trackpad this small involves a bit of a learning curve and a larger-than-average amount of configuration, but after he got over those two speed bumps he hasn’t had any problems. If trackpads aren’t your style, though, with some effort you can put a TrackPoint style mouse in your custom mechanical keyboard instead.