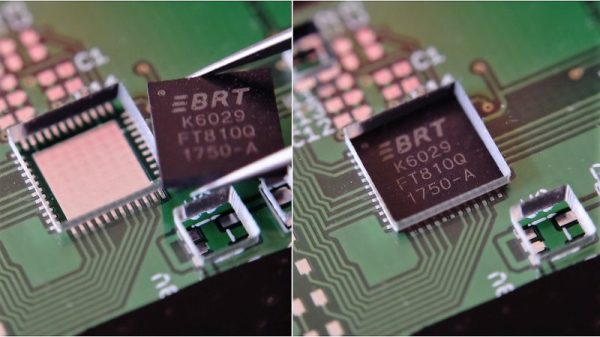
At Hackaday, we’re constantly impressed by the skill and technique that goes into soldering up some homebrew creations. We’re not just talking about hand-soldering 80-pin QFNs without a stencil, either: there are people building charlieplexed LED arrays out of bare copper wire, and using Kynar wire for mechanical stability. There are some very, very talented people out there, and they all work in the medium of wire, heat, and flux.
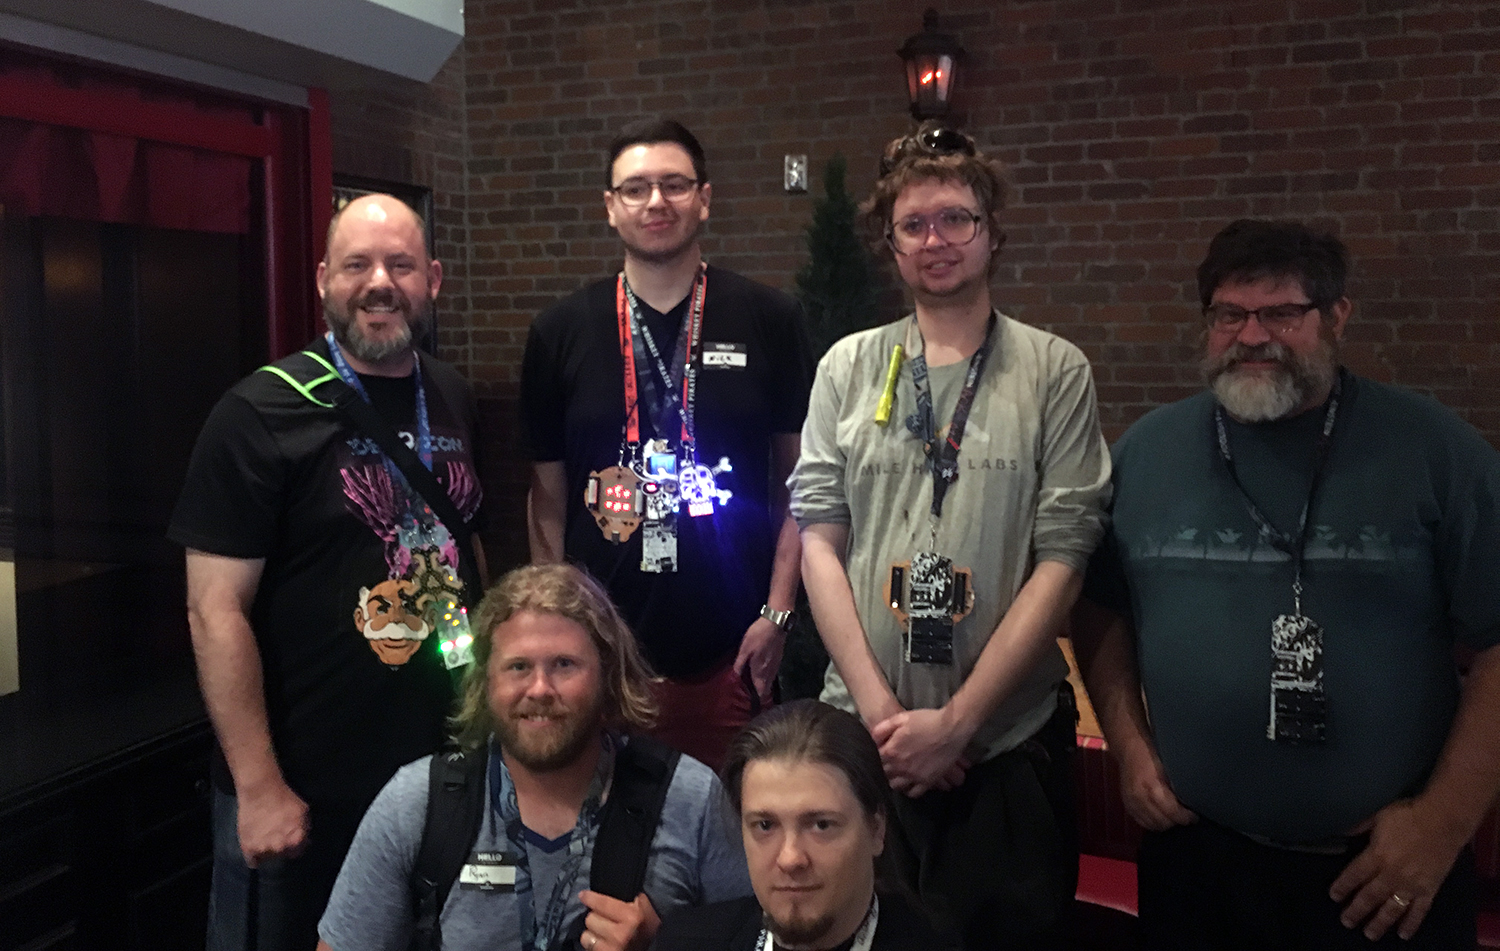
At this year’s DEF CON, we opened the floodgates to competitive soldering. Along with [Bunny] from Hardware Hacking Village and the many volunteers from the HHV and Soldering Skills Village, dozens competed to solder up a tiny kit full of LEDs and microscopic resistors.
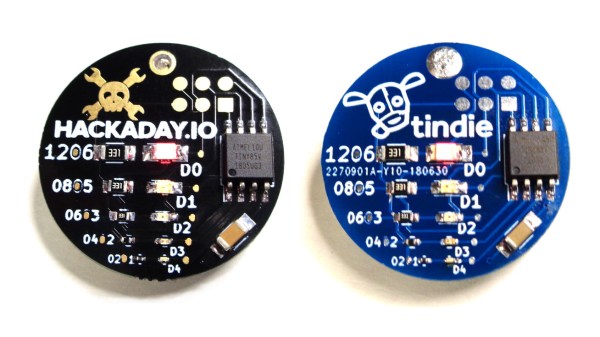
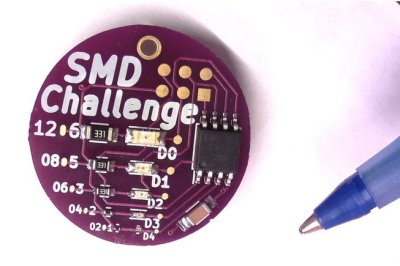
The kit in question was an SMD Challenge Kit put together my MakersBox, and consisted of a small PCB, an SOIC-8 ATtiny, and a LED and resistor for 1206, 0805, 0603, 0402, and 0201 sizes. The contest is done in rounds. Six challengers compete at a time, and everyone is given 35 minutes to complete the kit.
We’ve seen — and participated in — soldering challenges before, and each one has a slightly unique twist to make it that much more interesting. For example, at this summer’s Toorcamp, the soldering challenge was to simply drink a beer before moving to the next size of parts. You would solder the 1206 LED and resistor sober, drink a beer, solder the 0805, drink a beer, and keep plugging away until you get to the 01005 parts. Yes, people were able to do it.
Of course, being DEF CON and all, we were trying to be a bit more formal, and drinking before noon is uncouth. The rules for this Soldering Challenge award points on five categories: the total time taken, if the components are actually soldered down, a ‘functionality’ test, the orientation of the parts, and the quality of the solder joints.
So, with those rules in place, who won the Soldering Challenge at this year’s DEF CON? Out of a total 25 points, the top scorers are:
- [True] – 23 pts
- [Rushan] – 19 pts
- [Ryan] – 18 pts
- [Beardbyte] – 18 pts
- [Casey] – 18 pts
- [Bob] – 18 pts
- [Nick] – 18 pts
- [JEGEVA] – 18 pts
The Soldering Challenge had an incredible turnout, and the entire Soldering Skills Village was packed to the gills with folks eager to pick up an iron. The results were phenomenal!
We’d like to extend a note of thanks to [Bunny], the Hardware Hacking Village, the Soldering Skills Village, and MakersBox for making this happening. It was truly a magical experience, and now that competitive soldering is a thing, we’re going to be doing this a few more times. How do you think this could be improved? Leave a note in the comments.
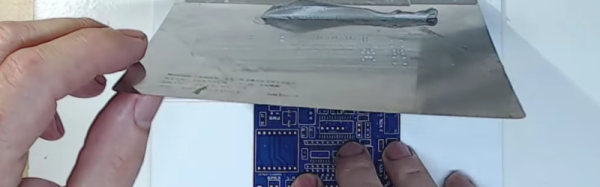
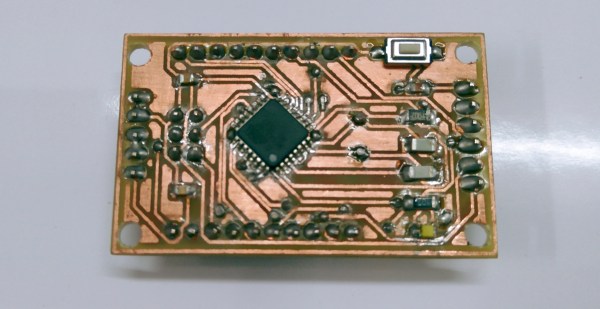
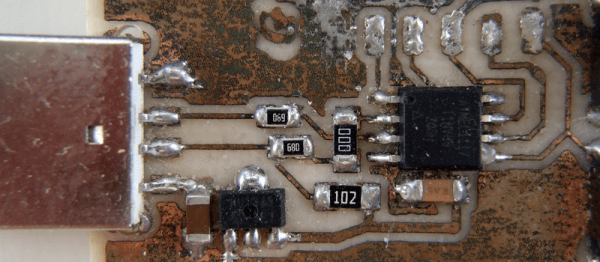
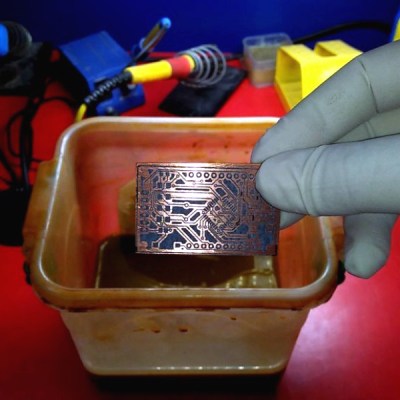 [Pratik Makwana] starts by showing how to design the circuit schematic diagram in an EDA tool (Eagle) and the corresponding PCB layout design. He then uses the toner transfer method and a laminator to imprint the circuit into the copper board for later etching and drilling. The challenging soldering process is not detailed, if you need some help soldering SMD sized components we covered some different processes before, from a