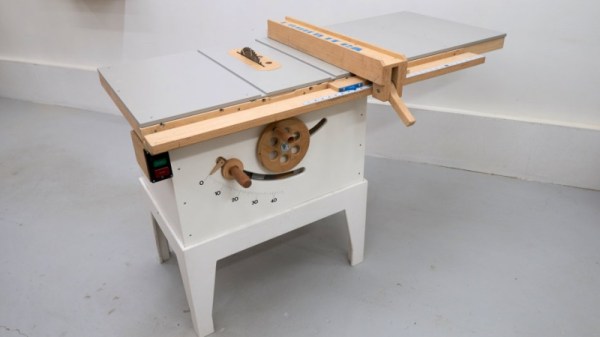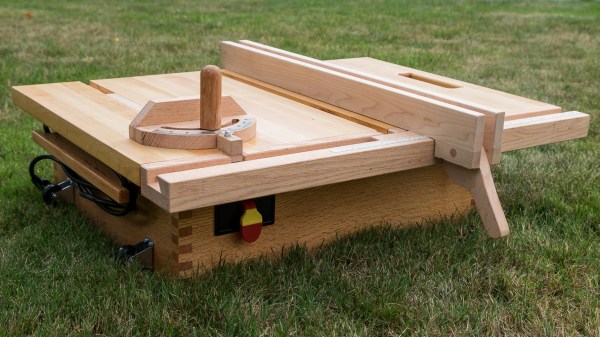
Typically, someone’s first venture into coding doesn’t get a lot of attention. Then again, most people don’t program a CNC table saw right out of the gate. [Jeremy Fielding] wasn’t enticed with “Blink” or “Hello, world,” and took the path less traveled. He tackled I/O, UX, and motion in a single project, which we would equate to climbing K2 as a way to get into hiking. The Python code was over 500 lines, so we feel comfortable calling him an over-achiever.
The project started after he replaced the fence on his saw and wondered if he could automate it, and that was his jumping-on point, but he didn’t stop there. He automated the blade height and angle with stepper motors, so the only feedback is limit switches to keep it from running into itself. The brains are a Raspberry Pi that uses the GPIO for everything. There is a manual mode so he can use the hand cranks to make adjustments like an ordinary saw, but he loses tracking there. His engineering background shines through in his spartan touchscreen application and robust 3D model. The built-in calculator is a nice touch, and pulling the calculations directly to a motion axis field is clever.
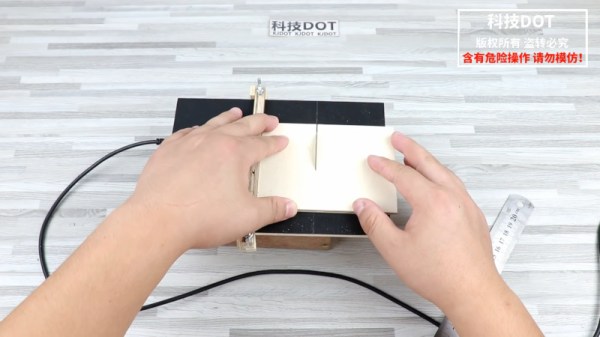
We’ve covered [Jeremy]’s DIY dynamometer and look forward to whatever he builds next. Until then, check out a light-duty approach to CNC that cuts foam in two-and-a-half dimensions.