When [William’s] thermostat died, he wanted an upgrade. He found a few off-the-shelf Internet enabled thermostats, but they were all very expensive. He knew he could build his own for a fraction of the cost.
The primary unit synchronizes it’s time using NTP. This automatically keeps things up to date and in sync with daylight savings time. There is also a backup real-time clock chip in case the Internet connection is lost. The unit can be controlled via the physical control panel, or via a web interface. The system includes a nifty “vacation mode” that will set the temperature to a cool 60 degrees Fahrenheit while you are away. It will then automatically adjust the temperature to something more comfortable before you return home.
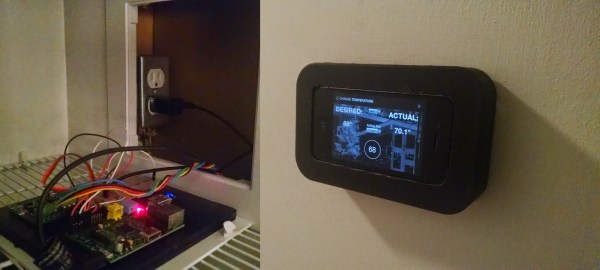
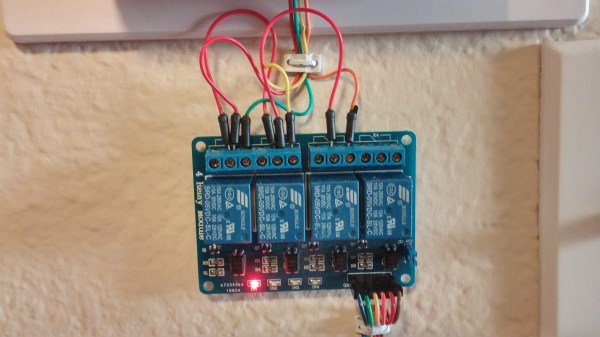
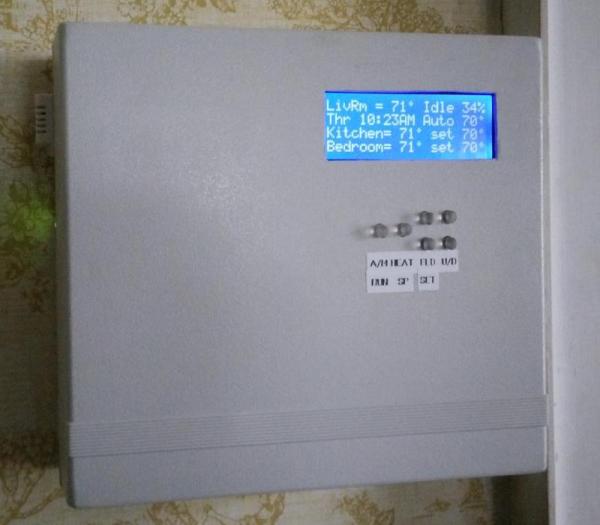
[William’s] home is split into three heat zones. Each zone has its own control panel including an LCD display and simple controls. The zones can be individually configured from either their own control panel or from the central panel. The panels include a DHT22 temperature and humidity sensor, an LCD display, a keypad, and support electronics. This project was clearly well thought out, and includes a host of other small features to make it easy to use.