Powering Neon With A Joule Thief

Joule thief are small, fun circuits which exploit a few characteristics of electronics and LEDs in order to “steal” virtually all of the energy stored in a battery. They can operate at incredibly small voltages and are fairly simple to make. With a few modifications to this basic circuit it’s possible to drive other things than an LED, though, like this joule thief that lights up a neon bulb.

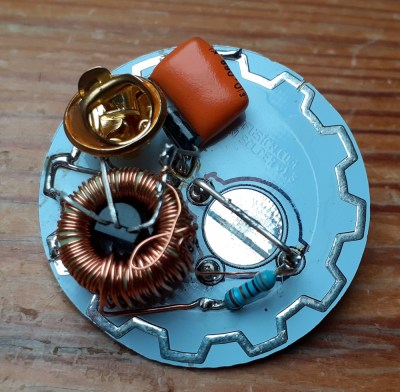
The circuit from [suedbunker] aka [fuselage] is based on a pin from the Chaos Communication Camp which had a standard LED. To get a neon light to illuminate a few modifications to the standard joule thief are needed.

First, the windings have to be changed from 10:10 to 10:80 to increase the voltage across the bulb. Second, a transistor with slightly different characteristics was used than the original design. The capacitor was also replaced with a larger one.

While it might seem simple, the physics of how a joule thief works are anything but, and modifying the delicate circuit to work with something other than an LED is commendable. It also has a steampunk vibe which is a cool look even in projects that don’t involve steam at all.

The RFI Hunter: Looking For Noise In All The Wrong Places

Next time you get a new device and excitedly unwrap its little poly-wrapped power supply, remember this: for every switch-mode power supply you plug in, an amateur radio operator sheds a tear. A noisy, broadband, harmonic-laden tear.

The degree to which this fact disturbs you very much depends upon which side of the mic you’re on, but radio-frequency interference, or RFI, is something we should all at least be aware of. [Josh (KI6NAZ)] is keenly aware of RFI in his ham shack, but rather than curse the ever-rising noise floor he’s come up with some helpful tips for hunting down and eliminating it – or at least reducing its impact.

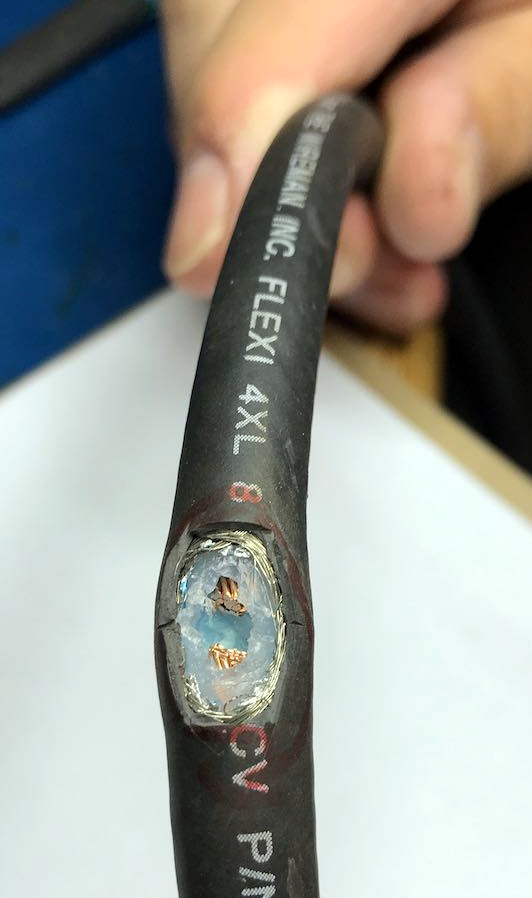
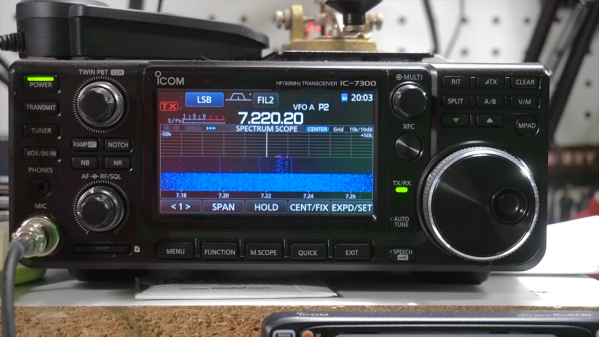
Attacking the problem begins with locating the sources of RFI, for which [Josh] used the classic “one-circuit-at-a-time” approach – kill every breaker in the panel and monitor the noise floor while flipping each breaker back on. This should at least give you a rough idea of where the offending devices are in your house. From there, [Josh] used a small shortwave receiver to locate problem areas, like the refrigerator, the clothes dryer, and his shack PC. The family flat-screen TV proved to be quite noisy too. Remediation techniques include wrapping every power cord and cable around toroids or clamping ferrite cores around them, both on the offending devices and in the shack. He even went so far as to add a line filter to the dryer to clamp down on its unwanted interference.

Judging by his waterfall displays, [Josh]’s efforts paid off, bringing his noise floor down from S5 to S1 or so. It’s too bad he had to take matters into his own hands – it’s not like the FCC and other spectrum watchdogs don’t know there’s a problem, after all.

Continue reading “The RFI Hunter: Looking For Noise In All The Wrong Places”

Camcorder Viewfinder Converted To Diminutive Vector Display

We generally cast a skeptical eye at projects that claim some kind of superlative. If you go on about the “World’s Smallest” widget, the chances are pretty good that someone will point to a yet smaller version of the same thing. But in the case of what’s touted as “The world’s smallest vector monitor”, we’re willing to take that chance.

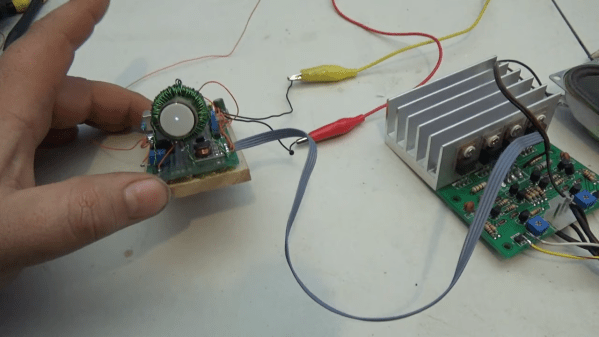
If you’ve seen any of [Arcade Jason]’s projects before, you’ll no doubt have noticed his abiding affection for vector displays. We’re OK with that; after all, many of the best machines from the Golden Age of arcade games such as Asteroids and Tempest were based on vector graphics. None so small as the current work, though, based as it is on the CRT from an old camcorder’s viewfinder. The tube appears to be about 3/4″ (19 mm) in diameter, and while it still had some of its original circuitry, the deflection coils had to be removed. In their place, [Jason] used a ferrite toroid with two windings, one for vertical and one for horizontal. Those were driven directly by a two-channel push-pull audio amplifier to make patterns on the screen. Skip to 15:30 in the video below to see the display playing [Jerobeam Fenderson]’s “Oscilloscope Music”.

As much as we’d love to see a tiny game of Battlezone played on the diminutive display, there’s only so much it can do. Maybe an analog version of this adorable digital oscilloscope would be possible?

Continue reading “Camcorder Viewfinder Converted To Diminutive Vector Display”

Stepper Motor Mods Improve CNC Flat Coil Winder

Finding just the right off-the-shelf part to complete a project is a satisfying experience – buy it, bolt it on, get on with business. Things don’t always work out so easily, though, which often requires the even more satisfying experience of modifying an existing part to do the job. Modifying a stepper motor by drilling a hole down its shaft probably qualifies for the satisfying mod of the year award.

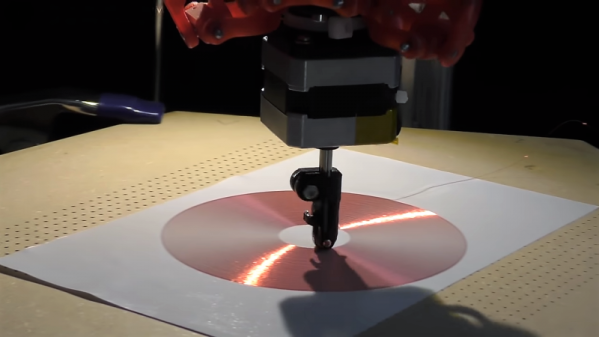
That’s what [Russ] did to make needed improvements to his CNC flat-coil winder, which uses a modified delta-style 3D-printer to roll fine magnet wire out onto adhesive paper to form beautiful coils of various sizes and shapes. [Russ] has been tweaking his design since we featured it and coming up with better and better coils. While experimenting, the passive roller at the business end proved to be a liability. The problem was that the contact point lagged behind the center axis of the delta, leading to problems with the G-code. [Russ] figured that a new tool with the contact point at the dead center would help. The downside would be having to actively swivel the tool in concert with the X- and Y-axis movements. The video below shows his mods, which include disassembling the NEMA-17 stepper and drilling out the shaft to pass the coil wire. [Russ] also spent some time reversing the rotor in the frame and provided a small preload spring to keep the coil roller in contact with the paper.

A real-time coil winding session starts at the 21:18 mark, and we’ve got to admit it’s oddly soothing to watch. We’re not sure exactly what [Russ] intends to do with these coils, and by his own admission, neither is he. But it’s still pretty cool to see, and the stepper motor mods are a neat trick to keep in mind.

Continue reading “Stepper Motor Mods Improve CNC Flat Coil Winder”

Toroid Winding Cheat

When you need a toroid the easiest source is often to wind it yourself. The problem being that placing a few hundred windings around a ferrite ring is a real drag, especially if you have to make several of them. This cheat developed by [Jim W.] will save a lot of time. He cuts the ring in half for the winding and reassembles it afterward.

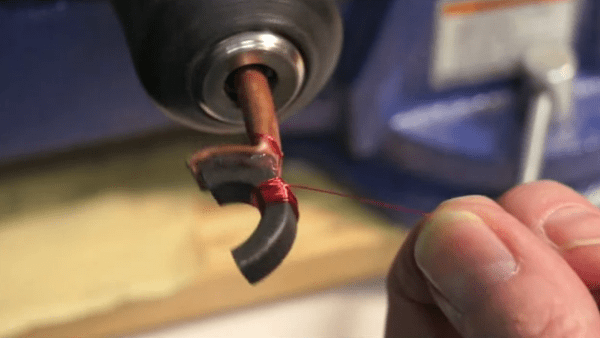
Here you can see that he has half of the core mounted in a drill chuck. To get to this point he scored the ferrite before clamping half in a vice and whacking the extruding half with a block of wood and a hammer. He hasn’t found a perfect solution for scoring the material (a utility knife or a triangular file both work but have drawbacks). Leave a comment if you’ve got any bright ideas.

Once the core is in two pieces he used some copper pipe with one end flattened and bent to the shape of the ring segment. With it hot glued in place he takes it for a spin (shown in the clip after the break). Once the windings are done a bit of super glue recombines the halves. This sort of thing is great for monitoring power use.

Continue reading “Toroid Winding Cheat”

Homemade Toroid Winder

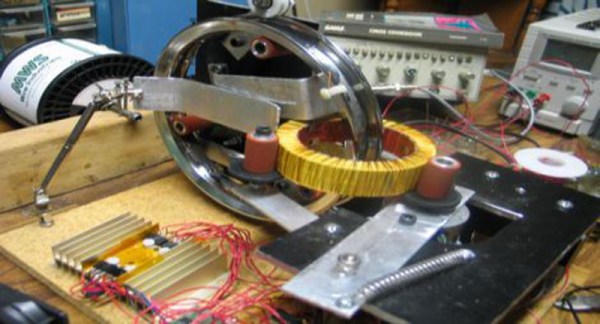
[eclipsed78], built an automatic toroid winder (Internet Archive). The drum splits in order to load the toroid. Then wire is wound on the drum, much like any other coil would be wound. The drum rotates as a slider pulls the wire off the drum, while revolving in and out of the toroid. A side tension keeps the slack out of the wire during operation. The winding coil is stepped as the drum rotates, in order to control the turns ratio. [eclipsed78] created a stepper driver from a schematic, so he could drive the motors. You can watch the winder in operation  as a series of videos. The first of which is embedded below. If you have ever needed to wind a massive toroidal transformer, this is the project for you.

Continue reading “Homemade Toroid Winder”