The RFI Hunter: Looking For Noise In All The Wrong Places

Next time you get a new device and excitedly unwrap its little poly-wrapped power supply, remember this: for every switch-mode power supply you plug in, an amateur radio operator sheds a tear. A noisy, broadband, harmonic-laden tear.

The degree to which this fact disturbs you very much depends upon which side of the mic you’re on, but radio-frequency interference, or RFI, is something we should all at least be aware of. [Josh (KI6NAZ)] is keenly aware of RFI in his ham shack, but rather than curse the ever-rising noise floor he’s come up with some helpful tips for hunting down and eliminating it – or at least reducing its impact.

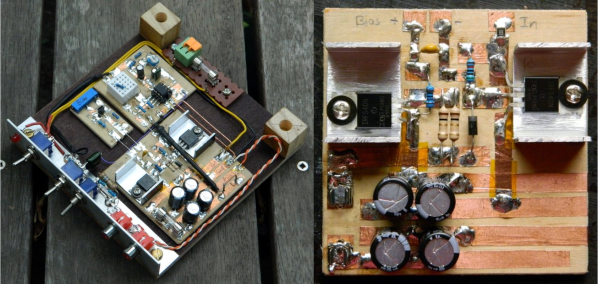
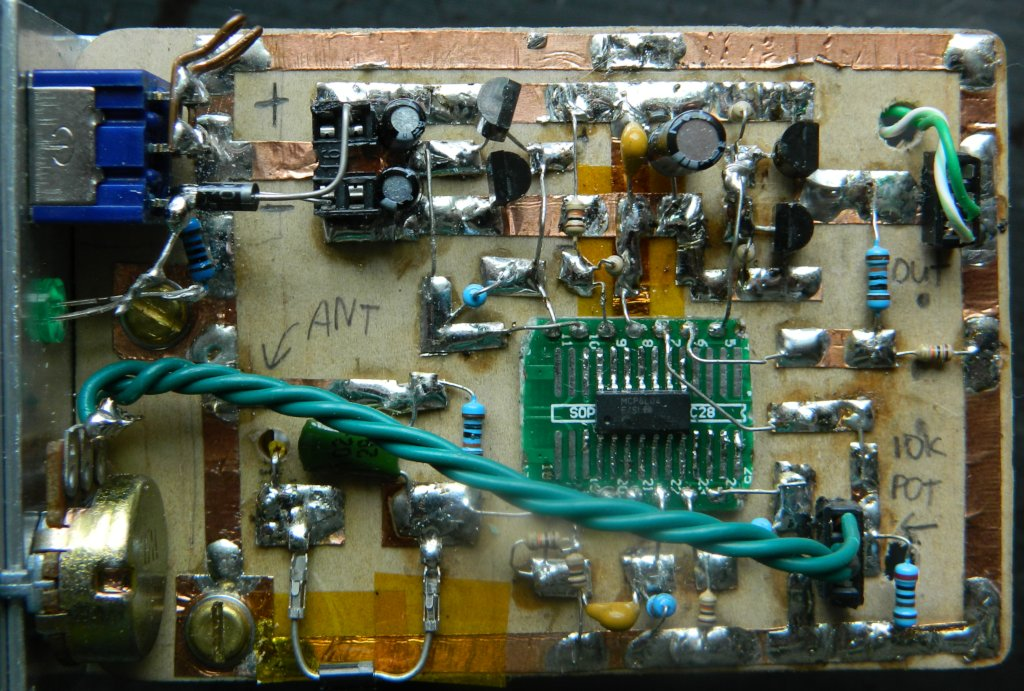
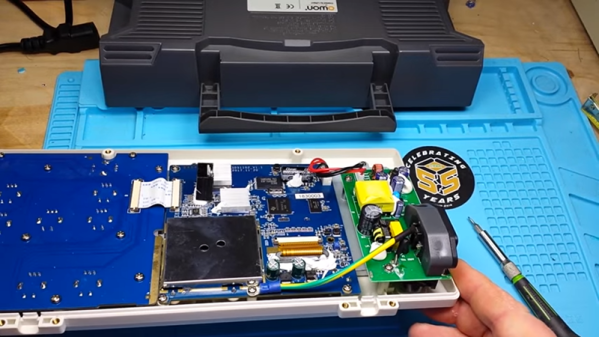
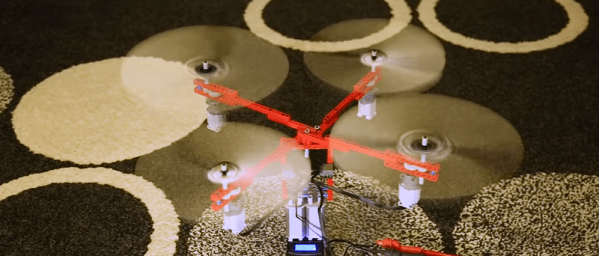
Attacking the problem begins with locating the sources of RFI, for which [Josh] used the classic “one-circuit-at-a-time” approach – kill every breaker in the panel and monitor the noise floor while flipping each breaker back on. This should at least give you a rough idea of where the offending devices are in your house. From there, [Josh] used a small shortwave receiver to locate problem areas, like the refrigerator, the clothes dryer, and his shack PC. The family flat-screen TV proved to be quite noisy too. Remediation techniques include wrapping every power cord and cable around toroids or clamping ferrite cores around them, both on the offending devices and in the shack. He even went so far as to add a line filter to the dryer to clamp down on its unwanted interference.

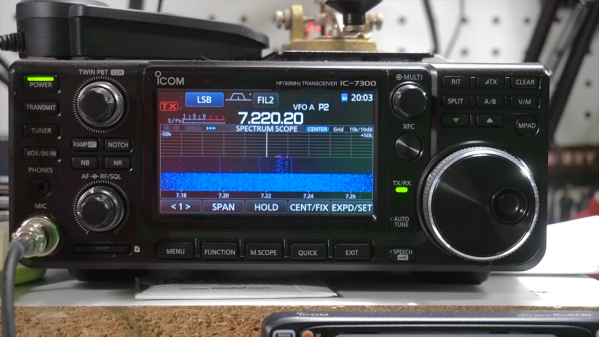
Judging by his waterfall displays, [Josh]’s efforts paid off, bringing his noise floor down from S5 to S1 or so. It’s too bad he had to take matters into his own hands – it’s not like the FCC and other spectrum watchdogs don’t know there’s a problem, after all.

Continue reading “The RFI Hunter: Looking For Noise In All The Wrong Places”

A Safer, Self-Healing Polymer Battery

Lithium-ion batteries are notorious for spontaneously combusting, with seemingly so many ways that it can be triggered. While they are a compact and relatively affordable rechargeable battery for hobbyists, damage to the batteries can be dangerous and lead to fires.

Several engineers from the University of Illinois have developed a solid polymer-based electrolyte that is able to self-heal after damage, preventing explosions.The material can also be recycled without the use of high temperatures or harsh chemical catalysts. The results of the study were published in the Journal of the American Chemical Society.

As the batteries go through cycles of charge and discharge, they develop branch-like structures known as dendrites. These dendrites, composed of solid lithium, can cause electrical shorts and hotspots, growing large enough to puncture internal parts of the battery and causing explosive chemical reactions between the electrodes and electrolyte liquids. While engineers have been looking to replace liquid electrolytes in lithium-ion batteries with solid materials, many have been brittle and not highly conductive.

The high temperatures inside a battery melt most solid ion-conducting polymers, making them a less attractive option for non-liquid electrolytes. Further studies producing solid electrolytes from networks of cross-linked polymer strands delays the growth of dendrites but produces structures that are too complex to be recovered after damage. In response, the researchers at University of Illinois developed a similar network polymer electrolyte where the cross-link point undergoes exchange reactions and swaps out polymer strands. The polymers stiffen upon heating, minimizing the dendrite problem and more easily breaking down and resolidifying the electrolyte after damage.

Unlike conventional polymer electrolytes, the new polymer also shows properties of conductivity and stiffness increasing with heating. The material dissolves in water at room temperature, making it both energy-efficient and environmentally friendly as well.

The Flexible Permanence Of Copper Tape Circuits

Somewhere between shoving components into a breadboard temporarily and committing them to a piece of protoboard or a PCB lies the copper tape method. This flexible Manhattan-style method of circuitry formed the basis for [Bunnie Huang]’s Chibitronics startup, and has since inspired many to stop etching boards and start fetching hoards of copper tape.

[Hales] hit the ground running when he learned about this method, and has made many a copper tape circuit in the last year or so. He offers several nice tips on his site that speak from experience with this method, and he’ll even show you how to easily work an SMD breakout board into the mix.

Generally speaking, [Hales] prefers plywood as the substrate to paper or cardboard for durability. He starts by drawing out the circuit and planning where all the tape traces will go and how wide they need to be. Then he lays out copper traces and pads, rubs the tape against the substrate to make it adhere strongly, and reinforces joints and laps with solder before adding the components. As you can see, copper tape circuits can get pretty complicated if you use Kapton tape as insulation between stacked layers of traces.

Copper and Kapton (polyimide) tape are just two of the many useful tapes you may not be aware of. Stick with us a moment and check out [Nava Whiteford]’s exploration of various adhesive marvels.

New Part Day: Arduino Goes Pro With The Portenta H7

The Consumer Electronics Show in Las Vegas is traditionally where the big names in tech show off their upcoming products, and the 2020 show was no different. There were new smartphones, TVs, and home automation devices from all the usual suspects. Even a few electric vehicles snuck in there. But mixed in among flashy presentations from the electronics giants was a considerably more restrained announcement from a company near and dear to the readers of Hackaday: Arduino is going pro.

While Arduino has been focused on the DIY and educational market since their inception, the newly unveiled Portenta H7 is designed for professional users who want to rapidly develop robust hardware suitable for industrial applications. With built-in wireless hardware and the ability to run Python and JavaScript out of the box, the powerful dual-core board comes with a similarly professional price tag; currently for preorder at $99 USD a pop, the Portenta is priced well outside of the company’s traditional DIY and educational markets. With increased competition from other low-cost microcontrollers, it seems that Arduino is looking to expand out of its comfort zone and find new revenue streams.

Continue reading “New Part Day: Arduino Goes Pro With The Portenta H7”

OWON Oscilloscope Teardown

We sympathize with [learnelectronic’s] statement: “I’m ashamed. I may have bought another oscilloscope.” We get it and we enjoyed watching him tear down the OWON SDS1102. (Video, embedded below.) As you might guess, this is a 100 MHz, two-channel scope, and very similar to many other Chinese scopes you can get inexpensively.

The last ten minutes are so of the video below shows him removing the case. There’s only three little boards inside. One is clearly a power supply. The other two don’t have much on them. There’s a tiny RF shield over one part of the board, so you assume that’s the input section.

Continue reading “OWON Oscilloscope Teardown”

Automate Your Life With Node-RED (Plus A Dash Of MQTT)

For years we’ve seen a trickle of really interesting home automation projects that use the Node-RED package. Each time, the hackers behind these projects have raved about Node-RED and now I’ve joined those ranks as well.

This graphic-based coding platform lets you quickly put together useful operations and graphic user interfaces (GUIs), whether you’re the freshest greenhorn or a seasoned veteran. You can use it to switch your internet-connected lights on schedule, or at the touch of a button through a web-app available to any device on your home network. You can use it as an information dashboard for the weather forecast, latest Hackaday articles, bus schedules, or all of them at once. At a glance it abstracts away the complexity of writing Javascript, while also making it simple to dive under hood and use your 1337 haxor skills to add your own code.

You can get this up and running in less than an hour and I’m going to tackle that as well as examples for playing with MQTT, setting up a web GUI, and writing to log files. To make Node-RED persistent on your network you need a server, but it’s lean enough to run from a Raspberry Pi without issue, and it’s even installed by default in BeagleBone distributions. Code for all examples in this guide can be found in the tutorial repository. Let’s dive in!

Continue reading “Automate Your Life With Node-RED (Plus A Dash Of MQTT)”

Lego Drone Finally Takes Off

We were concerned when we saw [Brick Experiment Channel] test a drone propulsion pod made with Lego. After all, the thrust generated was less than the weight of the assembly. But a few tweaks got enough lift to overcome the assembly weight, as you can see in the video below.

The next step was to build three more pods and add some lightweight avionics and a battery. The first flight was a little dicey because the sensor orientation was off. Then there was some more software tuning before things really got airborne.

Continue reading “Lego Drone Finally Takes Off”