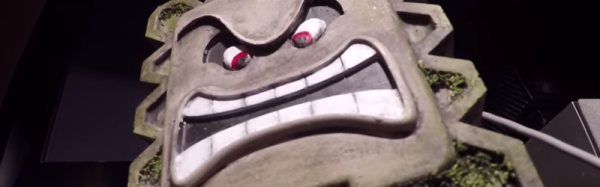
[Geeksmithing] wanted to respond to a challenge to build a USB hub using cement. Being a fan of Mario Brothers, a fitting homage is to build a retro-gaming console from cement to look just like your favorite Mario-crushing foe. With a Raspberry Pi Zero and a USB hub embedded in it, [Geeksmithing] brought the Mario universe character that’s a large cement block — the Thwomp — to life.
[Geeksmithing] went through five iterations before he arrived at one that worked properly. Initially, he tried using a 3D printed mold; the cement stuck to the plastic ruining the cement on the face. He then switched to using a mold in liquid rubber (after printing out a positive model of the Thwomp to use when creating the mold). But the foam board frame for the mold didn’t hold, so [Geeksmithing] added some wood to stabilize things. Unfortunately, the rubber stuck to both the foam board and the 3D model making it extremely difficult to get the model out.
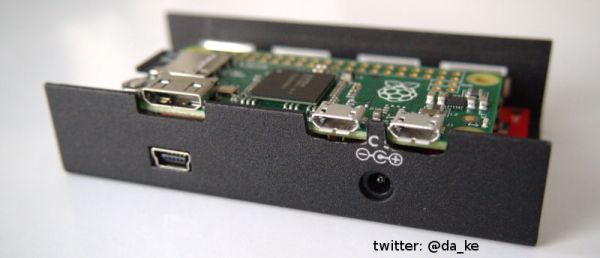
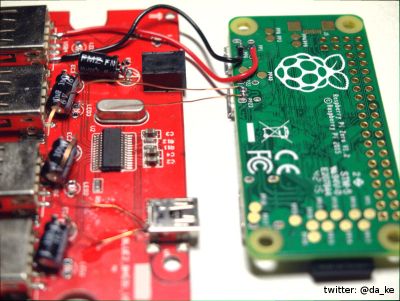
![Like [Han] in carbonite, that's a Rapsberry Pi Zero being encased in cement](https://hackaday.com/wp-content/uploads/2016/12/raspberry-pi-thwomp.png?w=400)
The final casting worked and after painting, [Geeksmithing] had a finished cement Thwomp console that would play retro games. He missed the deadline for the USB Hub Challenge, but it’s still a great looking console, and his video has a lot of detail about what went wrong (and right) during his builds. There’s a great playlist on YouTube of the other entries in the challenge, check them out along with [Geeksmithing]’s video below!
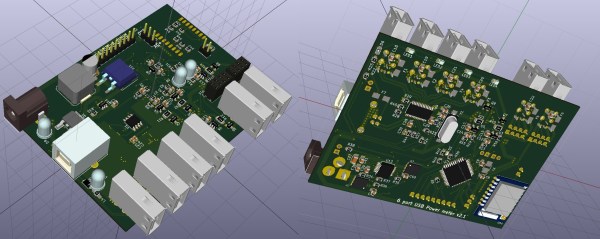


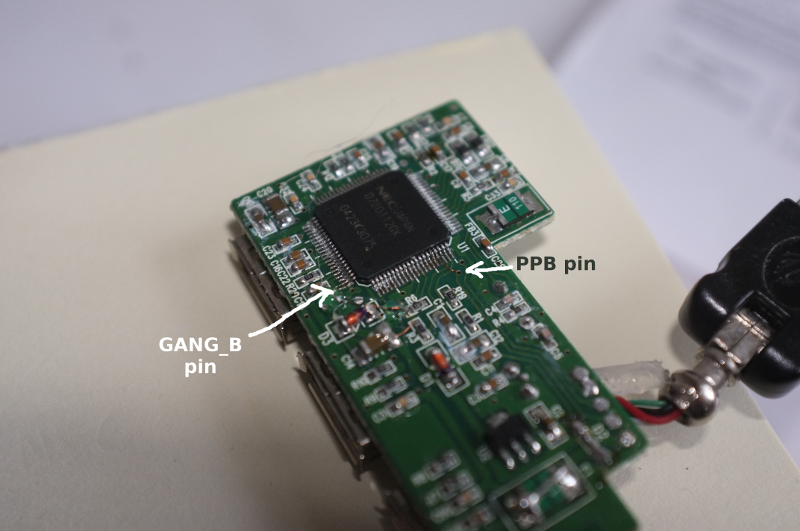 [Befi] wanted to add a second stage backup disk to his ODROID embedded-board server, which typically draws ~1.5W at idle. After adding the disk, he saw power consumption increase by 2W when the new disk wasn’t spinning. He thought about using one of those USB hubs with the adorable little rocker switches for each port and replacing them with transistors, but that was going to be messy. After some poking around in the USB standard, he found that most support per-port power switching (PPPS), and set about to