Watch The OpenScan DIY 3D Scanner In Action

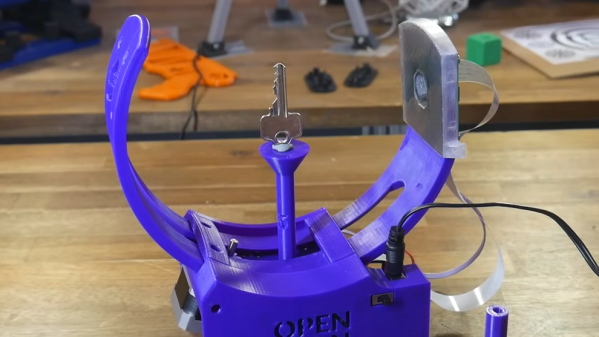
[TeachingTech] has a video covering the OpenScan Mini that does a great job of showing the workflow, hardware, and processing method for turning small objects into high-quality 3D models. If you’re at all interested but unsure where or how to start, the video makes an excellent guide.

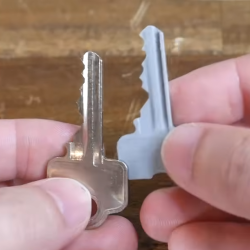
We’ve covered the OpenScan project in the past, and the project has progressed quite a bit since then. [TeachingTech] demonstrates scanning a number of small and intricate objects, including a key, to create 3D models with excellent dimensional accuracy.
[Thomas Megel]’s OpenScan project is a DIY project that, at its heart, is an automated camera rig that takes a series of highly-controlled photographs. Those photographs are then used in a process called photogrammetry to generate a 3D model from the source images. Since the quality of the source images is absolutely critical to getting good results, the OpenScan hardware platform plays a pivotal role.

Once one has good quality images, the photogrammetry process itself can be done in any number of ways. One can feed images from OpenScan into a program like Meshroom, or one may choose to use the optional cloud service that OpenScan offers (originally created as an internal tool, it is made available as a convenient processing option.)

It’s really nice to have a video showing how the whole workflow works, and highlighting the quality of the results as well as contrasting them with other 3D scanning methods. We’ve previously talked about 3D scanning and what it does (and doesn’t) do well, and the results from the OpenScan Mini are fantastic. It might be limited to small objects, but it does a wonderful job on them. See it all for yourself in the video below.

Continue reading “Watch The OpenScan DIY 3D Scanner In Action”

This 3D Scanner Uses A Sensor You Might Not Know About

The huge diversity of sensors and other hardware which our community now has access to seems comprehensive, but there remain many parts which have made little impact due to cost or scarcity. It’s one of these which [Enginoor] has taken for the sensor in a 3D scanner, an industrial laser displacement sensor.

This sensor measures distance, but it’s not one of the time-of-flight sensors we’re familiar with. Instead it’s similar to a photographic rangefinder, relying on the parallax angle as seen from a sensor a distance apart from the laser. They are extremely expensive due to their high-precision construction, but happily they can be found at a more affordable level second-hand from decommissioned machinery.

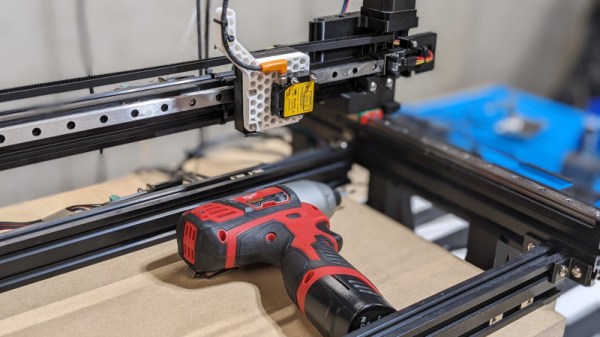
In this case the sensor is mounted on an X-Y gantry, and scans the part making individual point measurements. The sensor is interfaced to a Teensy, which in turn spits the data back to a PC for processing. By their own admission it’s not the most practical of builds, but for us that’s not the point. We hope that bringing these parts to the attention of our community might see them used in other ways.

We’ve featured huge numbers of 3D scanners over the years, including a look at how not to make one.

Building A Better 3D Scanner With An IPhone, And Making Art

Apple’s FaceID system uses infrared depth-sensing technology to authenticate people via their faces. It can also be used for simple 3D scanning, and [Scott Yu-Jan] found a better way to do that.

The main problem with using an iPhone as a 3D scanner in this manner is that the sensor is built into the front side of the device. It’s great for scanning your own face, but if you’re trying to scan an object, you can no longer see the iPhone’s screen. [Scott] solved this problem by slapping together a handheld 3D printed device to hold the iPhone along with an external monitor. This allowed Scott to scan while still seeing what was going on.

Having noticed that some of the 3D scanning apps produced strange, glitchy results when scanning faces, [Scott] decided to innovate artistically. He employed [Andrea] to model, took some scans, and Photoshopped the results into some impressive posters.

Overall, [Scott] demonstrates that it’s relatively easy to repurposed the iPhone for improved 3D scanning. With a simple design, he has a handheld scanner that works way better than just the phone on its own. Alternatively, consider getting into photogrammetry instead.

Continue reading “Building A Better 3D Scanner With An IPhone, And Making Art”

Sub-mm Mechanical 3D Scanner With Encoders And String

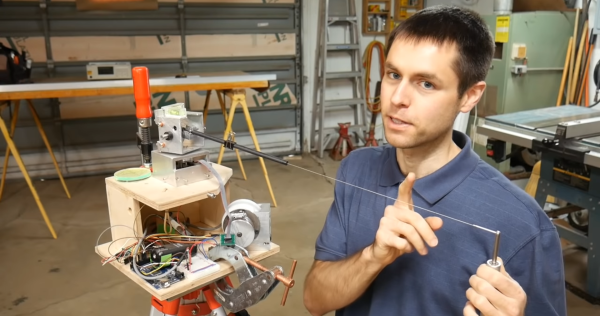
[Scott Rumschlag] wanted a way to precisely map interior spaces for remodeling projects, but did not want to deal with the massive datasets created by optical 3D scanning, and found the precision of the cost-effective optical tools lacking. Instead, he built a 3D cable measuring device that can be used to map by using a manual probe attached to a cable.

The cable is wound on a retractable spool, and passes over a pulley and through a carbon fiber tube mounted on a two-axis gimbal. There are a few commercial machines that use this mechanical approach, but [Scott] decided to build one himself after seeing the prices. The angle of rotation of each axis of the gimbal and the length of extended cable is measured with encoders, and in theory the relative coordinates of the probe can be calculated with simple geometry. However, for the level of precision [Scott] wanted, the devil is in the details. To determine the position of a point within 0.5 mm at a distance of 3 m, an angular resolution of less than 0.001° is required on the encoders. Mechanical encoders could add unnecessary drag, and magnetic encoders are not perfectly linear, so optical encoders were used. Many other factors can also introduce errors, like stretch and droop in the cable, stickiness of the bearings, perpendicularity of the gimbals axis and even the spring force created by the encoder wires. Each of these errors had to accounted for in the calculations. At first, [Scott] was using an Arduino Mega for the geometry calculations, but moved it to his laptop after he discovered the floating point precision of the Mega was not good.

[Scott] spend around 500 hours building and tuning the device, but the end result is really impressive. There are surprisingly few optical machines that can achieve this level of precision and accuracy, and they can be affected by factors like the reflectivity of an object.

If you do want to get into real 3D scanning, definitely take the time to read [Donal Papp]’s excellent guide to the practical aspects of the various technologies. Most of us already have a 3D scanner in our pocket in the form of a smartphone, which can be used for photogrammetry.

Continue reading “Sub-mm Mechanical 3D Scanner With Encoders And String”

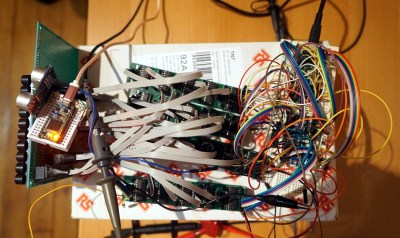
A Phased-Array Ultrasonic 3D Scanner From Scratch

Who wouldn’t want an autonomous drone to deliver cans of fizzy drink fresh from the fridge? [Alex Toussaint] did, and in thinking how such a machine might work he embarked on a path that eventually led him to create a fully functional ultrasonic 3D scanner. In writing it up he’s produced a straightforward description of how the system works, which should also be of interest to anyone curious about phased array radar. He starts with an easy-to-understand explanation of the principle behind phased array beam forming, and there follows his journey into electronics as he uses this ambitious project to learn the art from scratch. That he succeeded is testament to his ability as well as his sheer tenacity.

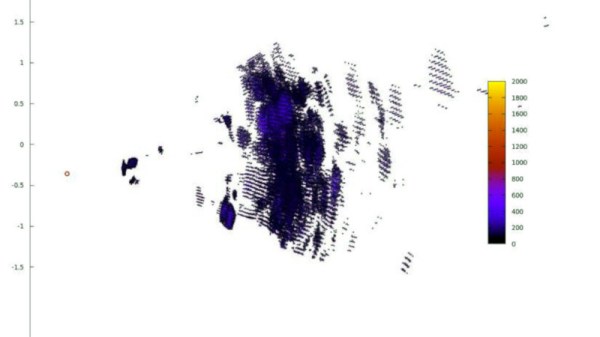
He finally arrived at a grid of 100 ultrasonic emitters controlled from an Arduino through a series of shift register boards. Using this he can steer his ultrasonic beam horizontally as well as vertically, and receive echoes from objects in three-dimensional space. The ornamental bird example he uses for his scanning tests doesn’t quite emerge in startling clarity, but it is still clear that an object of its size and rough shape is visible enough for the drone in his original idea to detect it. If you would like to experiment with the same techniques and array then all the resources can be found in a GitHub repository, meanwhile we’re still impressed with the progress from relative electronics novice to this. We hope the ideas within it will be developed further.

We’ve seen ultrasonic arrays before, but mainly used in levitation experiments.

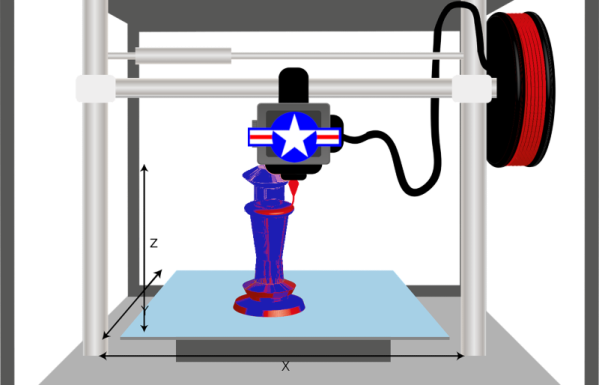
The US Air Force Wants Your 3D Scanner Ideas

One key piece of technology from Star Trek is the replicator, a machine that 3D prints up almost anything using some hazily-defined high technology. You have to wonder though, how did the patterns for Earl Grey tea or a spare part for a shuttlecraft intercooler come to exist in the first place. Maybe someone designed them, or perhaps they scanned the real articles. The US Air Force is betting on the latter, and they’ve asked for white papers and proposals for innovative methods to scan objects for 3D printing.

It isn’t surprising military planners would like to have effective 3D printing. After all, you can’t carry every spare part you might need into a theater of operation. Not to mention spares for your friends in joint operations or for enemy gear you might happen to capture. Having a truck that could turn out whatever your troops need is an attractive proposition. Continue reading “The US Air Force Wants Your 3D Scanner Ideas”

3D Print Your 3D Scanner

[QLRO] wanted a 3D scanner, but didn’t like any of the existing designs. Some were too complex. Some were simple but required you to do things by hand. That led to him designing his own that he calls AAScan. You can see the thing operating in the video below.

In general, you can move the camera around the object or you can move the object around while the camera stays fixed. This design chooses the latter. You’ll need a stepper motor with a driver board and an Arduino to make the turntable rotate. You also need a computer running Python and Meshroom. The phone also has to run Python and [QLRO] used QPython on an Android device.

Continue reading “3D Print Your 3D Scanner”